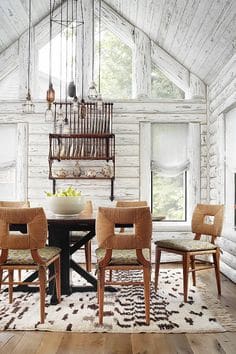
Whitewashing was popular 20 years ago and made its return a few years ago. It remains a popular option for farmhouse, country looks as it tones down the dark color of wood, allowing the warm browns to come through.
While whitewashing wood grain is still shown through. The white gives a clean look to the furniture, without taking away the natural warmth of wood. Whitewash is achieved using a latex white paint that has been thinned.
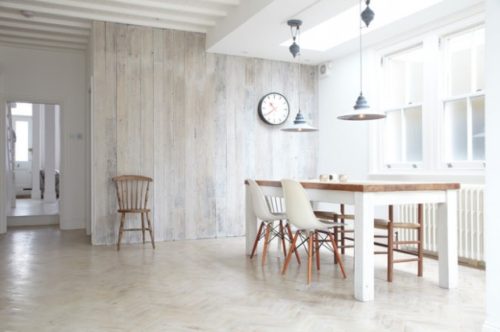
Whitewashing is very popular in bathrooms and kitchens, as it gives an overall clean look.
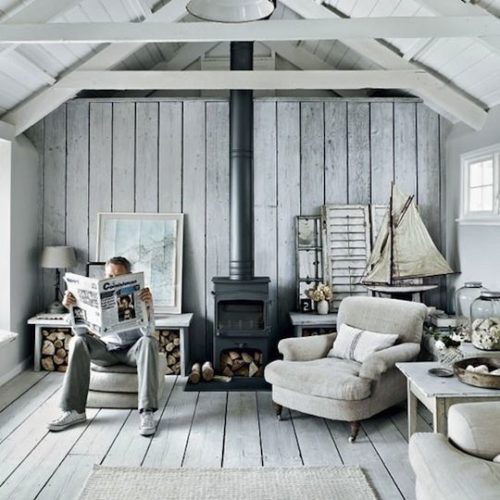
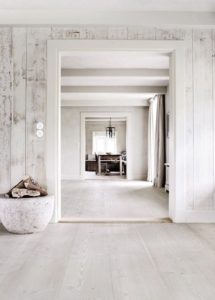
This homeowner took whitewashing even further and painted the walls and flooring of this room. Farmhouse kitchens look great with a little whitewash.

Okay, let’s get to the info.
Here are 7 tips that will help your whitewash furniture not only look beautiful but last!
#1 Tip: Test the Paint
Just like you’d look at samples of carpet, tile and wall paint, test your whitewash color first! Test the back of your project, or an extra piece of wood first to make sure it is what you are looking for. Adding paint is easier than removing it, and for that reason, I use the following recipe. Add as many layers as you’d like.
Mix together: 1 part water and 1.5 part white flat finish latex paint
#2 Tip: Clean your Surface
Before you jump into your DIY project, sand the furniture or walls with a grit of 60 or 80. Clean it with alcohol or a mixture of water and vinegar with a 1:1 ratio. This not only cleans your surface but it also dries out the surface so the wood absorbs the paint more efficiently.
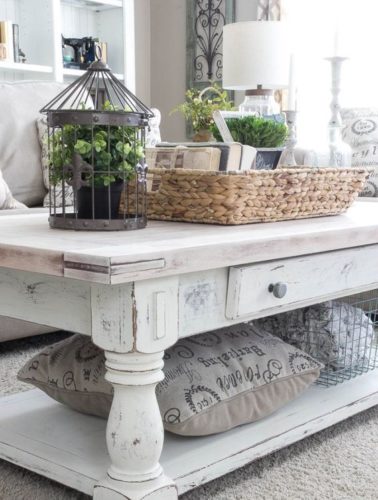
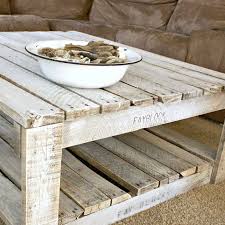
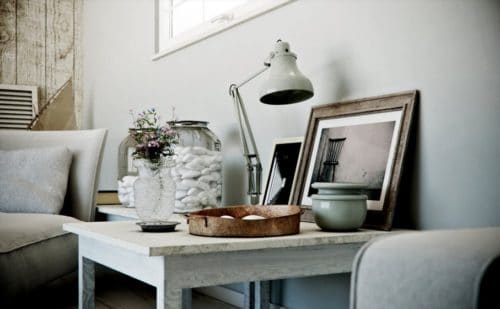
If you want the final look to be rustic like this coffee table you can begin painting after sanding with the 60 to 80 grit paper. If you’d like your piece to have a smoother finish, sand it one more time with a grit of 200 or higher. The higher the sandpaper grit the finer it is, and the smoother your piece will be.
I love using my hand sander for projects big and small, It is so much faster than sanding by hand, and it saves my arms from falling off.
#3 Tip: Have a clean workspace
This process of thinned paint will create lots of drips and mess so, make sure you have a drop cloth under your piece. Use an old washcloth to soak in the mixture. Cloths work better than brushes, in getting in grooves and controlling the thinned paint. Slightly wring out the washcloth after you dip it into the paint, and rub over the entire piece.
Make sure to get complete coverage, avoiding overlapping areas. Rub the paint on slowly and evenly, along with the wood grain. You can always add more coats of paint, but you can’t take them away very easily.
#4 Tip: Altering the Amount of White
Remember that wood absorbs water and paint. Several hours after you paint your project, don’t be surprised to see it more wood than you did before. Whitewash tends to lighten with time. Wait several hours or even a day on large projects, before you add or take away paint.
If your wood is a little too white, you can take light sandpaper and scruff up edges of the wood to show more grain. You can also rub the paint with a wet cloth to lift some of the set paint. To achieve and more solid white paint, add 2-3 layers of whitewash to your project.
#5 Tip: Seal it correctly
Sealing whitewash is not required, however, you may choose to do this step. If you have a high-traffic piece such as a kitchen table finishing will keep your piece looking beautiful over time. Use any water-based sealer over the surface with a brush, using long strokes. I use this sealer on almost all my projects. If the white paint you used was alkyd- or oil-based it will turn yellow, so use urethane varnishes such as this one for a great seal on oil paint projects.
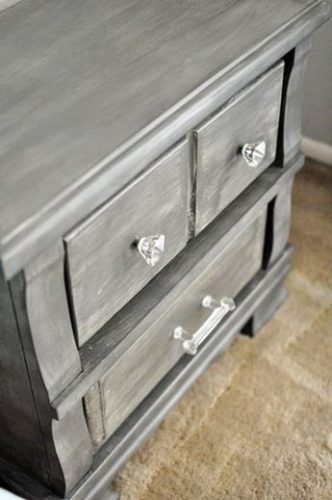
#6 Tip: Use other Colors
Did you know you can use this technique with any color of latex paint? Check out this beautiful graywash nightstand.
This “blue wash” dresser looks like it belongs on a french farmhouse, I love it.
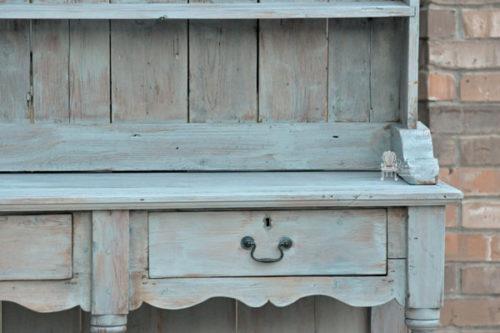
If you love the grain of the
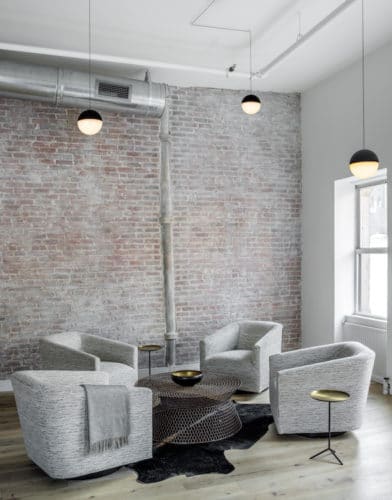
#7 Tip: Branch out to Brick
We have all seen how brick is taking over every kitchen across the country. Brick brings texture and warmth to a room and is a common element in farmhouse homes. Whitewashing brick is just as popular and in some areas more popular than traditional red brick.
When you are whitewashing brick follow the same steps as you do with wood. Clean the brick, and use the same ratio of paint vs. water. Apply with a rag in even coats. That is it. What??! Yes folks, it is that easy!
There is no need to seal the brick. Note that brick is a porous material and will soak up the wash like wood, so wait for several hours before adding more layers.
Whitewash is such an easy way to add texture and a different element to your home. I wish you the best on your project. If you have any questions or comments please reach out to me. I love hearing from readers!
Check out more farmhouse inspiring images here: 10 Painting projects for a Farmhouse Look or learn how to tackle that kitchen table: 12-amazing-farmhouse-table-tutorials
Love these tips? Pin this article for later with your favorite pin!