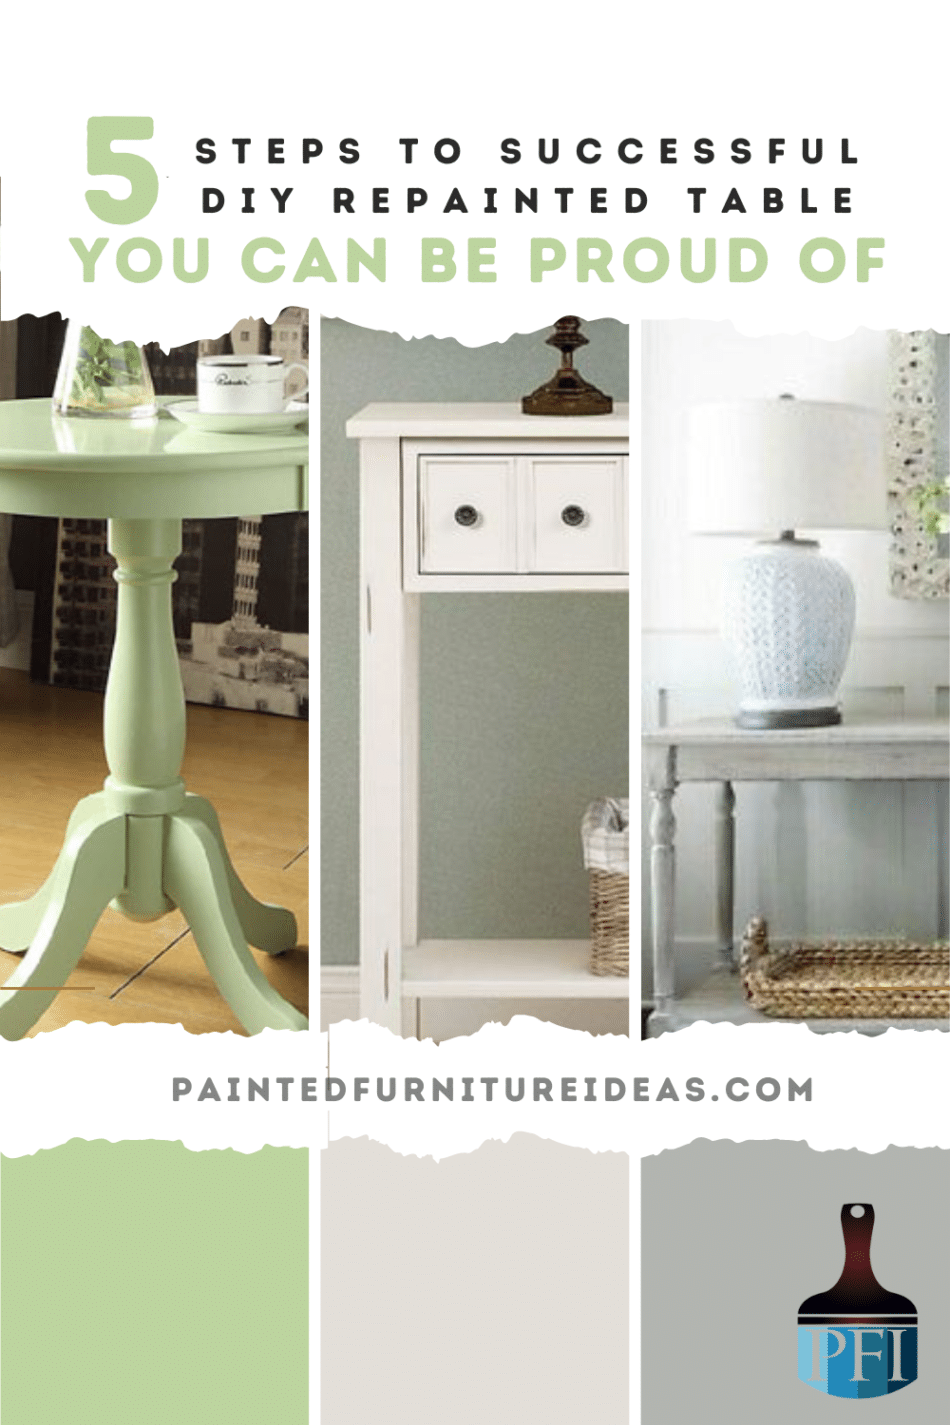
Are you looking to spruce up your living room without breaking the bank? Repainting an old side table can breathe new life into your space while giving you the satisfaction of a DIY project completed. With a bit of creativity and elbow grease, you can achieve a professional-looking finish without spending a fortune. Let’s dive into the step-by-step process of revamping your old side table.
Step 1: Preparation is Key
Before diving into the painting process, it’s crucial to prepare your side table properly. Start by cleaning the surface thoroughly to remove any dust, dirt, or grime. Sand down any rough patches or old paint to ensure a smooth surface for the new coat of paint. Don’t forget to remove any hardware such as knobs or handles that could get in the way of your painting process.
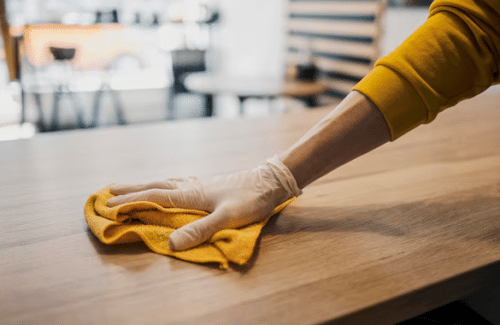
Tip: Use a tack cloth to wipe down the table after sanding to remove any lingering dust particles.
Step 2: Prime for Success
Priming your side table is essential for achieving a professional finish and ensuring the paint adheres properly. Choose a high-quality primer suitable for your table’s material, whether it’s wood, metal, or laminate. Apply the primer evenly using a brush or roller, making sure to cover the entire surface. Allow the primer to dry completely before moving on to the next step. I prefer using a spray primer for this step, it is faster and ensures an even coat. I always use Rust-oleum brand.
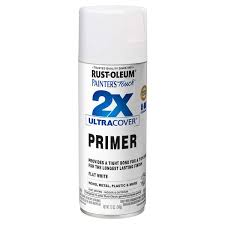
Tip: Opt for a primer with built-in stain-blocking properties to prevent any old stains from bleeding through your new paint.
Step 3: Paint with Precision
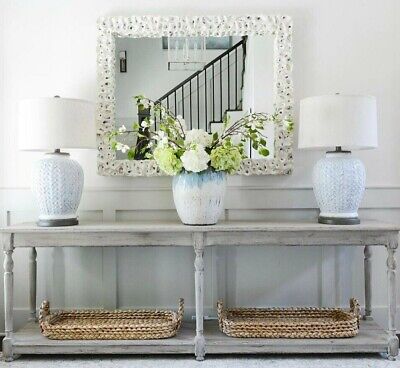
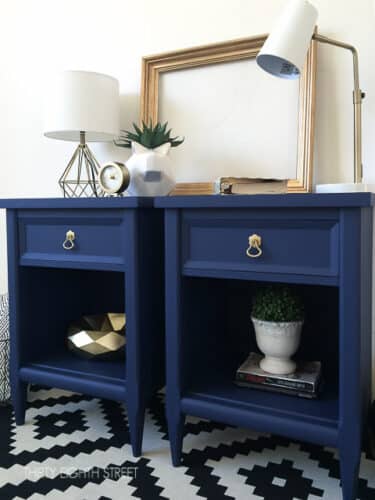
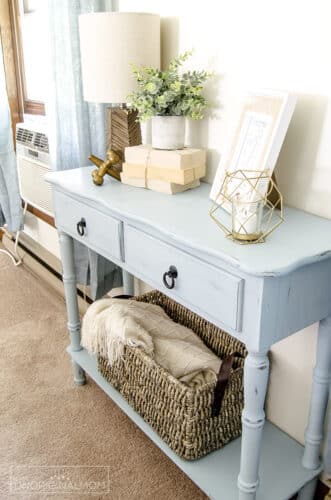
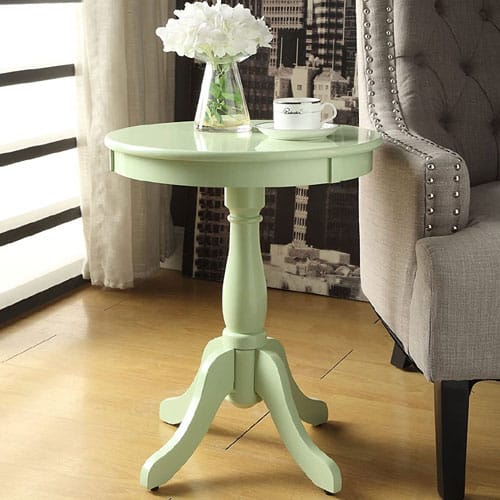
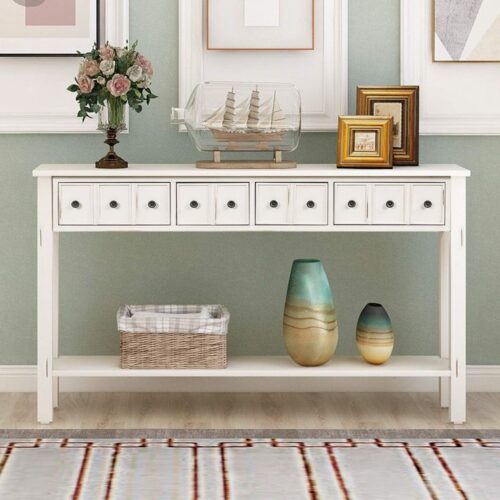
Now comes the fun part – painting your side table! Select a paint color that complements your existing decor and personal style. Whether you prefer bold and vibrant hues or subtle neutrals, the choice is yours. Apply the paint evenly in thin coats, allowing each coat to dry completely before adding another layer. Don’t forget to paint the sides and legs of the table for a cohesive look. Use foam rollers to achieve smooth, streak-free results. I love these colors don’t you?
Step 4: Add a Personal Touch
Once the paint has dried completely, consider adding a decorative touch to your side table to make it truly unique. You could stencil a geometric pattern, apply a decal, or even hand-paint a design of your own creation. Get creative and let your imagination run wild – this is your chance to showcase your personal style and flair.
Tip: Seal the paint with a clear topcoat or varnish to protect it from scratches and wear over time.
Step 5: Reassemble and Enjoy
After allowing ample time for the paint and any additional embellishments to dry, it’s time to reassemble your side table. Reattach any hardware that you removed earlier, such as knobs or handles, and give the table one final inspection to ensure everything looks perfect. Then, proudly place your revamped side table in its designated spot and bask in the satisfaction of a job well done.
Tip: Don’t be afraid to experiment with different painting techniques or color combinations to achieve the look you desire.
With a little time, effort, and creativity, you can transform your old side table into a stunning focal point for your room. Embrace the DIY spirit, and enjoy the sense of accomplishment that comes with giving new life to old furniture. So grab your paintbrushes and get started – your beautifully revamped side table awaits!


