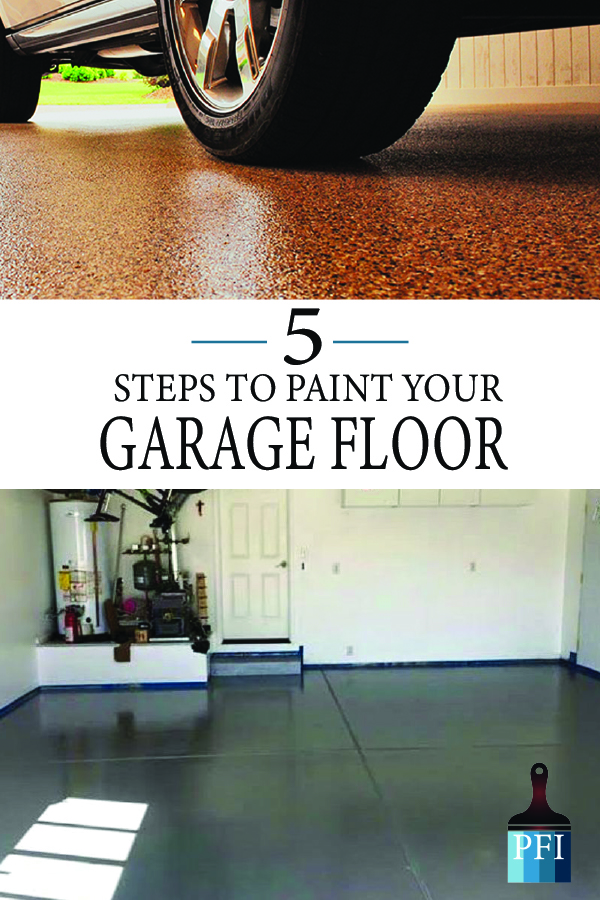
Painting your garage floor is a great way to spruce up your garage or create more living space in your home. Finally, there is room for that man cave!
The first step is to purchase high-quality paint or epoxy that is specifically designed for concrete. This is really important because concrete expands and contracts with the weather and also draws up moisture from the ground below it.
Using a paint not specifically for concrete will leave you with cracked paint that will peel off. Do it right the first time and save yourself the extra work.
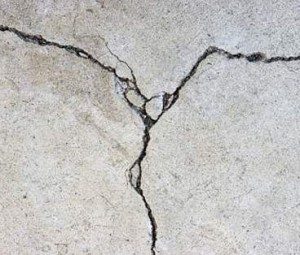
Before you start, make sure to fix any cracks or damaged areas. The floor needs to be completely filled. Here is a DIY Concrete Foundation Crack Repair Kit that will come in handy.
Check your local weather and make sure the temperature will stay above 50, so your sealer, primer and paint will cure correctly.
#1- Clean Up
You have picked your paint and are ready to apply it. Before you start painting, it is important to thoroughly clean the floor. Sweep that floor, then sweep again. Then sweep one more time, then you can clean it. I wish I was joking, but I’m not. You don’t want to trap any dirt under your paint so make sure you remove everything thing.
Use a concrete cleaner such as this one from Simple Green. Remove any grease stains with cat litter, and for any tough stains use muriatic acid with a pressure washer. Baking soda sprinkled on the acid washed area then rinsed, will neutralize the concrete.
#2-Seal the Concrete
Sealing is an important step. Sealing keeps moisture from the ground from being pulled up where it will cause the paint to chip and peel. This step will also prevent spills from staining the floor. Purchase a waterproofing paint, such as WaterTite by Zinsser. It rolls on smoothly and covers the concrete, protecting it from water.
#3-Apply a Primer
The primer gives your paint a sturdy base to stick to. This can also help cover up any previous stains on the floor. The primer you use will depends on the type of paint you plan to use. You may not even need a primer. Read about Types of Paint to Use on Your Garage Floor to see what is the best choice for the look you want to achieve. No matter which paint you choose, you have to have this MR LONGARM extension pole it will save your back from breaking and save you time painting. Start in a corner and work your way outward to the garage door.
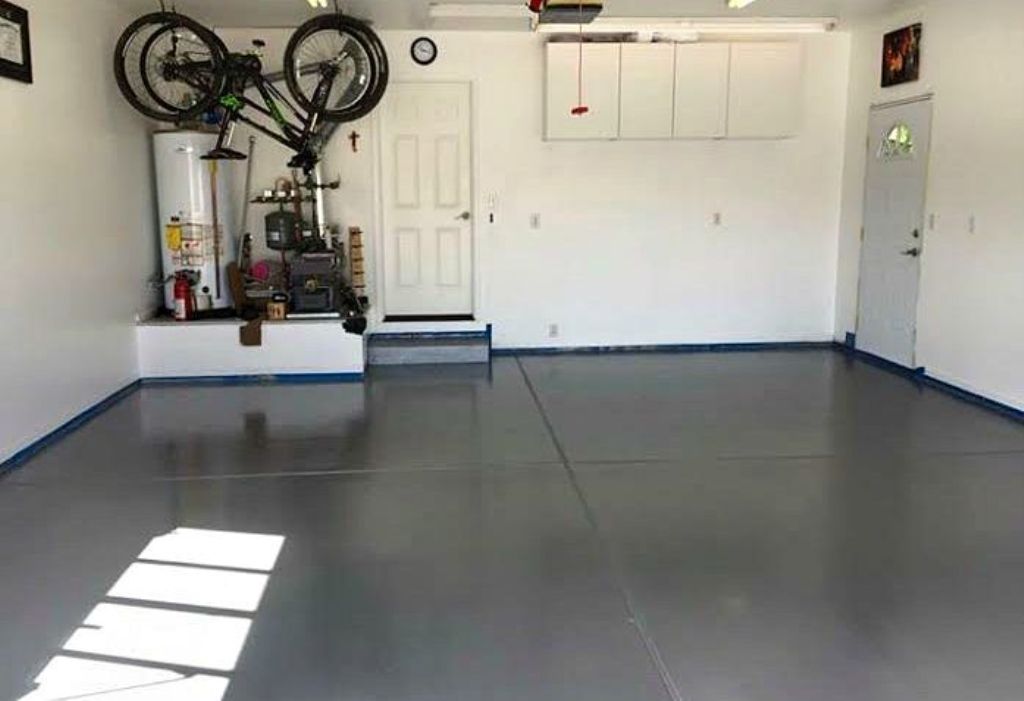
#4-Begin Applying Paint
Make sure you follow the manufacturer’s directions, including drying time. Most floors will require two or three coats and each coat of paint needs to dry completely before another coat is applied, which can take up to 6 hours with some paints. This is definitely a summer project, and plan on a few of days without use of your garage. It will be so worth it when it’s done!
#5-Allow the Floor to Cure
After the last coat of paint, make sure you let the floor cure for a full 24 hours before walking or stacking anything on the floor. This time ensures the paint is completely dry. Some paints may need more time, so read the back of the label on your paint to find out. I wish you the best of luck on your garage floor.
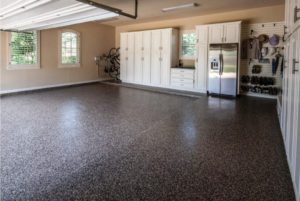
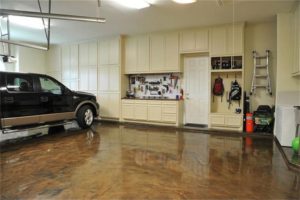
Need some inspiring garage floor images, check out these makeovers: Garage Makeovers to Inspire!


