Okay, so, picture this: I’ve been stuck with these eyesore pink tiles and gross gray-stained grout at my place for what feels like forever. That once pristine white grout? Yeah, it’s given up on life after all the foot traffic, making cleaning a legit nightmare.
And don’t even get me started on those cheap, super reflective pink tiles. They clash big time with my cream walls, turning my room into a sauna or something. I swear, it’s like the previous owners went for the most budget-friendly tiles they could find, no taste whatsoever.
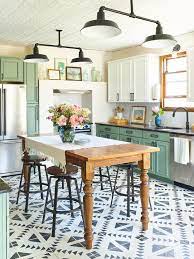
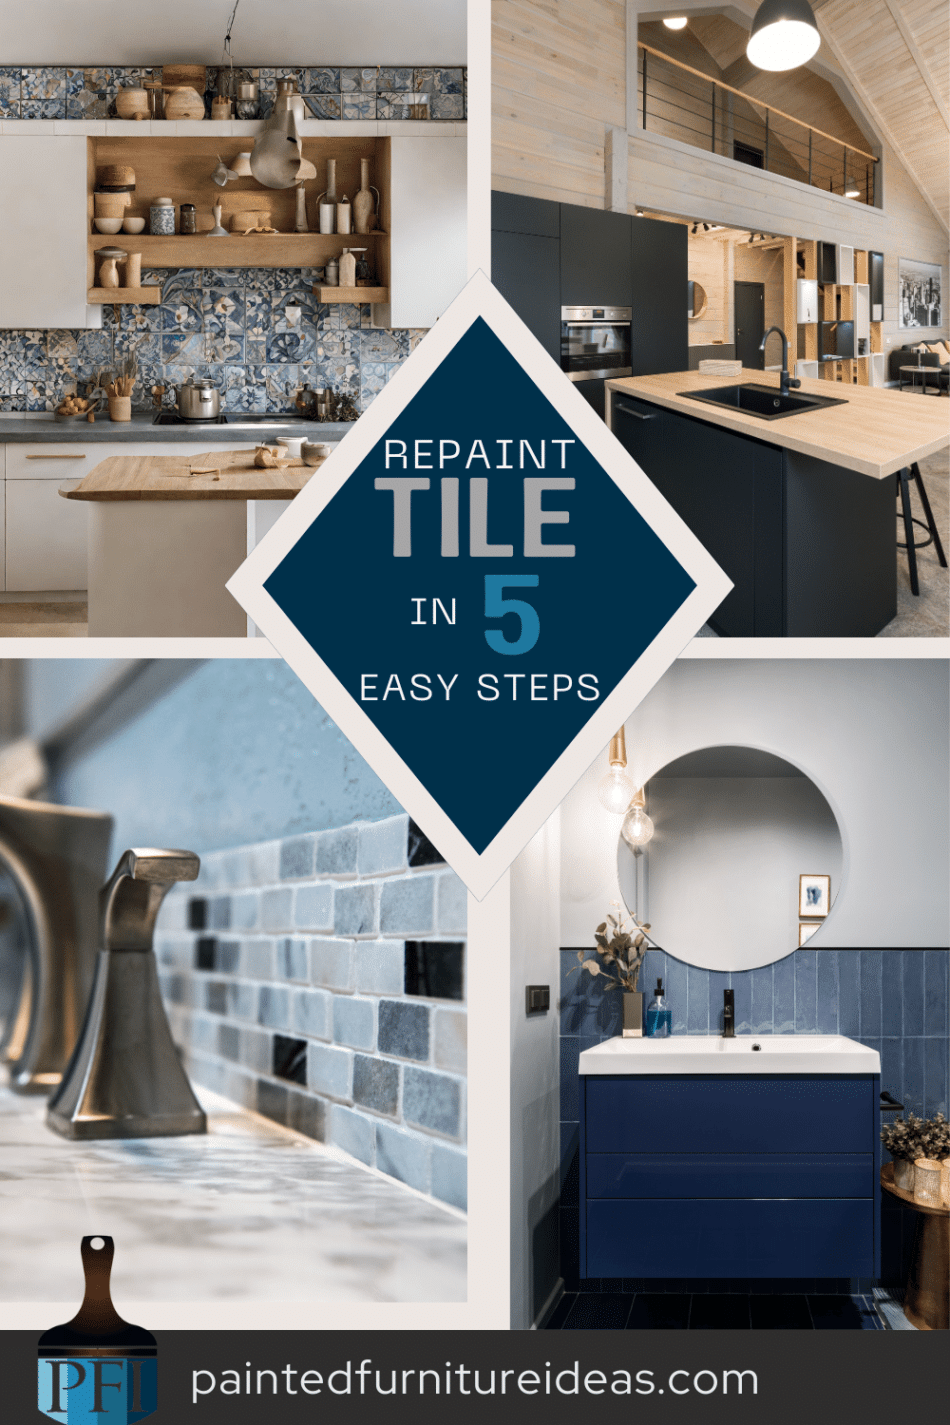
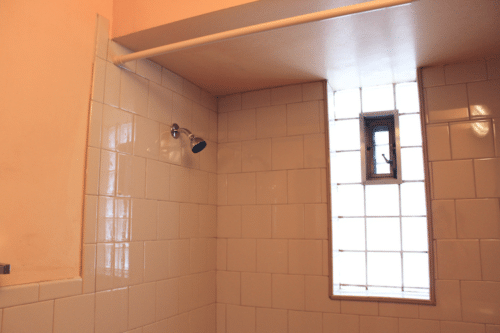
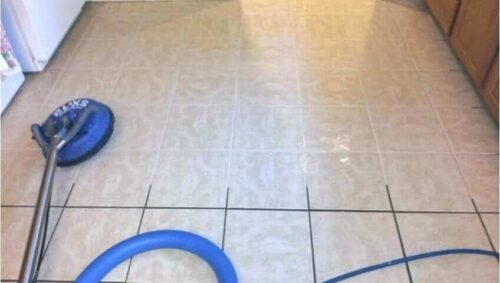
Now, if you’re going through a similar tile trauma—maybe your kitchen backsplash is straight out of a time capsule or your shower wall’s got stains that give you the heebie-jeebies—it’s time for a change. Say goodbye to the old, and let’s bring in the new vibe with this super chill DIY tile repainting project. It’s not just easier and cheaper than retiling, but it won’t hijack your whole weekend. It’s like a triple win, you know? Check out these before-and-after pics, and you’ll see the magic unfold!
Before diving into the project, gather your supplies. You’ll find everything you need at your local hardware store: smooth-grade paint rollers, tile or flooring paint, and sandpaper, or a hand sander. Plan to avoid using the area you’re painting for at least 48 hours.
Step 1: Cleaning
Start by thoroughly cleaning your existing tiles using a simple Windex spray or warm, soapy water. Pay extra attention to the edges and textured areas if your tiles have any. For floors, mop by hand as typical mops might not suffice. Patience and a clean slate are essential to kickstart this project effectively. Dry the tiles completely using a towel.
Step 2: Sanding
Gently sand the tiles to create a textured surface for the paint to adhere to. Employ a hand sander to expedite this step. Wipe away all the dust created by the sanding process from the tiles. If you’re working on the floor, vacuum thoroughly.
Step 3: Taping
Allocate a little chunk of your time, like a brief interlude, to the meticulous task of applying painter’s tape strategically around key areas such as toilets, outlets, trim, baseboards, or countertops. This thoughtful pre-painting ritual serves a dual purpose: not only does it create a safeguard against accidental spills and splatters on surfaces you’d rather keep paint-free, but it also lays the groundwork for achieving those sharp, clean edges that give your paint job that professional finish. So, peel off a few strips of painter’s tape, embrace your inner precision artist, and pave the way for a painting project that’s as neat as it is aesthetically pleasing.

Step 4: Painting
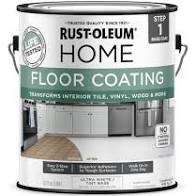
Now, the real fun begins! Opt for an epoxy acrylic paint, such as Rust-Oleum’s porcelain finish, ideal for a durable surface. If the project involves spaces with increased moisture or heat, consider Rust-Oleum’s “Home” line designed specifically for flooring.

You won’t need much paint, even for multiple coats. Apply the paint thinly in the first coat, especially on grout lines, using a brush. Use a roller for the tile areas, employing a back-and-forth rolling motion to prevent visible lines. Let it dry for six hours and store the roller in a baggie to prevent drying.
Apply a second coat, brushing the grout lines and using the roller on the tiles.
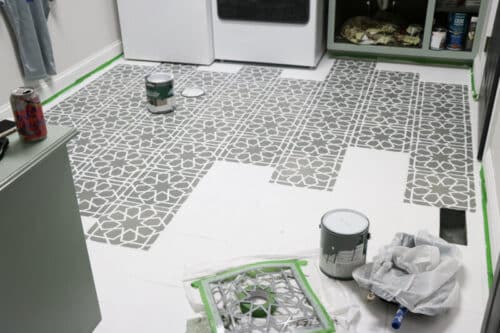
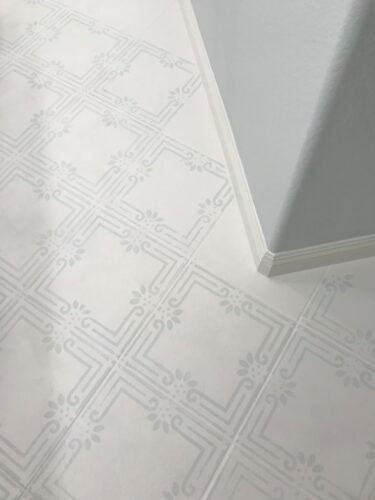
Optional Step: Stenciling
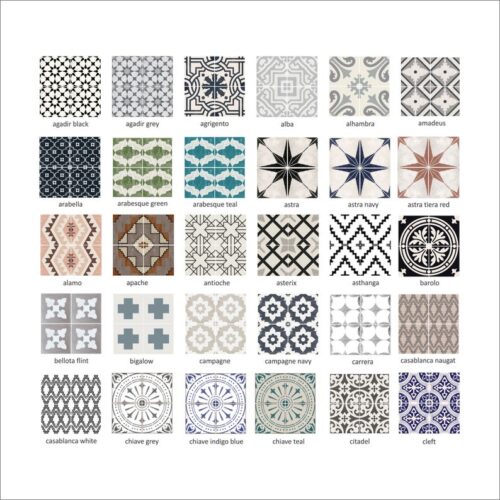
If you wish to add a stencil design to your tiles, now is the time. Secure the stencil in place with glue dots and roll the paint over it. Lift and repeat the process. Allow two hours of drying time before proceeding.
By following these steps meticulously, you can transform your outdated tile into a fresh, rejuvenated space that breathes new life into your home. Say goodbye to the old and welcome the revamped, all without breaking the bank or spending days on laborious tiling!
For an article about repainting brick check this article out