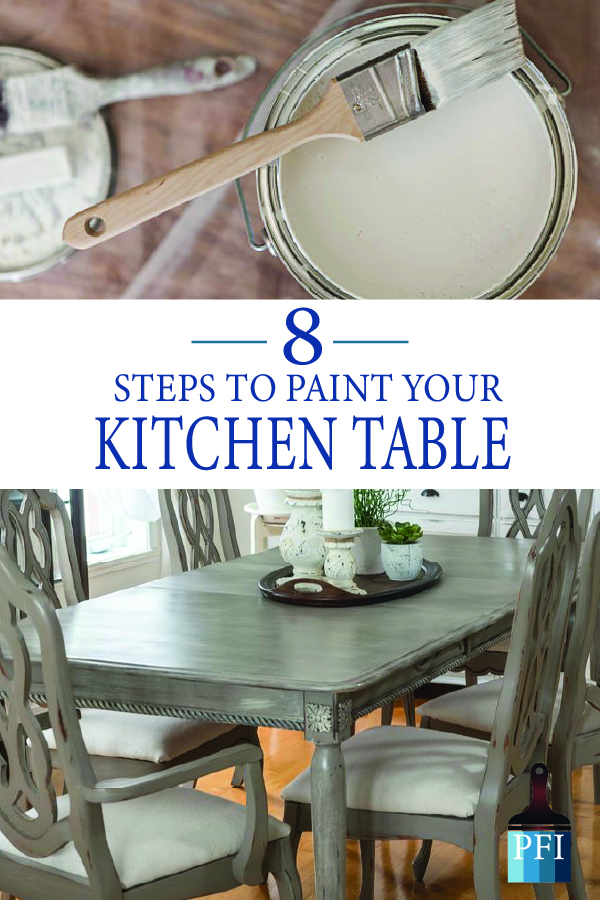
We all have one, and it is the focal point of every kitchen. Your table. Not only is this where our family eats but it is where card games are played, homework is done, and memories are shared. If you are repainting your dining table, it needs to be durable and beautiful. Here are some tips to getting better results on how to paint a table.
1. Fill holes and cracks
Start by filling any cracks or holes in the table with a good wood filler. Make sure to follow the instructions and let the filler dry to a point where you can sand it smoothly and flush with the rest of the surface.
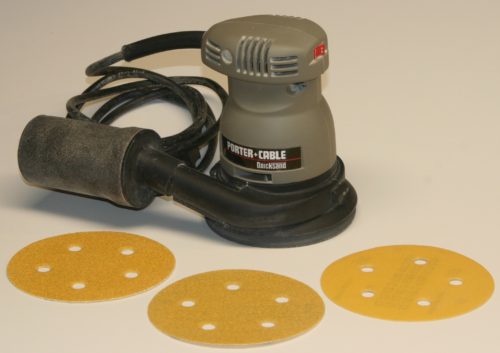
2. Sand
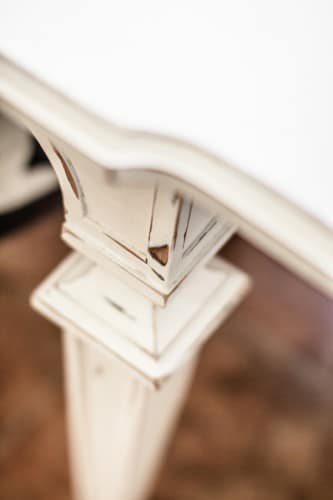
Once all of the holes and cracks are filled, sand the entire piece. The primary goal is not to strip away the surface entirely but to create a mildly rough texture conducive to primer adhesion. This process involves gently sanding the surface to scuff it up, ensuring a smooth and uniform finish. Additionally, pay attention to any remaining blemishes, ensuring they are adequately smoothed out during this phase. Removing any glossy or shiny finishes is particularly important, as these surfaces can hinder the primer’s ability to adhere effectively. By eliminating shine and achieving a uniformly scuffed surface, you set the stage for optimal primer application, enhancing its adhesion and ensuring a flawless final coat of paint.
3. Clean Thoroughly
Once you have sanded over the entire piece, clean and wipe down all surfaces thoroughly with Windex or another ammonia-based cleaner. Make sure you have removed all the dust from the surface. Dust will make it difficult for primer and paint to adhere.
4. Prime
I always use a good oil-based primer like Rustoleum’s Cover Stain. You can roll, brush on or spray the primer one. Spraying primer out of a can is the pricier way to go, but it also goes a little quickly and works well for priming beveled edges and detail that might be difficult to roll or brush.
5. Sand
Once the primer is ready for recoating (check the back of the can for the time on this), add one more layer of primer. Some projects only need one coat. The kitchen table gets hammered and it needs two coats of primer. Take a minute after the primer is all dry and look for imperfections, rough spots, drips, etc and sand those smooth.
6. Clean Again
Wipe down any spots that were sanded after priming. Don’t skip this step! It seems unneeded but tiny particles of sanded wood covered in paint become big clumps and will result in a bumpy texture.
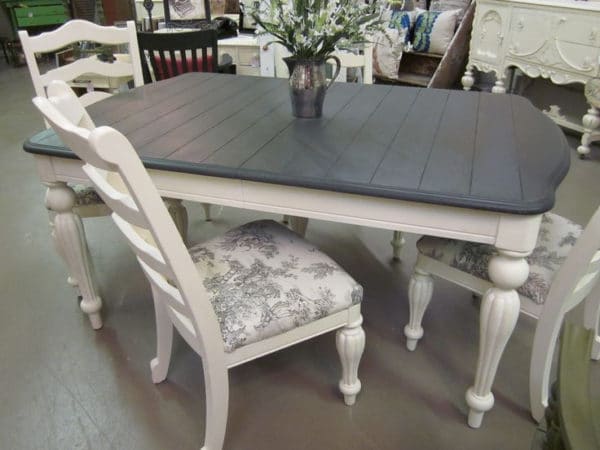
7. Paint (3+ coats)

Now you can roll, brush or spray your latex paint on. Make sure to let the first coat fully dry before applying the second coat. Your first coat should be very thin! Almost where you can see the wood underneath. Check for blemishes after the 1st coat and sand those down before applying the second coat of paint. These coats should be THIN. Three thin coats are the same amount of paint as one thick coat, but the three will have dried and hardened, creating a more durable table in the long run.
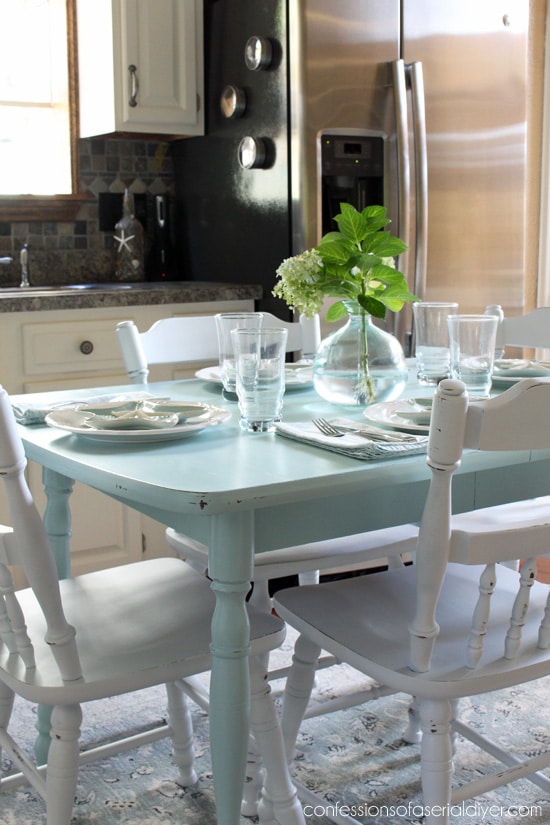
The 3rd coat of paint is a good idea, for extra durability. If your table is like mine it gets used a lot. Two coats are enough only if you are going to distress your table like confessionsofaserialdiyer.com did on this table.
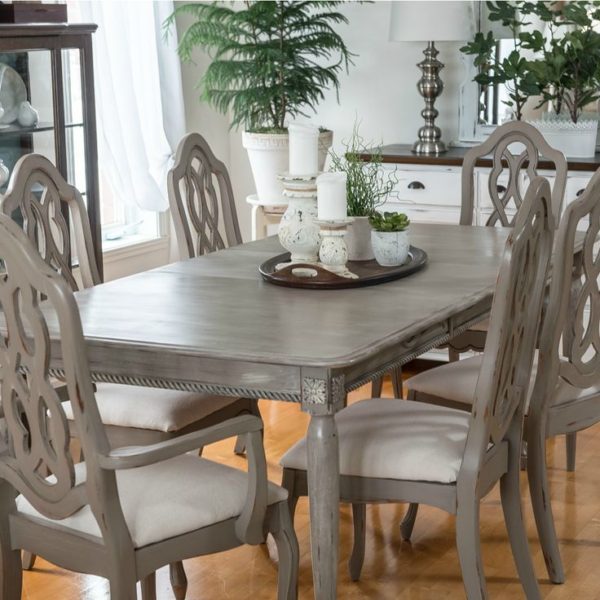
8. Clear Coat
For a kitchen table, ensuring durability on its surface is paramount. It’s crucial to apply multiple layers of a clear finish to fortify the tabletop. Personally, I recommend using polyacrylic as the clear coat of choice due to its water-based composition. The application methods vary; you can opt to brush, roll, or use a paint sprayer for the clear coat. However, my preference leans towards brushing or employing a paint sprayer rather than using an aerosol can. The reason being, aerosol cans tend to yield uneven finishes, especially on larger surface areas.
Now that your table boasts a splendid finish, preserving its pristine state requires patience. Allow it to cure for a minimum of four days. During this period, refrain from placing anything, not even a napkin, on the table. This waiting period is crucial as it ensures the paint not only dries but also forms a robust, hardened coat. Although it might be challenging to abstain from using the table, it prevents unsightly indentations from forming where plates and cups once rested.


