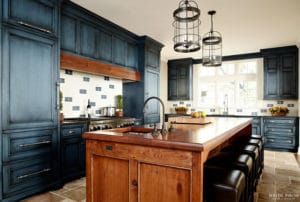
Glazing to cabinets is like hot fudge to ice cream, it’s just a perfect combination. Glaze gives that added depth and dimension to otherwise plain painted cabinets. I absolutely love the look of glazed cabinets, it’s sophisticated and elegant and really boosts the overall look of your kitchen. Best of all, it’s easy to do yourself.
By definition, a glaze is a semi-clear coat that is darker than your paint color. It is applied on top of fresh paint and then wiped off quickly which leaves behind a nice dark outline along edges and details.
The best thing about glaze is that it is forgiving and easy to work with. If you mess up, you can wipe it off and try again. There is literally no regrets when working with glaze. So why wait? Let’s get started!
STEP 1
It’s best to apply glaze to freshly painted cabinets. This ensures you’re not glazing over old dirt, dust, or grime. If you aren’t planning to paint your cabinets, at least give them a rrreeeaaaallllly good cleaning. Use a degreaser and a liquid sandpaper and allow them to dry completely. It’s best to remove the cabinets off the hinges and remove the hardware completely.
STEP 2
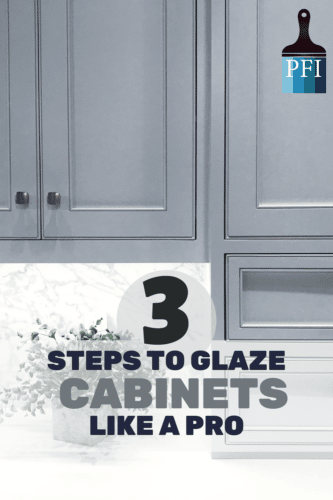
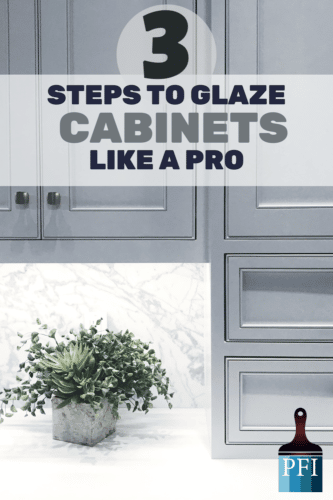
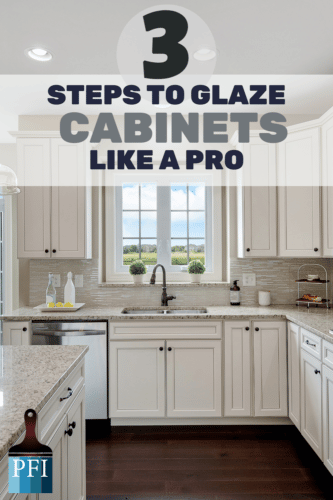
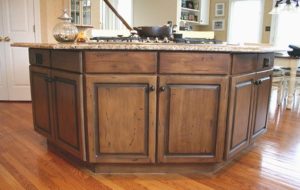
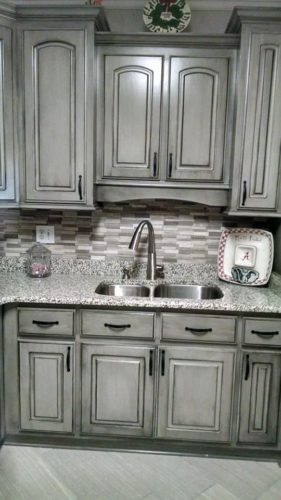
Choose a paint that is a lighter color than your desired glaze. The glaze will darken the original color by about 2 shades. You can choose virtually any color/glaze combination. The most popular paint color is white, because the glaze shows up easily to create an antiqued look. You can glaze wood-stained cabinets, colored cabinets, or grey cabinets with dark brown or black glaze. If you choose white paint, make sure you use WATER based paint such as acrylic or latex. Using an oil-based white will result in yellowing over time. Unless of course, you want that antique look.
STEP 3
When the cabinets are ready, start glazing by using a rag or paint brush to apply the glaze, it will look messy and a little scary, but don’t worry. This is the hardest part. As soon as you apply the glaze, wipe it off in one direction.
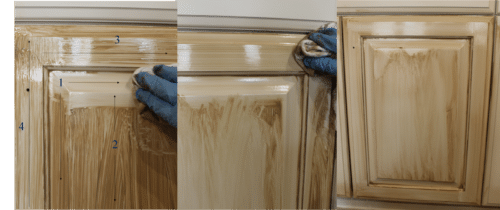
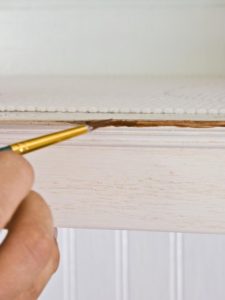
The stronger you wipe it off, the less color it will leave on the cabinet. As you wipe the glaze will stick to the corners, edges, and details, giving it that perfect antiqued look. I like to have a partner for this part, so one of us can paint on the glaze, and the other can wipe it off. Glaze dries quickly and darkens slightly over time, so allow it to dry completely before you decide to make it darker. If you aren’t happy with the look, use paint thinner to remove the glaze completely. If necessary, you can use a paint brush to make the glaze appear darker in specific areas. Wipe lightly to blend in with the rest of the cabinet while leaving the color where you want it most.
Sealing glazed cabinets is not necessary, but a varnish or laquer finish can help the glaze to last longer and prevent cabinets from looking worn. Only apply a finish after the cabinets are completely dry and let the cabinets cure for 48 hours before applying hardware and reinstalling them.

Glazing can transform cabinets like nothing else can. It changes the entire look of a kitchen and takes painted cabinets to a whole new level without spending thousands of dollars on a full remodel. Like always, if you have any questions or suggestions, comment below!
If you enjoyed this article and want to remember this project, save a pin of your choice below!