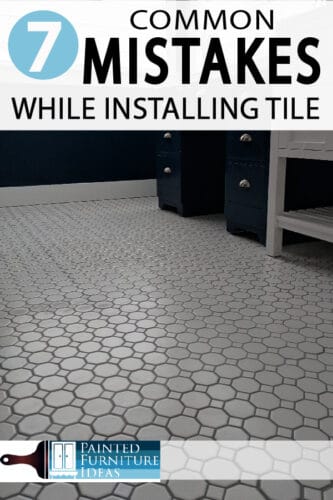
Installing tile is simple. You prep the surface lay mortar down and place the tile, finish with grout and your done! Right? Yes, and no.
Professional looking tile installation requires patience and your inner OCD soul. You are literally cementing your work into place, so you will want it to be perfect. Avoid the following common mistakes, during your DIY tile installing project for a finished product you can be proud of!
Not Preparing Surfaces
Your surface must be prepped! All surfaces need to be free of any moisture. Shower walls need to have a plastic paint-like product, such as RedGard, which is a waterproofing agent.
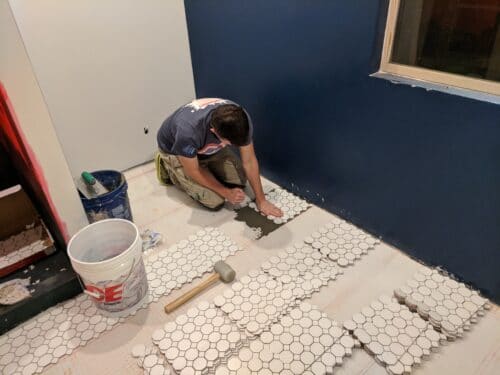
Floor areas need to have underlayment installed to prevent future cracking or tenting, of tiles.
Underlayment (the orange material below) prevents subfloor cracks, provides soundproofing, and lifts tiles above the subflooring slightly to prevent any moisture to reach the tile. Obviously, underlayment does add to the cost upfront. However, fixing cracked tiles down the road will most likely cost you more than what you saved skipping this step.

When working on underlayment, use boards as we did here, to kneel on as you work, to keep the integrity of your flat floor.
Not purchasing enough Supplies
Many people, don’t realize that tiles get chipped or crack while you are cutting them. Mortar and grout can spill. Purchase more than you think, to off set any issues you may have during installation.
Before you purchase any supplies, calculate how many square feet you are tiling. You will use this figure often so keep it handy.
Mortar: This usually comes in one size bags, and it’s fairly cheap. Purchase enough for your job, and then get one more bag. Lowes and Home Depot have great return policies, and now you know you will have plenty. Mix half the bag at a time, to insure you don’t create unneeded waste.
Tile: They say to purchase 10% more tile than you think you will need, to compensate for mistakes, and cut tile. I would buy 20%. Again, most stores will allow you to bring back tiles, individually even, so purchase more, stress less.
Trim Pieces: Don’t forget to pick up your corner, and edge pieces. These are often small and have a talent for getting lost, or breaking, so again, buy an extra one or two.
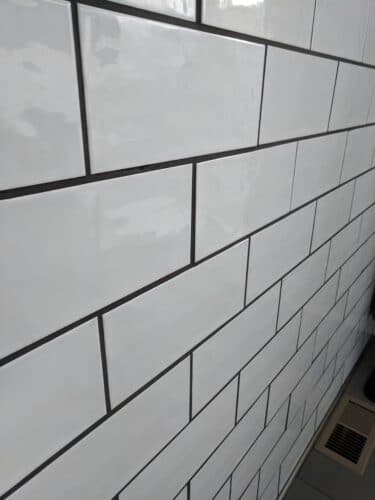
Not using Tile Setters
No you can’t just eyeball it. Tile is set in concrete, so you want it to look good. Make sure you use tile spacers or tile setters. There are many options available. The cheapest method are rubber tile spacers. These are okay. But they aren’t the greatest to use.
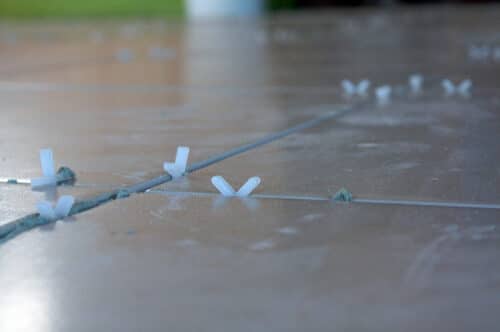
They are rubber, and so they have some give, which allows your tiles to move slightly, creating uneven spaces over time. These rubber tiles also don’t prevent lippage, or uneven tiles. This tile job turned out so uneven, that won’t be fun to clean.
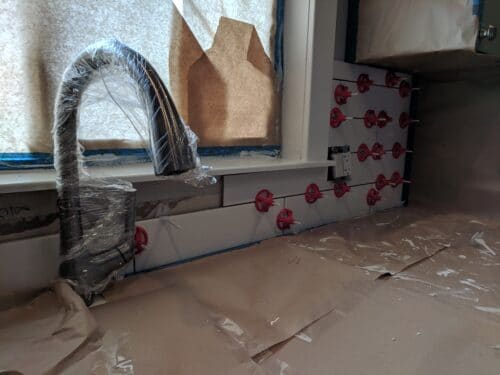
I like to use Spin Doctor tiles leveling spacers. They are more expensive, but create flawless tile spacing. The white spacer is plastic, creating a firm tile space, and the red spin system levels the neighboring tiles to be… well level. After the tiles are set, you simply unscrew the red caps, and bump out the plastic spacers.
Use the Right Trowel Size
On my first tile job, I made this mistake. I figured a trowel was a trowel, and it won’t make that big of a difference what the size was. It didn’t take too long to see that my tiles weren’t sticking firmly to the wall. Guess why? Wrong trowel size!
Make sure to use a stainless steel towel for large jobs, and stick with a square notch system. All tiles offer a recommended trowel size on the packaging. Follow there instructions. The following are general guidelines:
¼” x ¼” square notch trowel = 4”-8” tile
¼” x ⅜” square notch =8”-16” tiles
½” x ½” square notch trowel =16” tiles or larger
Assuming walls are 90 degrees
Most of our walls are not 90degrees. Wood has moisture and so the 2x4s your home is built on expands and contracts, creating bows in walls and uneven walls.
When you are laying tile on the floor, don’t start against a wall, assuming that will help your tiles stay straight. Find the largest straight row, and mark the wall with a level chalk line. Use that chalk line as your guide.
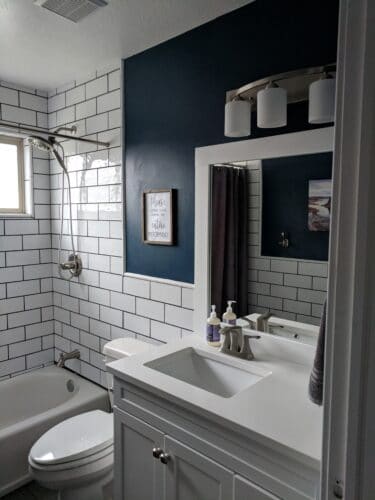
If you are laying tile on a wall, make sure your walls are flat. Most likely you will need to take thin-set mortar and fill in gaps and divots to create a perfectly flat surface. This obviously needs to dry before you add more mortar that will adhere the tile to the wall.
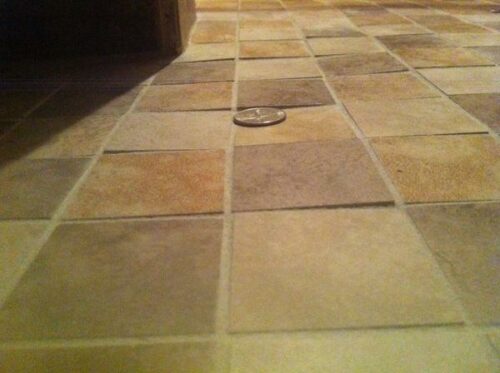
Forgetting to double-check high Mortar
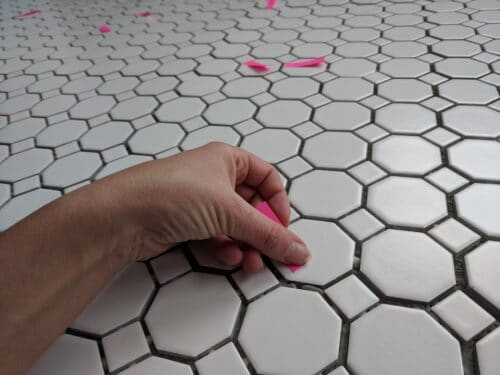
Hold off on grabbing that grout just yet. Once the tile is laid on the mortar and completely dry, double-check for high areas. Here is a photo of just that, I marked any high areas, with post it note tabs. Then go over these areas with a tile tool, or a flat head screwdriver. The mortar will easily be removed between the tiles. If this step is skipped you will no doubt have mortar sticking above your grout, ruining a seamless tiling job.
Grouting too quickly
You want your tile job done, and you want it done now. I get it. Trust me after tiling until the late hours of the night, I really wanted to break this rule. My wise husband, the most more patient one, reminded me that in time, I would be happy I waited the full 24 hours.
Sure your thin-set mortar looks dry after a few hours, but it isn’t set, keeping your beautiful tiles safely in their spot, until it has cured… 24 hrs after installation. Besides, you arms probably need the break anyway.
Wait the full time to apply the grout, to avoid the mortar cracking, or crumbling over time. Do it once, and do it right.
I hope these common tiling mistakes have given you the needed information for you to have a perfect project. Tiling is simple and very doable, but it does require patience and attention to detail. Good luck with your tiling project, and if you have any questions comment below!