
Let’s be honest, we all want a beautiful finished project. We spend countless hours scouring Pinterest for the right colors and patterns to create the HGTV-magazine-worthy, the Joanna-Gaines-approved, and the now-everyone-wants-to-do-it-too type of finished project. No one dreams about sanding. This part isn’t glamorous.
It takes time, patience, and lots of muscle. Have you ever tried to sand an elaborate claw table? It’s not easy.
Or fun.
The intricacies of curves, nooks, and crannies are enough to make most DIY-ers raise the white flag. You don’t want to go through all the trouble of painting or staining furniture just to have it look dingy and imperfect, do you? I didn’t think so. This is why we sand!
1- Blanket of Wood
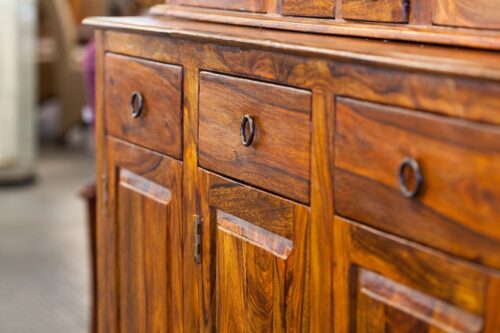
The first benefit is the one most of you already know about. Sanding smooths out your work surface. Now you might think your wood project is smooth already- look at those nice cut lines…feel again. Smooth wood should be so soft, it is like a blanket of wood! To really uplevel the finished project, sand your project until it is this smooth. Start with 80grit, then work up to 320 grit…using about 3-4 different grits between those two endpoints.
2- No Chips
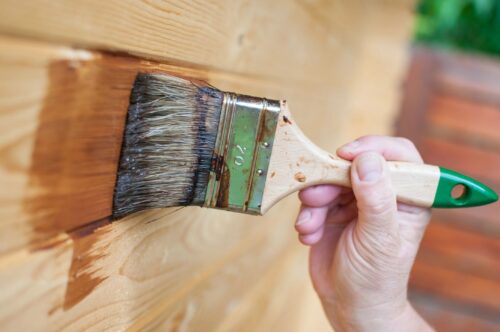
Sanding prevents your paint from chipping in the future. But how? Sanding removes any current surface, and then as those aluminum oxide papers rub back and forth they create little rivets. These highs and lows are only seen when looked closely “grab” onto your paint. The paint adheres much stronger than before, and your paint stays put. Years later you will be happy you took the extra time to sand your DIY project before you painted it.
3- Goodbye Scratches
People are funny. People think that painting over something will cover up any scratches or dents..with enough coats it will just fill it in right? No, it won’t. Painting away scratches will leave you with thick paint, wasted supplies, and….wait for it… scratches! Sometimes depending on the color, you are using, the scratches can be even more visible after being painted. Say goodby to scratches and dents, and sand before you paint!
4- Childproofing
Many furniture items are made with sharp 90 degree angles. Sanding the edges slightly, with a high number grit will make a child-friendly piece of furniture. This also will help your furniture be protected from dinging the corners and maintain the integrity of the piece.
5- Self Cleaner
Sanding your project is also cleaning your project. If your wood has dirt, rust, or mill glaze, which is the shiny “finish” wood can get when cut, you can remove all of these by sanding. Often these small imperfections are overlooked, but they all prevent paint from adhering to the wood correctly.
Sanding does take some time, but with a great audiobook and an electric sander, it really goes quickly. Taking the time to remove dirt, rust, paint, or stain is the best way to assure new finishes will adhere to your project, give it a professional look, and be as durable as it is beautiful.
Share these tips with the following pin!