I can’t believe it is a new year already. I love the natural boost I get each January, to start new! My mind often wonders to, what projects I will conquer this year. The top on my list? My daughters dresser. It is a 30 year old dresser that has odd antique handles, that I want to give a quick update to. Enter…paint!
Often, cabinet knobs and hardware draws the eye and gives character and style, but outdated hardware is an eyesore. Replacing it is often an expensive route, especially if you’re looking for an age-appropriate replica or unique style.
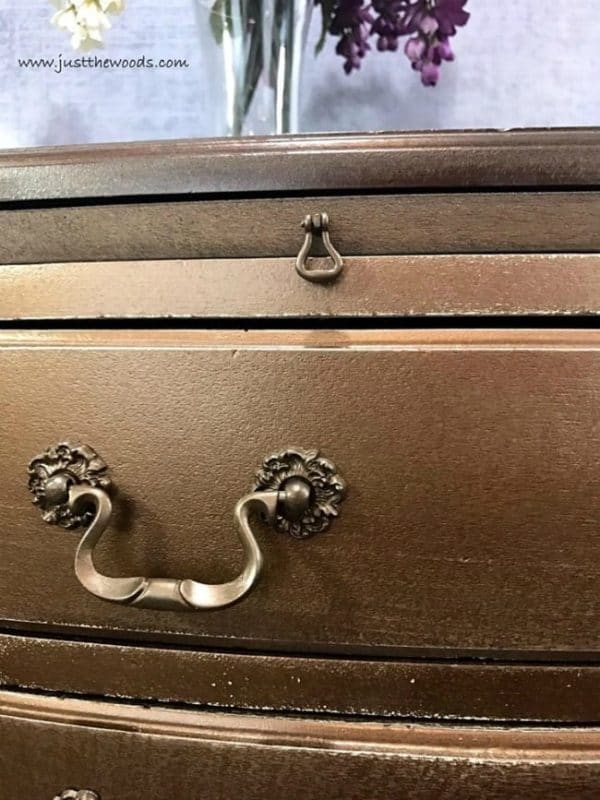
With nearly every piece of furniture I’ve redone I have found it easier, cheaper, and I get a better-looking result by using the original hardware. Some knobs and hardware can be spruced up with a little shining and scrubbing while others need a complete makeover.
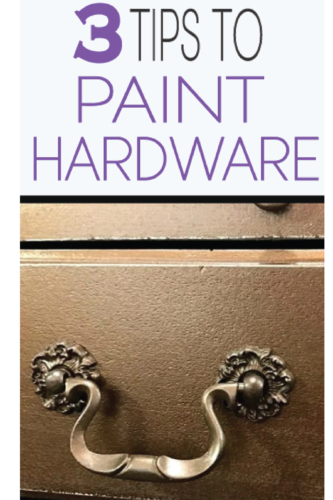
Save yourself the heartache and follow my three tips for painting knobs and hardware to avoid common pitfalls. You can thank me later.
1- Sand it
Yep – you read that right, sanding the hardware is perhaps even more important than cleaning it. Grab yourself some 220 grit sandpaper and go to down. When you’re done, wipe it down with a tacky cloth, or even a little alcohol swap to completely remove all the dust (and all the dirt that will come with it). Sanding combines two steps in one, by removing all the dirt but also giving the metal (or wood) a little bit of a rough surface so the primer (yes, I said primer) and paint will adhere nicely.
2-Shake, shake shake.
Spray paint is usually the obvious choice for painting knobs and hardware, and for good reason, but one of the most common mistakes when painting hardware is people don’t shake the spray paint enough. Maybe it’s because you’ve just finished painting a giant dresser and you’re tired, maybe it’s because they are so little you assume shaking the paint doesn’t really matter.

Either way, if you don’t shake your spray paint enough, you’ll get a little annoying gritty texture on your hardware that is amplified because it’s small, and it’s metal. So shake, shake, shake away. If you have to, set a timer for at least 3 minutes (5 minutes is even better). Then, and only then, are you ready to paint.
3-Drying
Hardware looks its best when it’s given even coats and allowed to dry in a place where it’s not touching the floor. If you lay hardware on the floor and then paint it, you’ll inevitably end up with uneven coverage. Instead, use a piece of scrap corrugated cardboard or shipping foam.
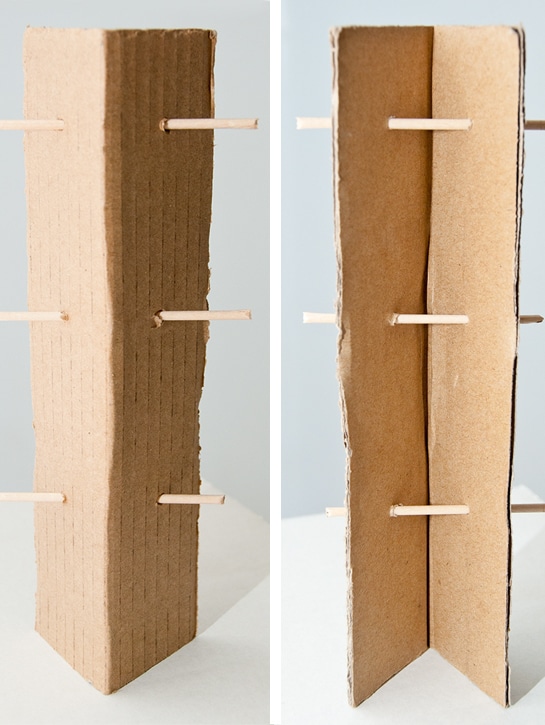
If the hardware has a screw backing such as a drawer pull, push the end of the screw through the cardboard or foam so the pull sits upright. You can also use an upside down egg carton for holding knobs while you paint.
There you go! Easy as 1, 2, 3. I generally use a metallic spray paint for hardware, like this spray paint from Rust-Oleum , but you can also have fun and paint hot pink, canary yellow, or a beautiful country blue knob if you’d like. If you’ve made mistakes painting hardware in the past, no worries, you can remove old paint with paint thinner and start again (assuming the knobs are metal). Happy painting!
If you are repainting learn more before you start here: 3 Mistakes That Cause Chipped Paint. I wish you the best on your painting project! If you complete a makeover, comment below and add a picture. I would love to see what you are up to in your home!
Photo Sources:
http://salvagedinspirations.com https://www.theweathereddoor.com www.younghouselove.com www.justthewoods.com

https://paintedfurnitureideas.com/3-tips-paint-hardware/ https://paintedfurnitureideas.com/3-tips-paint-hardware/


It probably would take a lot of sanding and can shaking to get the right texture for wood. I think it is important to make sure that you have the right hardware for jobs like this so that you can get the best, finished product possible. I’ll have to remember your tips so that I make cool things like you!