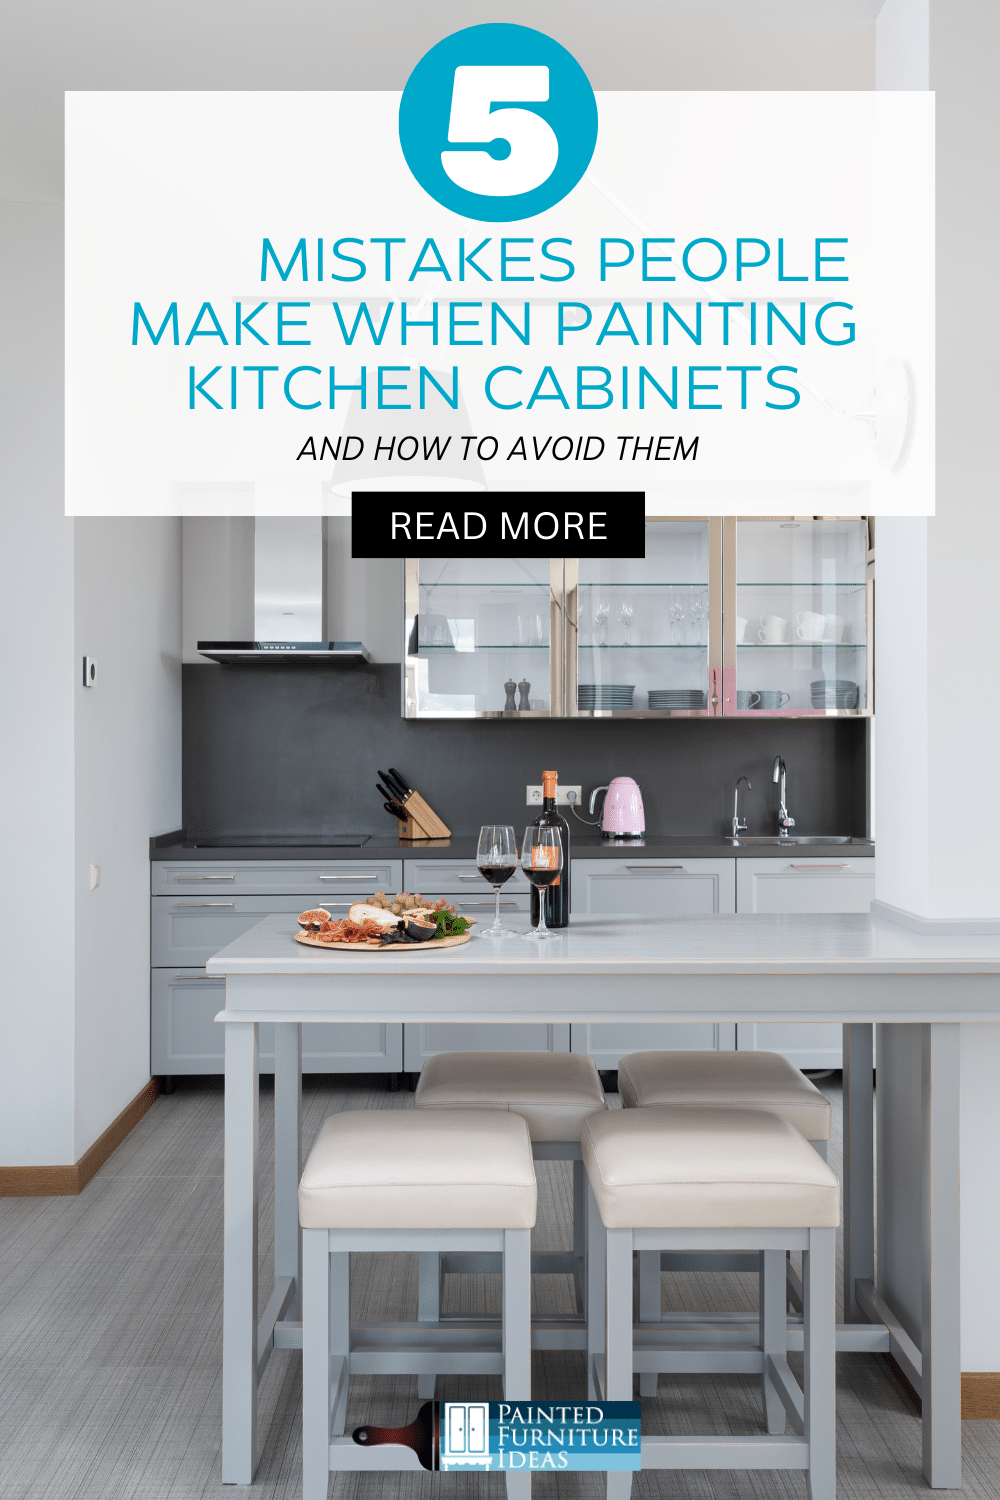
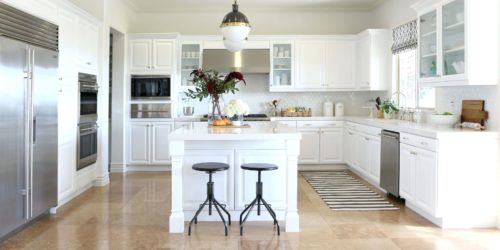
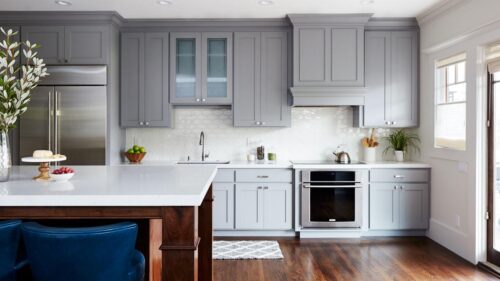
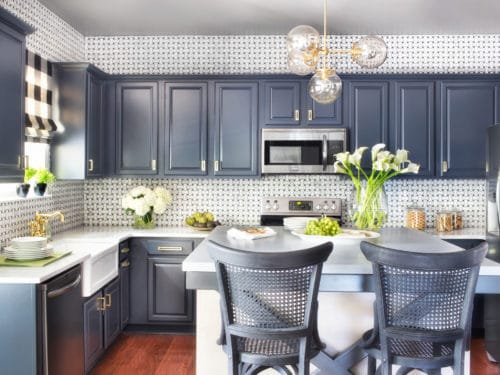
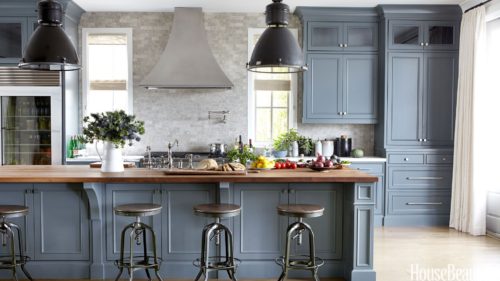
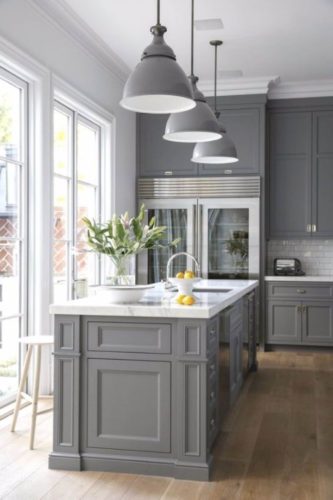
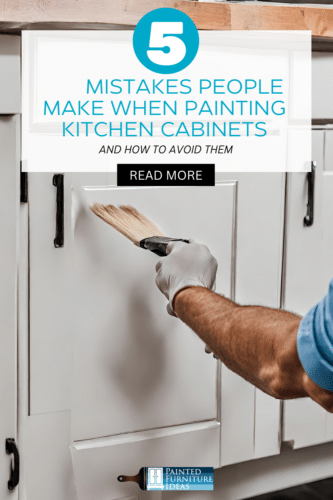
Applying a fresh coat of paint to your cabinets can truly transform your entire kitchen. With the availability of a variety of appealing colors and numerous DIY tutorials, it’s no surprise that the trend of painting kitchen cabinets is gaining popularity.
Undertaking the task of painting your kitchen cabinets is substantial and impactful; it’s something you’ll encounter every day.
Before delving into the common mistakes, it’s crucial to note that for a smooth finish, it’s highly recommended to bypass brushes and opt for a paint sprayer. Walmart offers affordable $50 paint sprayers, but be aware that they might require frequent refills and are prone to drips and clogs based on my experience. Investing in a quality paint sprayer, especially from a reputable company like Graco, can significantly improve your DIY projects, providing a flawless finish and saving you valuable time.
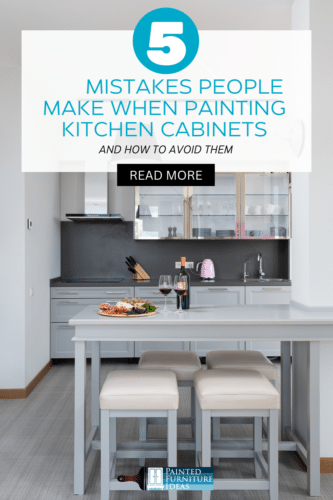
Now, let’s address the five prevalent mistakes people often make when painting their kitchen cabinets, ensuring you learn from these errors to achieve a successful painted kitchen cabinets project.
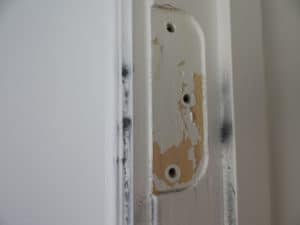
#5. Neglecting to Remove Doors From Hinges
If you remove the cabinet doors from their hinges, then you won’t have to worry about painting over the hinge or masking them off. Sure you can just tape hinges over…that tip is all over pinterest, but they don’t ever show you the final product.
Ensuring a flawless finish in your kitchen cabinet painting project involves taking essential steps, starting with the removal of cabinet doors from their hinges. This precautionary measure prevents unintentional painting over hinges or resorting to masking tape, which can contribute to an additional layer susceptible to chipping and tearing over time.
To elevate your results to a professional standard, invest a few minutes in the meticulous removal of hinges, handles, and hardware. This not only contributes to a cleaner aesthetic but also simplifies the reassembly process. A thoughtful tip for organizers is to store the disassembled hardware and screws in labeled baggies, ensuring easy access and efficient reinstallation.
To achieve the best results, it’s recommended to lay cabinet doors flat on the ground, or elevated on objects like 2×4 planks, 5-gallon buckets, or sawhorses. Painting doors vertically can result in uneven paint drips and drying. Ensure each side dries completely before flipping them over, allowing time for touch-drying and an additional hour for drying.
Many DIYers think, if they do a light coat, or if the temperature will dry the paint quickly it doesn’t really matter. Doors are set vertically against something, painted and gravity does what it is best at. The paint drips and dries unevenly.
#3. Skipping the Primer
Unless you are using chalk paint which doesn’t require a primer, make sure that you prime your cabinets well before painting. Kitchen cabinet painting is a major undertaking and not one I would want to have to do twice because of paint peeling. Use a good, primer such as Cover Stain.
Primer not only ensures good adhesion of paint, but it also increases the paint durability. Did you know primer has plastic in it? It helps your projects be more durable! With 4 kids I have seen the need for a primer on every project, whether it is doors, cabinets, or walls. The primer also protects the wood beneath your paint.
Give your cabinets a second coat of primer if needed. Please note: If you are painting your cabinets white you MUST avoid oil paint, to prevent yellowing- use latex paint only.
#2. Forgetting a Clear Coat
This one blows my mind. Why go 80 % and then not finish the project? Any project needs a clear coat. ANY projects. Antiquing, distressing, it all needs it people!
Finish your project properly by applying a clear coat. Use wax for a matte finish or a satin finish polyurethane for a shiny surface. Wax requires periodic upkeep, while polyurethane provides scratch-proof protection without maintenance. If the thought of setting a yearly re-wax alarm doesn’t appeal to you, it might be wise to skip waxing your kitchen cabinets.
Given the wear and tear on kitchen cabinets, enhancing their protection and durability will undoubtedly extend the longevity and value of your paint job.
#1. Rushing Curing Time
Don’t forget to wait for your cabinets to fully cure before you use them! Your cabinets will feel dry to the touch in a few hours, and you will be tempted to finish the job by adding hardware and putting them to good use, afterall who doesn’t love seeing their project finished? However, painted wood doesn’t cure, or harden fully for a few DAYS.
Patience is key for a non-chip, perfectly flat finish.
I once saw a beautiful handmade table and bench, and upon close inspection, there were four round indents on the clear coat. The intents were ribbed, like a pair of jeans. Four people had sat on the bench when it was dry, but not cured, and had permanently let the world know where they sat.
I know, you don’t want to wait, but for a non-chip, perfectly flat finish you need to wait! You worked so hard to get a smooth surface, resist wanting to hang your cabinets. You’ll thank me later.
Curing time for latex paint is 3-7 days. Taking the time to let your cabinets cure properly will ensure long-lasting results and a beautiful finish.
If you are using chalkpaint, it drys a little quicker. Check out this article about chalkpaint tips, if using this type of paint.
This website uses cookies to improve your experience. We'll assume you're ok with this, but you can opt-out if you wish.AcceptRead More
Privacy & Cookies Policy
Privacy Overview
This website uses cookies to improve your experience while you navigate through the website. Out of these, the cookies that are categorized as necessary are stored on your browser as they are essential for the working of basic functionalities of the website. We also use third-party cookies that help us analyze and understand how you use this website. These cookies will be stored in your browser only with your consent. You also have the option to opt-out of these cookies. But opting out of some of these cookies may affect your browsing experience.
Necessary cookies are absolutely essential for the website to function properly. This category only includes cookies that ensures basic functionalities and security features of the website. These cookies do not store any personal information.
Any cookies that may not be particularly necessary for the website to function and is used specifically to collect user personal data via analytics, ads, other embedded contents are termed as non-necessary cookies. It is mandatory to procure user consent prior to running these cookies on your website.