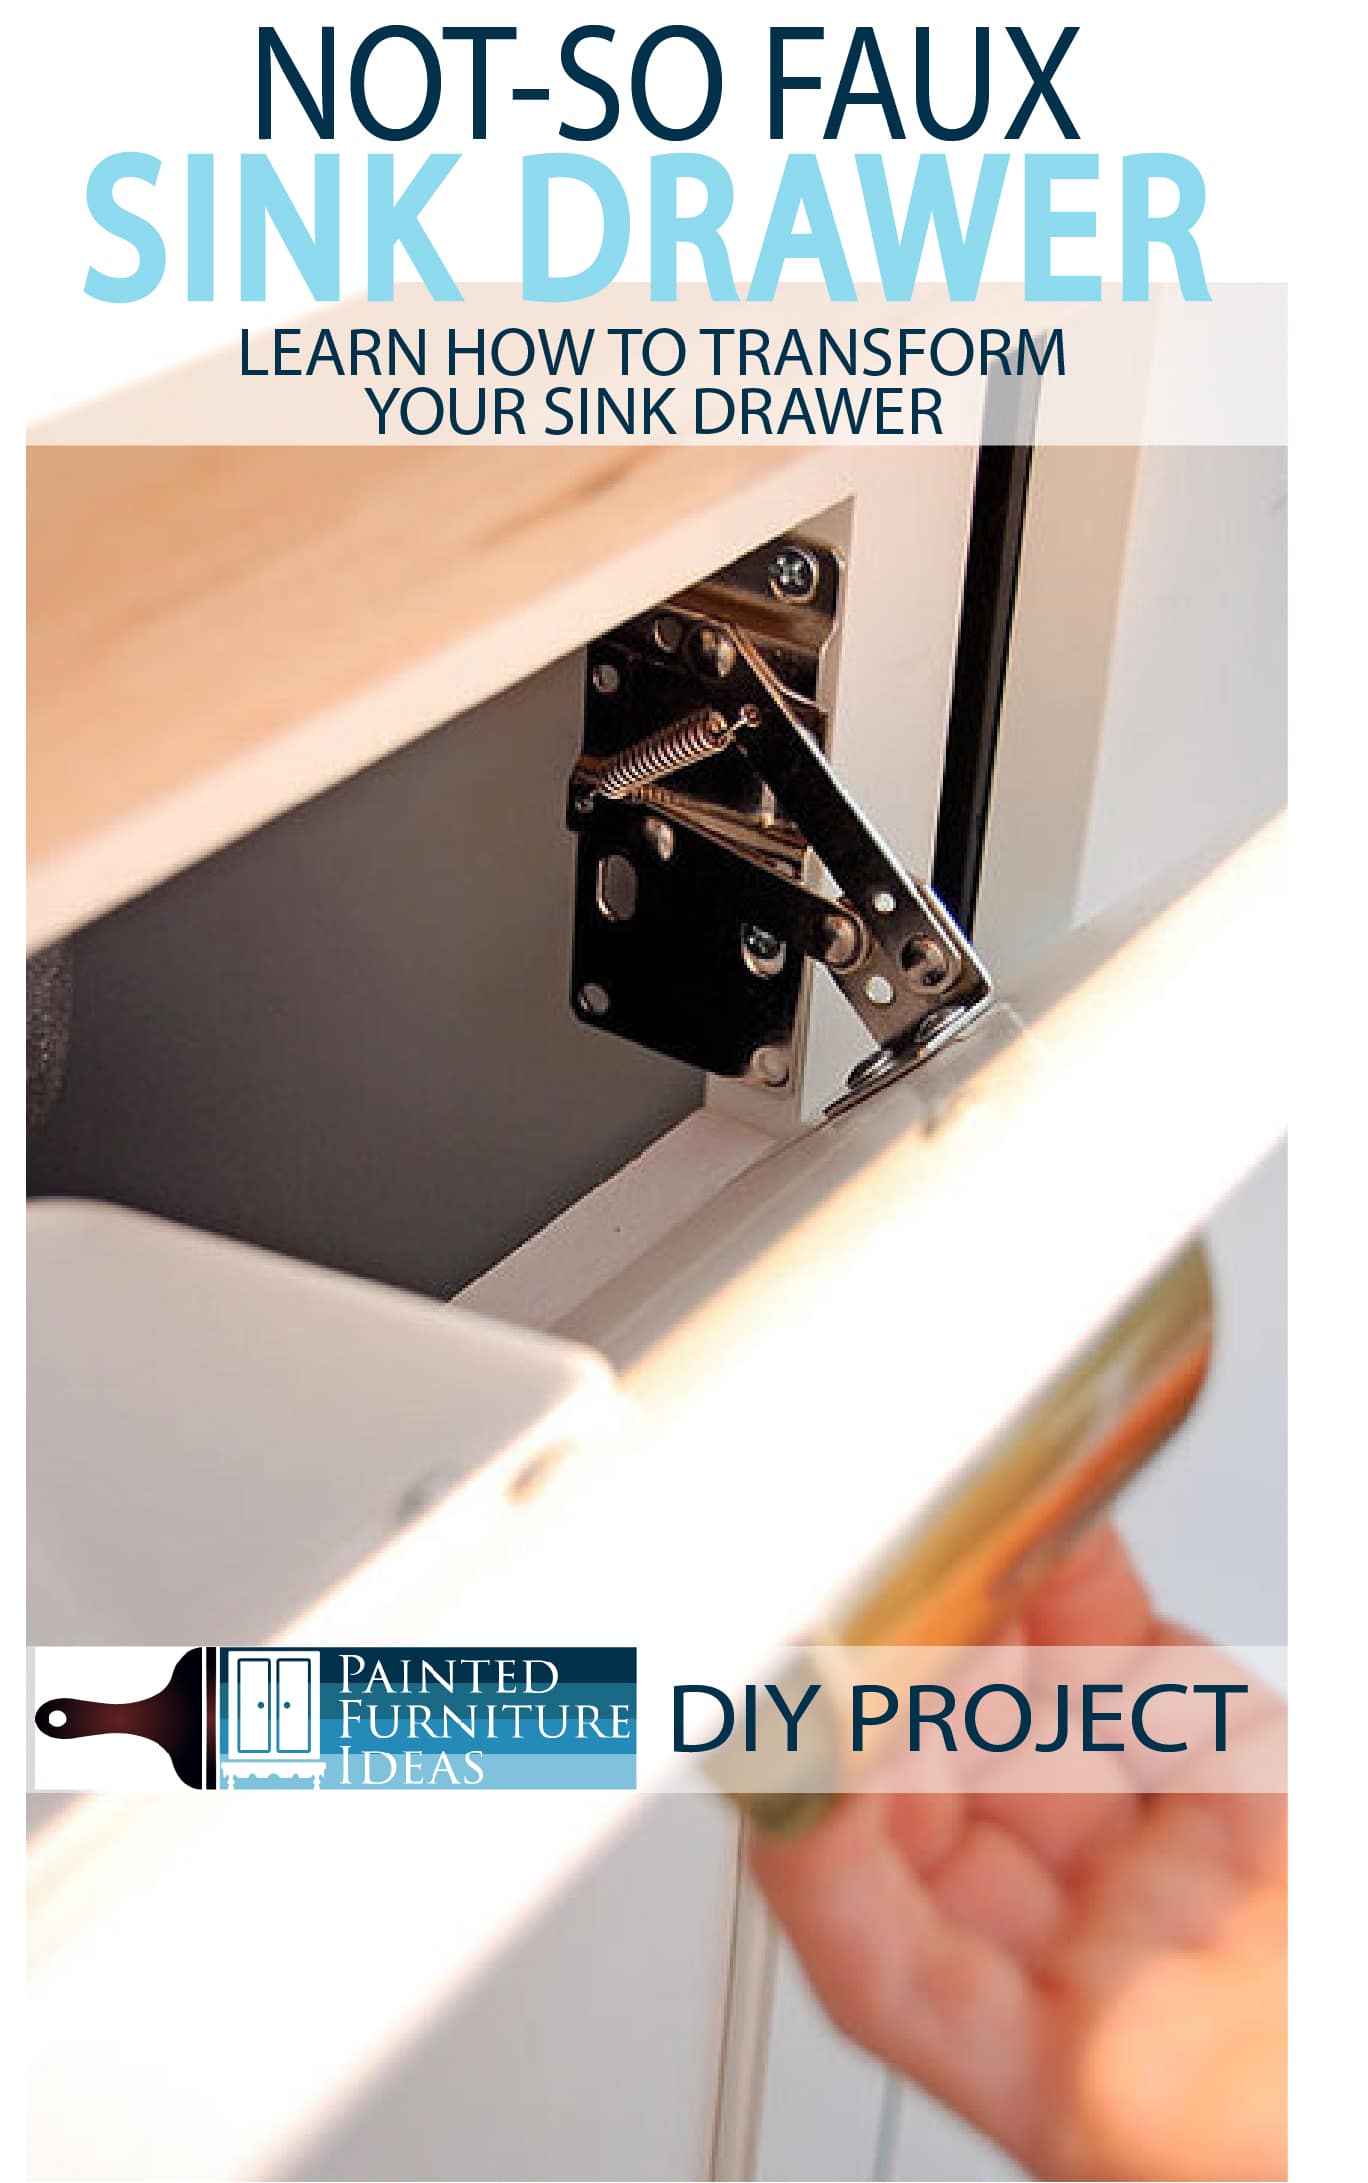
You know that panel underneath your sink that is completely useless? Well it doesn’t have to be that way. Faux kitchen drawers don’t have to be there to take up space. They can be functional! The space under your sink is likely a wide abyss that eventually gets filled with “stuff”.
In most homes, this area is left open because of the pipes, disposal, and sink that need space. That doesn’t mean the rest of the space is useless. With a little creativity you can create valuable space in that area right below the sink.
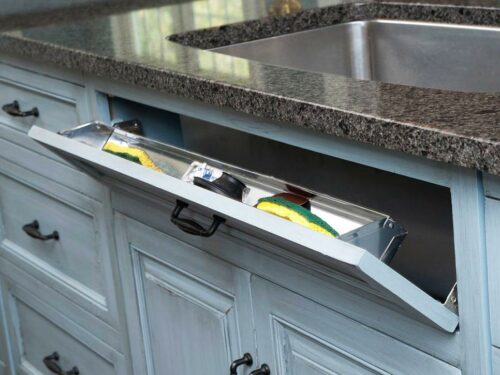
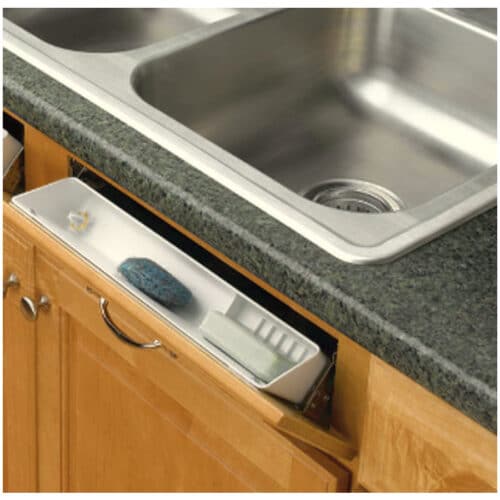
Faux kitchen drawers can be instantly transformed into a hinged drawer that allows you to store small items like sponges, scrubbers, and cleaning supplies right where you need them most. We could all use a little extra storage in the kitchen, and this is a great way to get it.
Before you can begin, you have to ensure that your false drawer is the right type for this conversion. While most drawers are, it’s still worth checking to be sure you have enough clearance between the sink basin and the drawer face for the hinges to fit.
Grab Your Tools
This is a pretty simple job, but you will need a few simple tools on hand.
· Razor blade
· Screwdriver or drill with driver bits
· Pilot drill bit, 3/32-inch
· 2 spring hinges with attaching hardware
· Ready-made tray, or 1/8” wood and glue to create a tray
You ready to get started? Let’s do this!
1. Remove front panels
The front panel should come off pretty easily, but there are a few different ways to detach it depending on your cabinet installation. First, open the cabinet doors under the sink. Reach up with your hand and feel for a single stick on each side of the panel running vertically up the back of the face frame. If you have one, turn it horizontally and the false front panel should pop off the front.
If you don’t have one, look for screws that hold the false front and remove those. If you can’t find any screws, chances are it’s just glues on. Use a razor blade to gently pry the glue loose. They may also have pins between the panel and the cabinet. A putty knife should remove these pins and pray the false front off.
Lots of cabinets have two panels in front. Do them both if desired.
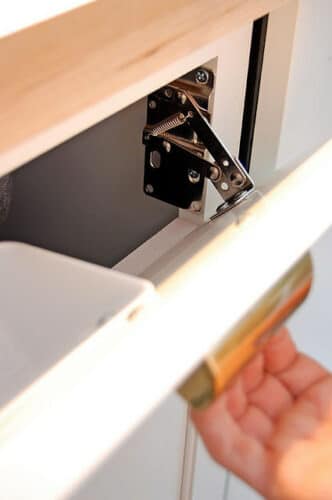
2. Add Hinges
Once the front is off, fashion it with your new hinges. Spring hinges are best because they keep the tray closed without a latch. Open a hinge to a 90-degree angle and set it on the bottom edge of the false front, approximately 3 inches from the side edge. This placement is important because it ensures that the hinges close toward the false front.
Align the top of the hinge barrel with the bottom edge of the false front. Drill pilot holes, about 1/4 inch deep, using a 3/32-inch bit. Place a screw in each pilot hole and tighten it, using a screwdriver. Repeat with the other hinge.
3. Add Storage Tray
Now that your false front has hinges, it’s time to add a storage tray. You can find these almost anywhere or you can build one yourself. Think about what you’re planning to store in your new drawer, and use a tray that works for you. Start with your local home improvement store or of course The Container Store. Amazon also has several options for tip out drawer trays if you’d like it delivered to your house.
DIY Tray Option: If you’d rather make one that is custom, or matches the wood of your cabinetry, you can make your own. This takes a little more advanced carpentry skills, but looks beautiful. By using 1/8”-thick wood pieces and assembling a simple 3-sided box you can add it directly to the inside of your cabinet front. Keep in mind you’ll want to clean this tray, so make sure it’s someone easy to remove without taking the entire drawer apart.
Whether you choose to purchase or build your tray, double check your measurements to ensure your tray is sized correctly to allow the drawer to close completely.
If you choose to purchase a tray, you should be able to simple screw it to the inside of your faux drawer. Be sure the hardware you’re using is shorter than the width of the drawer, otherwise your screws will pop through the front. Also take care to ensure the screws aren’t too tight. You want to be able to remove the baskets for cleaning.
If you’re worried about the sponges staying wet in the basket, drill some small holes in the baskets to increase airflow. You can also keep the drawers tipped out until everything is dry if you’re concerned about it. Regularly cleaning the tray can also help keep things from getting mold or mildew.
4. Replace Front
When you’re ready to add your new hinged drawers back to the cabinet front, open the spring hinges fully and center the false front. Lay the unattached side of the hinges on bottom rim of the opening. Drill pilot holes with a 3/16-inch drill bit. Place a screw in each hole and tighten.
Once you’ve done this for your kitchen cabinets, you’ll soon realize that tilt out cabinets aren’t just for the kitchen sink. This is an amazing option for the bathroom as well. You can create a space that is perfect for storing small items like hair products, hair iron, combs, or brushes.
You can use these same techniques to create useful spaces around your home. Love Pomegranate House used a similar method to create a flip-down media drawer in a beautiful old dresser. It’s a basic installation of popping off the front, adding the hinges, and enjoying a whole new space.

A similar technique can also be used in entertainment centers, garage, anywhere you can use a little extra space. Take a look around your home to find more solutions that work for you. Don’t settle for the faux situation that your home builder gave you. Instead, make your space your own by making those faux drawers not so faux.
Pin this idea for later here!


