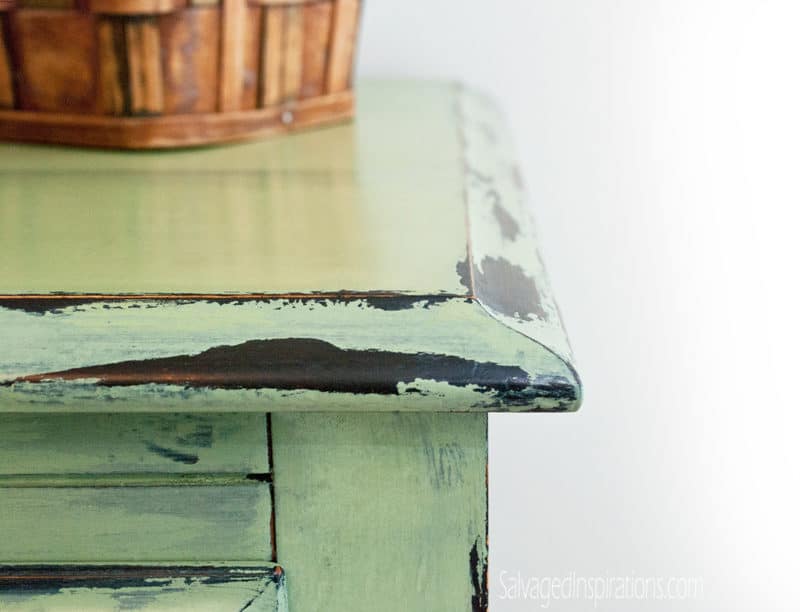
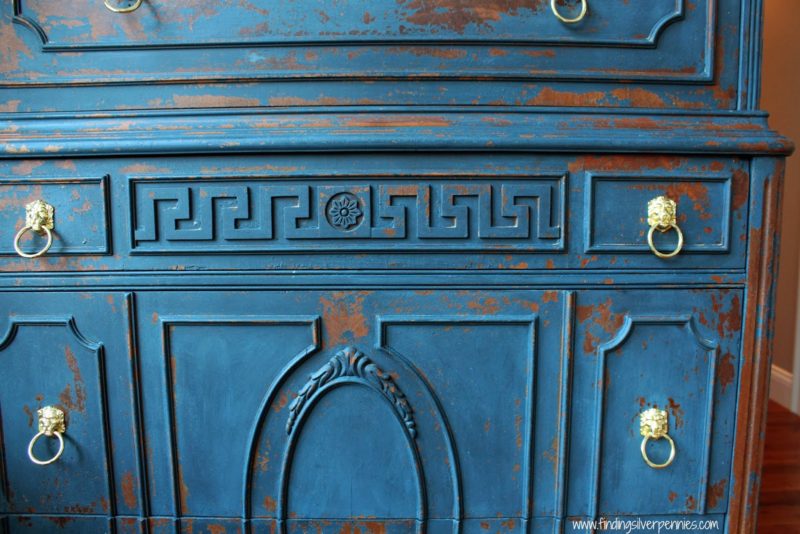
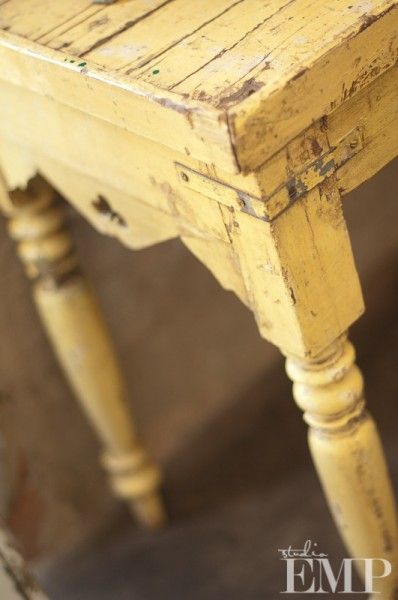
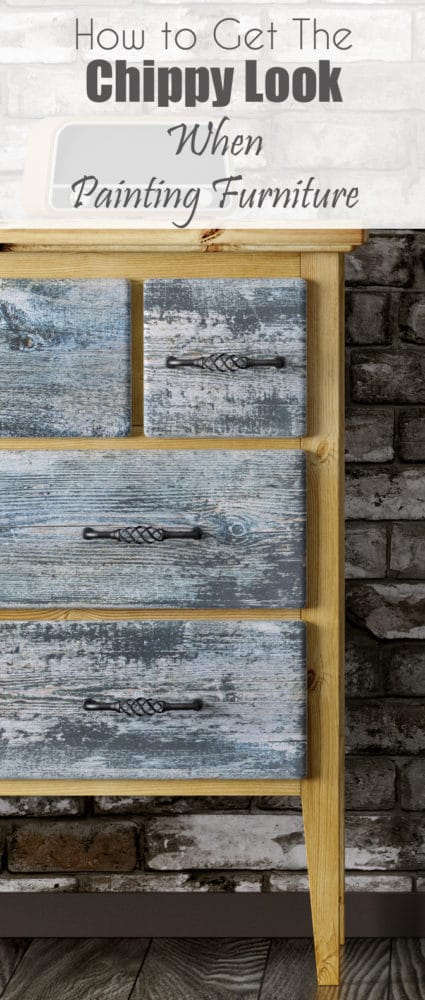
There are many different ways people are using to achieve the chippy paint look. Learn the options you have to get a beautiful distressed look.

Staining – Think of it in layers. First, think about what color you want the wood to be that is showing through. Whatever color you want that to be, stain your piece that color. Stain and then wipe off after a few minutes and that should be enough to color the wood, without it becoming gummy or sticky. Let that dry thoroughly.
Vaseline – Apply vaseline to the areas of the piece where you want to the paint to be chipped off. You could do just the edges, stripes or random areas all over. The vaseline will keep the paint from adhering well to your piece. NOTE: since you are wanting the paint to be chipped off, you don’t need to worry about priming 🙂

Paint – Apply your next 2 coats of paint. You don’t need to sand in between, like I normally would.
Sand or Scrape – Depending on your personal preference, you can either sand down the paint a little until the areas on top of the vaseline flake off, or you can use a metal paint scraper (any hardware store sells them). Some people feel the paint scraper looks more like authentic chipped paint. But, I personally like the smoother finish.

Apply a Clear Coat – You can apply wax or polycrylic/polyurethane at this point, if you want to seal the finish you have created. You can also leave it as is and allow it to be more distressed over time.
You will see variations of these techniques all over. There are many different ways to do it. But, this is the basic process for creating a chippy paint finish.


Pingback: Mirror with Hidden Jewelry Storage DIY Space Saver Jewelry Organization