
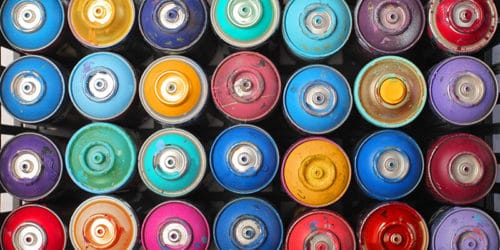
Spray paint is pretty self-explanatory. Shoot. Spray. Paint. Right?
Well, the truth is, it seems simple until your paint is bubbling over, the edges are peeling off, the middle is wrinkly looking, your fingers are burning and you have a headache. Whether you’ve used spray paint for years, or you are just starting out, you can easily fall victim to some of these most common spray paint mistakes that everyone makes. Learn here how to steer away from these mistakes and ensure your projects turn out picture perfect.
Start out right.
Before you even start painting, be sure you follow the three basic steps:
1. Location, location location.
Stop spray painting in your basement. It is paramount to spray your item in a well-ventilated area. One of the best places to spray paint is outside on a warm day with a gentle breeze. Unfortunately, we don’t all live in San Diego with perfect weather all year. If outside is not an option, find, use, or borrow a garage that you can open or crack the door.
2. Prepare
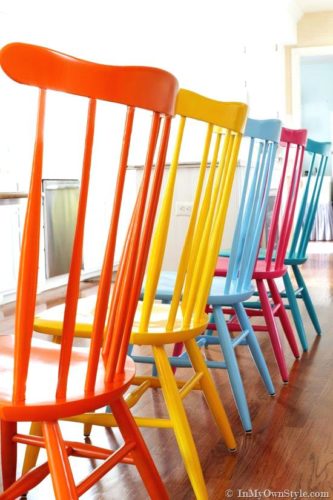
Don’t just bust out grandma’s old hutch and start spraying hoping it magically transforms into a shabby chic masterpiece. You need to remove any existing paint first, sand, and prime the piece before you start spraying.

3. Use a sprayer
If your painting anything bigger than a sheet of paper, you’re going to want to splurge the $5 for the extra ergonomically-friendly sprayer attachment. These are found in the same aisle as the spray paint, they help you keep an even spray from the best angle.
Troubleshooting: What happened?
Even if you think you did everything right, sometimes you still end up with problem areas. Here are the most common and how to fix them.
· Lifting Paint: This is when the paint shrinks, wrinkles or shrivels. Most often it’s because you were in a hurry and ignored the drying times on the bottle of the spray paint. The only way to fix this is remove the paint, sand it down, and start again.
· Peeling Paint: If your paint is peeling, it’s usually because the primer, basecoat or topcoat has not adhered properly. When one layer of paint separates from another, they all start to peel. This can happen if the surface isn’t prepared properly, or isn’t cleaned thoroughly. Strip the affected area back to the bare substrate, and start again.
· Orange Peel: This is when the surface of your paint is bumpy, like an orange peel. Usually, this happens when the paint actually dries out before it hits the surface, or it’s too cold. Make sure your spray paint isn’t expired, and the nozzle is clear and clean. Otherwise, wait for warmer weather. You can sometimes buff out orange peel problems. Wait until they are completely dry, then use a buffing tool, or sandpaper until smooth.
· Dripping Paint: This usually happens when you’re spraying too close to the surface. If the paint is still wet, smooth out the drips with a camel hair paintbrush. Reapply spray paint in light coats, keeping the sprayer or spray can constantly moving to avoid the same problem.
· Dimpling Paint: If you have random dimples across the surface of your item, it’s usually because there is dirt or dust under the surface. The only way to fix it is to sand down to the bare surface, clean thoroughly and try again.


