I always strive for a smooth finish when working on a piece of furniture. Even on distressing or aged furniture, I want to be able to run my hand against the piece and feel a satin feel.
Brush strokes are my enemy. I rarely use chalk paint and this is why: there are always brush strokes. I asked other friends how they achieved no brush strokes on a chalk paint piece, “we don’t” I scoured the web to find how to get rid of the stokes I had…nothing. Other bloggers said, “it is part of the style”. What??
Nope, sorry.
1. Choose the correct paint
If you are like me and want baby bum smooth piece, your first tip is to avoid chalkpaint like the plague. Use a water-based paint that is high in quality. Benjamin Moore, or Pratt and Lambert are great brands that have smooth finishes.
Now that you have a regular latex paint choosen. Read these additional tips to ensure a beautifully smooth finish you will want to rub all day long!
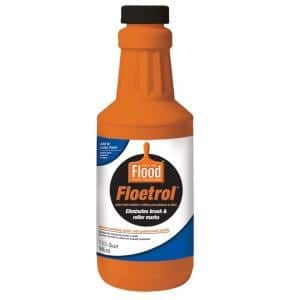
2. Floetrol is your best friend
Floetrol is an additive you can add to the paint that will help your paint stay wet longer, which will give it more time to meld together or self-level and eliminate brush strokes. When the paint dries quickly, like on hot days, it’s harder to keep the brush strokes from showing. On days like that, you’ll definitely want to be adding Floetrol to your paint. Really you will want to add it all the time.
If you can’t find floetrol at your local store you can find it here on Amazon.com. Each project requires about 3 TBSP so this one investment will last you years. Yes it is worth it, I never paint without it.
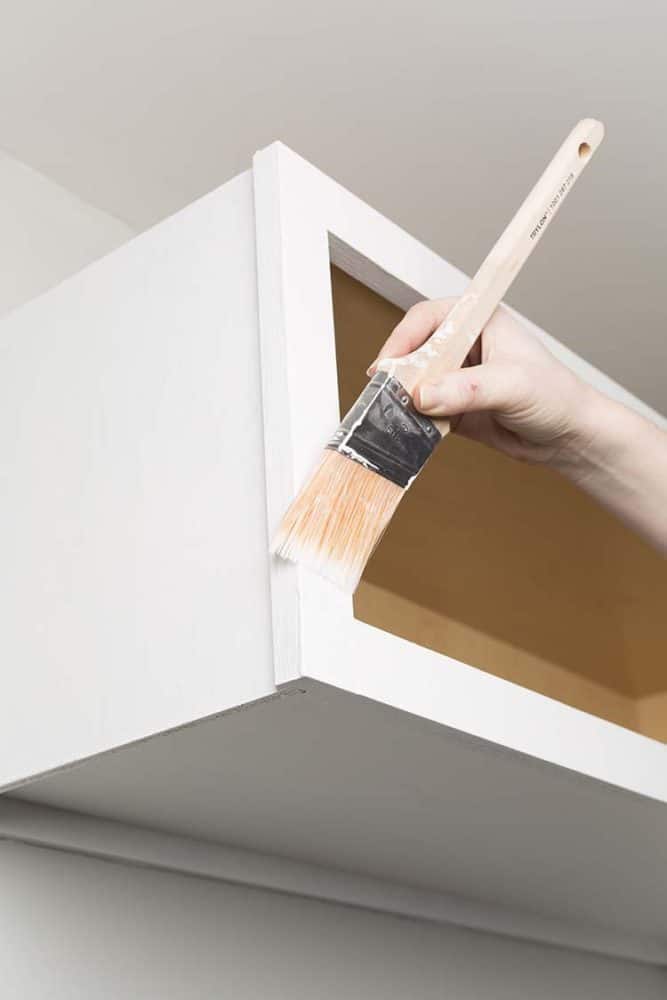
3. High Quality Brush
Low-quality brushes show paint strokes, period.
When I am at home depot, I love the brush asle. I run my hands all over the bristles of each brush, suprised each time at how smooth some are, and how stiff others are.
High-quality brushes don’t create brush strokes. They feel ultra soft when you buy them, and if you treat them well, they will stay soft for years.
You also need to use the correct brush for the paint. With Latex paint, use a nylon or polyester brush and for oil-based paints use a natural bristle brush. Some of the higher end paint brush brands are Purdy & Wooster.
This Purdey 2-1/2-Inch Angle Trim Brush is my most favorite brush in the world. I have had it for about 8 years now and I use it on everything, tables, nightstands, dressers, baseboards, etc. Invest in a good brush and clean it well after each project. You’re a painter now, and you need a favorite brush!
4. Longer Bristles = Better
Shorter bristles will show paint strokes more than longer bristles will, if you get a Purdy or Wooster brush you won’t have a problem in this area, they know brushes and don’t even sell short bristles. Don’t confuse this advice with the handles. I have a Purdy brush with a short handle that I love to use in small confined spaces such as inside cupboards, drawers, and closets.
5. Work in Sections
Working in sections will help you finish areas while the paint is still wet. Taking a paintbrush over dried areas will result in the paint balling up and leaving streaks. Once your paint has been brushed on for a minute or two move on and stop rolling it. If you notice a spot you missed, wait the hour for the paint to dry and then reapply paint. Painting can’t be rushed. If you are in a hurry, choose another day for your project.
6. Try a Roller
Use a roller on long, flat areas, and save the brush for the detailed areas. Rollers come in different textures, they aren’t all like the common known bumpy rollers used for painting walls. You can purchase rollers in all different textures. For a smooth finish, I use this 6-Inch Foam Roller made for an Ultra-Smooth Surfaces Remember with a roller, you need to always roll in one direction only, otherwise, you’ll have a problem with roller marks.
7. Sand
If you do end up with some brush strokes, in spite of your best efforts, sand them down a bit and go over that spot one more time. Don’t use regular sandpaper for this, you will need a very small grain, such as 320 or 400 grit. You can find them at your hardware store, or auto store (they use them on sanding down cars for paint touch-ups).
I dare you to use this sandpaper and not be smiling afterward. I always sand down my pieces with this ultra-fine grit, to give it an extra smooth finish. It seriously makes me fall in love with my piece.
Once the paint is done, I give each of my projects a top coat to protect it through the years. This topcoat is also sanded after it has been dried…very lightly with a high grit.
Ready to start your painting project? Check out these inspiring articles: Must See Kitchen Cabinet Makeovers or 10 Best Patio Furniture Makeovers on Pinterest.
If you aren’t ready but want to remember this information, grab your favorite pin!