Are you someone who loves a good DIY project? Painting furniture can be both a cost-effective and creative way to revamp your living space. The allure lies in the ability to take an old, worn-out piece and breathe new life into it through a fresh coat of paint or updated hardware. However, for beginners, there are common mistakes that can lead to disappointment with the final result.
Here’s a comprehensive guide to help you avoid these pitfalls and achieve the desired transformation:
#1 Not Cleaning The Piece Thoroughly Before Priming or Painting
If you leave dust oil or any kind of substance on the piece before applying the next coat, the primer or paint won’t adhere properly. This will cause the paint to peel or chip away instead of sticking to the piece.
This can be a real pain, especially if you feel you need to go back and sand and repaint the piece in order to fix it. I always recommend cleaning with Windex and running your hands along it, to see if you feel any leftover dust or anything else. Also, dust can create little tiny bumps in the surface, which don’t look great and also don’t come off without taking that spot down to the wood, then a touch-up is needed.
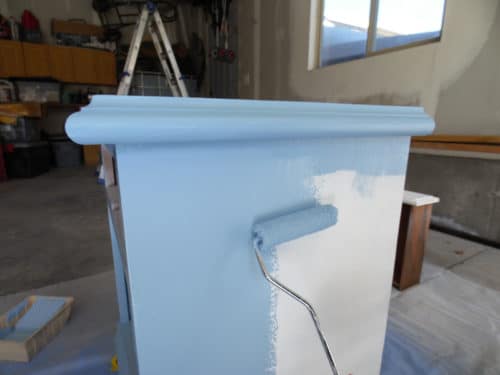
#2 Not Using Primer
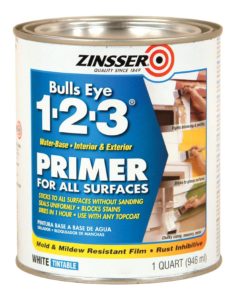
I would always recommend using a good primer before you apply paint, until you get a sense of when primer is necessary and when it’s not. Primer acts as a base coat that enhances paint adhesion and creates a smooth surface. Skipping this step might result in uneven paint absorption and a less durable finish. Apply a coat of primer before painting to achieve a flawless final look.
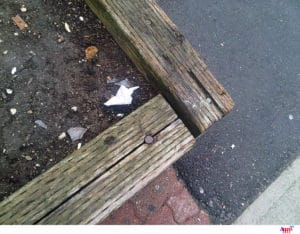
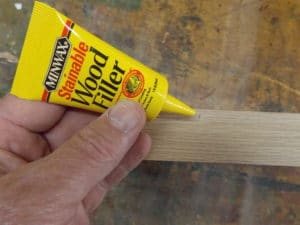
#3 Not Properly Filling Holes & Cracks
Sometimes small dings and cracks are hard to see, but once the piece is painted, they show up VERY well. You may need to take a flashlight and look over the piece with a light shining at different angles in order to see any cracks or holes that need to be filled.
Going back and fixing those after the piece is already painted is a real pain and it’s tough to make the paint in that area look smooth again.
#4 Using a Cheap Brush
If you are painting your piece with a brush, avoid using a cheap one. Cheap paint brushes show brush marks easily and they don’t look good. I’ve seen pieces in stores that are covered in brush marks, it looks like a low-quality paint job to me. However, if you use a Purdy or another top-of-the-line paintbrush, you should be fine.
I’m going to share with you my love, we know each other enough right? My go-to brush, the one that has been with me all those years is this beauty, a Purdy 2-1/2-Inch Angle Trim Brush. The bristles on this brush are so soft and perfect, you’re going to love it.
#5 Don’t Choose a Color That You’ll Soon Be Sick Of
Although bright colored, funky colors look fun on Pinterest, sometimes those colors in real life, in your living space can look like a cheap garage sale find. Make sure you really consider the color you are choosing so that you don’t regret it later and have to go back and add another coat of paint. However, adding one more coat of paint because you changed your mind isn’t the worst thing that can happen!
By avoiding these common mistakes and following these steps, you can successfully transform your furniture into stunning pieces that breathe new life into your home. Remember, the key to a successful furniture painting project lies in preparation, patience, and attention to detail. So, unleash your creativity and get ready to revitalize your living space with beautifully painted furniture!
Love this article? Pin it!