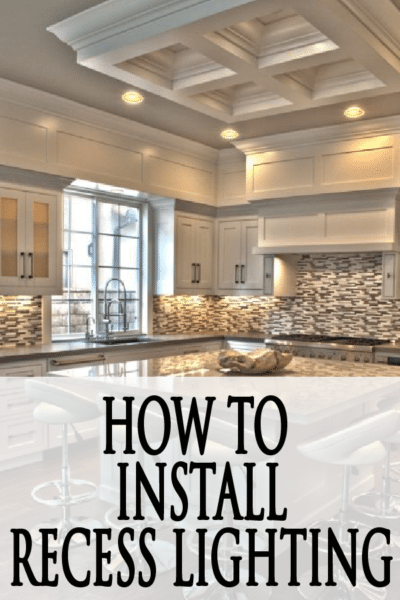
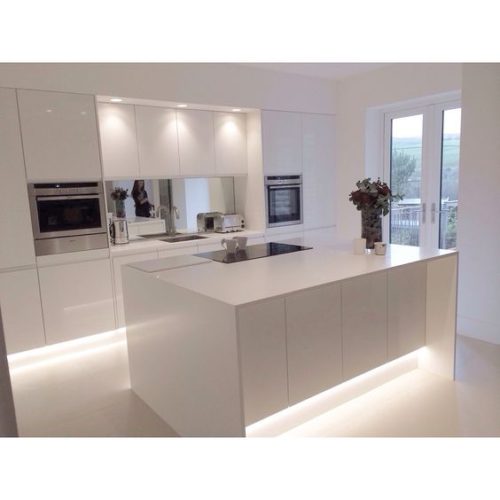
Recessed lighting is chic, modern, and more effective than traditional lighting, personally I love it. With recessed lighting you can put your kitchen lights exactly where you need them to light every corner of your room. It serves as both the main light source and as task lighting, ambient lighting, and even wall washing if you’d like. So what are you waiting for? Let’s learn how to install recessed lighting with these easy steps!
Installing recessed lighting is a little tricky because it’s set into the ceiling, so it’s a little more involved than simply putting up a light fixture. Whether you’re doing your own new construction, or tackling a remodel, we’ve provided a simple guide anyone can follow to learn the basics of installing recessed lighting in your kitchen.
Choosing Your Lights:
Choosing recessed lighting fixtures can seem like learning another language, but it’s quite simple. If you’re working on a new construction project (where you have access to the space above the ceiling), choose a “New Construction” model. If you are remodeling, choose the “Remodel” type. Additionally, if you’re installing the fixture into a ceiling between stories, the remodel type will work better.
The IC refers to the insulation contact. If the fixture will be exposed to insulation (within 3 inches), you should choose an insulation-contact rated fixture (IC fixture).
Installation:
- Turn off the electricity before you begin any electrical project. Check a circuit tester to be sure it’s ALL THE WAY off.
Make your plan
Before you start cutting holes in your ceiling, you’ll want to make a plan so you know where you want your holes to be. Draw out a simple floor plan of your room, and make note of where you want your lights. Once you have a general idea, create a more detailed plan including exact measurements of your room. Then use a stud finder to find your ceiling joists, mark those on your diagram, and place your lighting between them. Now you know exactly where your holes will go.
Cutting
With your lighting fixtures is a template that allows you to trace the shape onto the ceiling and cut a hole using a saw. You’ll need to cut a slot in the ceiling for access as well as the holes for the lights themselves.
Identify the power source
You’ll need to use an existing box to power your new lights. Find an existing receptacle or switch box that contains a “hot” wire on a suitable circuit. Make sure the maximum load on that circuit is no more than 1,440 watts for a 15-amp circuit. Create a new switch box with built-in cable clamps. You don’t want to mount the box just yet, but cut it in so you know where it will be located.
Run the Wires
Now it’s time to run new cable from the power source and the switch box to the new hole(s) for your lights. This part is pretty simple if you have an attic space, but might require a lot of “fishing” if you are working around existing walls and ceiling. When you’re done, wire all the coordinating wires together (black, white and ground), and use writing connectors to cap them.
Secure the lights
Most lights are installed with a can around the outside and clips that hold the fixture to the ceiling, then screw in the lightbulb. Repeat for each light fixture. After everything is installed, restore power and test out your new recessed lighting system. I hope these steps have given you the information you need to start your own lighting project. If you have any questions or want to share your success story comment below!


Thank you for those tips I’m gonna install some uv lights in my house soon (have uv paint on walls)
Matt, that’s great! Send me a picture when its all done.