Open shelving in the kitchen always looks beautiful in a magazine. But so do fresh flowers on the table which only happens twice a year at my house (birthday and mother’s day). So is open shelving a realistic option for everyday families in everyday homes with everyday dishes that actually get used and not photographed?
Absolutely! You just need to know how. I can help.
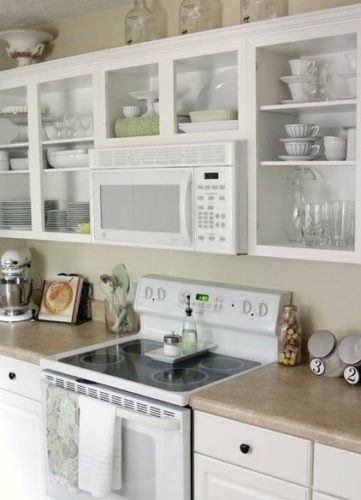
If you’re considering adding open shelving to your kitchen, think about the location of shelving very carefully. It can’t be anywhere near the stove unless you want your fresh dishes to be covered with grease on a regular basis. You also don’t want it near the baking counter (flour dust anyone?). Near the sink, next to the fridge, or near a window are good spots for open shelving.
Before you take a sledgehammer to your cabinetry, think about what’s behind them. If you opt to take down your current cabinets to install open shelving, you’ve got a whole new wall to deal with. That wall is likely not painted, not textured, which will require more time, but is doable.
An easier way is to use your current kitchen cabinets to create open shelving. This eliminates the need for demolition, construction, and painting. You can complete the entire transformation in an afternoon and if you hate it, you can just put the door back on and no one will ever know.

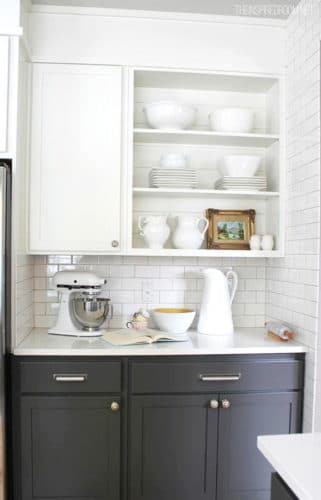
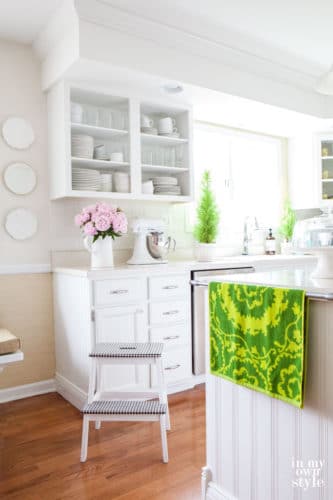
Start by taking the doors off your cabinets. Fill in the hinge holes with wood filler and sand them smooth. You could stop here and call it good. This allows you to experiment with open shelving without fully committing, and it can still look beautiful.
These cabinets simply have no doors and a fresh coat of paint, but it gives the entire kitchen a whole new look. Leaving the middle piece allows you to put the doors back on and return the kitchen to its original state anytime you change your mind.
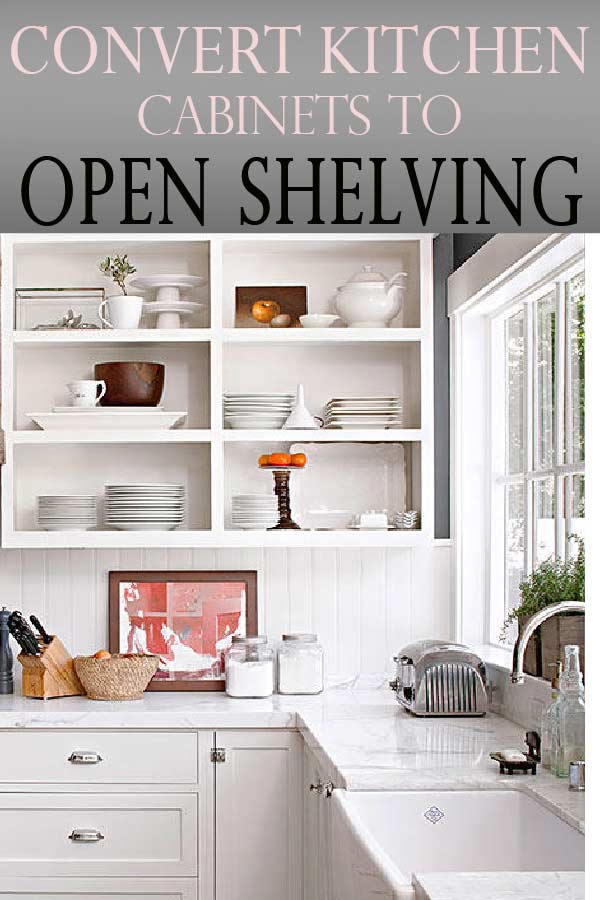
However, if you want true unencumbered shelving, that middle piece has gotta go. It’s not structurally critical, so you can get rid of it without worrying that the entire cabinet is going to collapse. Just use a simple hand saw to cut the middle piece out, you don’t even need a power tool. If you encounter giant staples along the way, you might need some pliers and a little muscle, but keep at it and you’ll be happy you did. Once the middle piece is gone, whala! You now have open shelving!
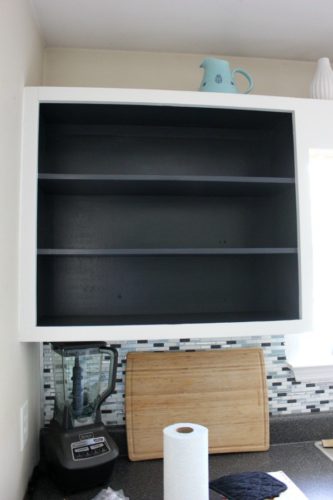
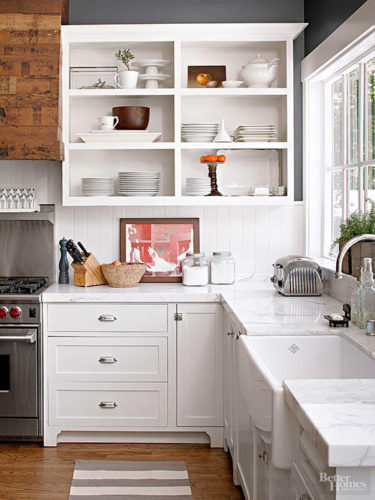
What a difference that middle piece makes! This looks like professional custom cabinetry. No one will believe you did it yourself over the weekend.
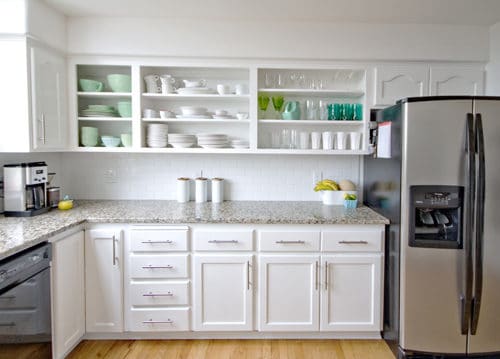
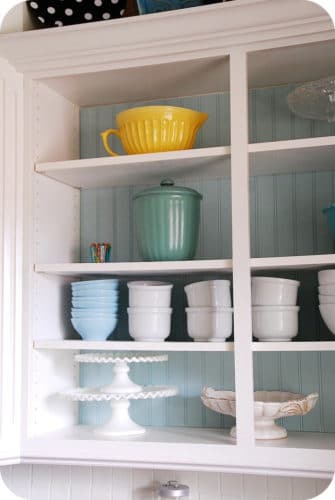
Now give your shelving a pop of color with a fresh coat of paint. You can paint the entire inside of the cabinet, or keep things simple and just paint the back. You can also use contact paper, wallpaper, wall tiles, or even a simple vinyl design to add some style.
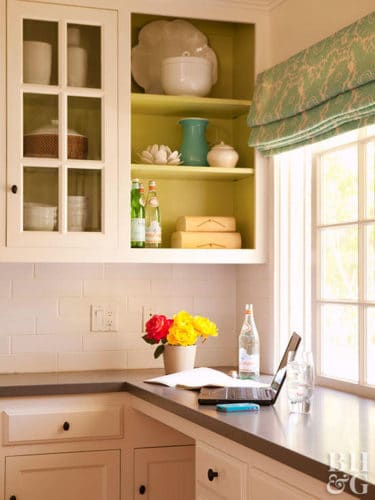
Another option is to only take the doors off of half the cabinet space. This gives you the concept of open shelving without a full kitchen open to public view. If you’re nervous about keeping your open space tidy, this might be a good option for you. Good luck on your open shelving project!