If you have a beautiful wooden deck, you understand the maintenance that comes along with it. Beautiful decks require a little (or a lot) of TLC to keep them looking their best. Most deck maintenance is not rocket science, but too often results in wasted efforts and wasted materials. A great-looking deck doesn’t come easily, wait until you are in a patient mood to do it right, and you will love your results.
Here are common mistakes that RUIN an otherwise perfectly good deck.
#7-Didn’t Properly Clean It

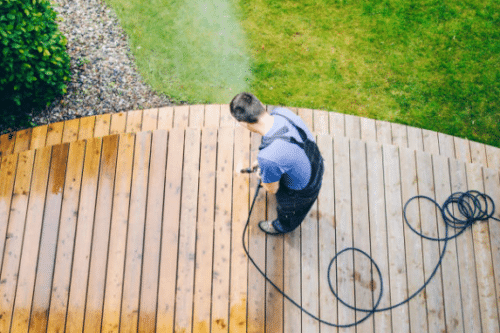
Sorry guys but sometimes we are just too lazy for this job. Staining the deck is a big job, but don’t try to make it easier by skipping the cleaning part. Invest in purchasing or renting a pressure washer first. You must wash AND sand before applying anything.
Use a power sander and it will be done sooner than you think, my favorite sander is like this sander found here, it is cheap and dependable. If you have a large deck I would consider buying a belt sander like this one
#6-Staining too much!
The truth is, more is just wasted product. Most deck stains are designed as a single-coat system that penetrates the wood. Extra coats do nothing except sit on the previously coated surface and then eventually drying, flake, and peel away.
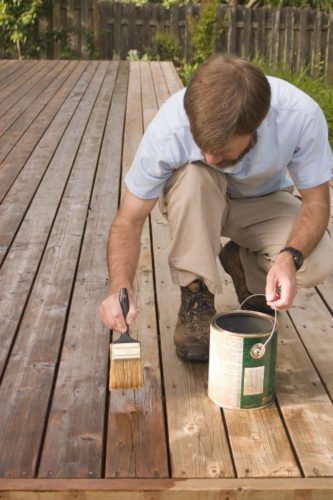
Apply one coat, and make sure you do enough to cover the surface. Stand back and admire that beautiful deck!

#5-Thinking One Day is enough
If you’re staining your deck properly, you can’t do it in one day. After pressure washing (essential step 1), you have to let the deck dry COMPLETELY. This usually takes at least a week or so.
Check the local weather and make sure there is no chance of rain. Clean your deck and allow it to fully dry. Once it has dried, grab a broom to sweep off any loose dirt and dust.
Then you are ready to start staining your deck.
#4-Sleeping in

Staining a deck in the middle of the day is a bad idea. Not only is it uncomfortable and exhausting to work in the heat of the day, but the paint also dries too quickly and won’t absorb properly into the wood. Start early in the morning and quit before noon.
#3-Staining a new deck.
A newly constructed deck requires a different approach compared staining a deck that is older. Freshly installed wood needs time to adjust to its environment. It’s crucial to allow new wood to weather for at least six months before applying any stain. This period, known as seasoning, enables the wood to naturally dry and release excess moisture. If stain is applied too soon, the wood’s high moisture content will prevent proper absorption, resulting in a blotchy or uneven finish that won’t adhere well and may peel prematurely.
#2-Using the Cheapest Brand
Even if you follow all these steps there are some stain brands that just don’t last very long. The first time I stained my deck, I did all that I have talked about. I didn’t want to have to restain anytime soon, so I was methodical about it. I also was a newlywed with a baby on the way. We bought the cheaper brand I found at Walmart.
It lasted 6 months.
Make sure to pick a stain that is for exteriors.
If you are using a water-based stain, remember that the color of this stain will only last 2-3 years. If you are using an oil-based stain, that can will stay true to its shade for 10 or more years! If you find a brand and color you love, stock up!

#1- Working too fast.
When staining a deck, while enthusiasm for completing the project is understandable, attempting to rush the process will almost certainly lead to visible lap marks on the wood. Instead of treating staining a deck like a sprint, it’s best approached as a marathon—a methodical and evenly paced process applied board by board. To achieve a professional finish when staining a deck, work slowly and deliberately, using the paintbrush to work the stain back and forth along the grain of each board until the brush gradually begins to run out of stain. This technique is crucial for keeping the leading edge, or “lap,” of the previously stained area wet, allowing for seamless blending as you progress. This “wet-on-wet” technique is essential for avoiding those unsightly lap marks.
Staining a deck too quickly often results in uneven coats of stain, drips running down the sides of the boards, and a generally unprofessional appearance. These imperfections detract from the beauty of the wood and can even compromise the protective qualities of the stain. Taking your time and focusing on proper application techniques when staining a deck is paramount to achieving a beautiful and long-lasting finish that will enhance the wood’s natural beauty and protect it from the elements.

Having a beautifully finished deck is something you can enjoy all year long. Take the time to do this project right so you don’t waste more time fixing mistakes. If you have help, gather a crew and finish the job in less time without sacrificing the quality of work.
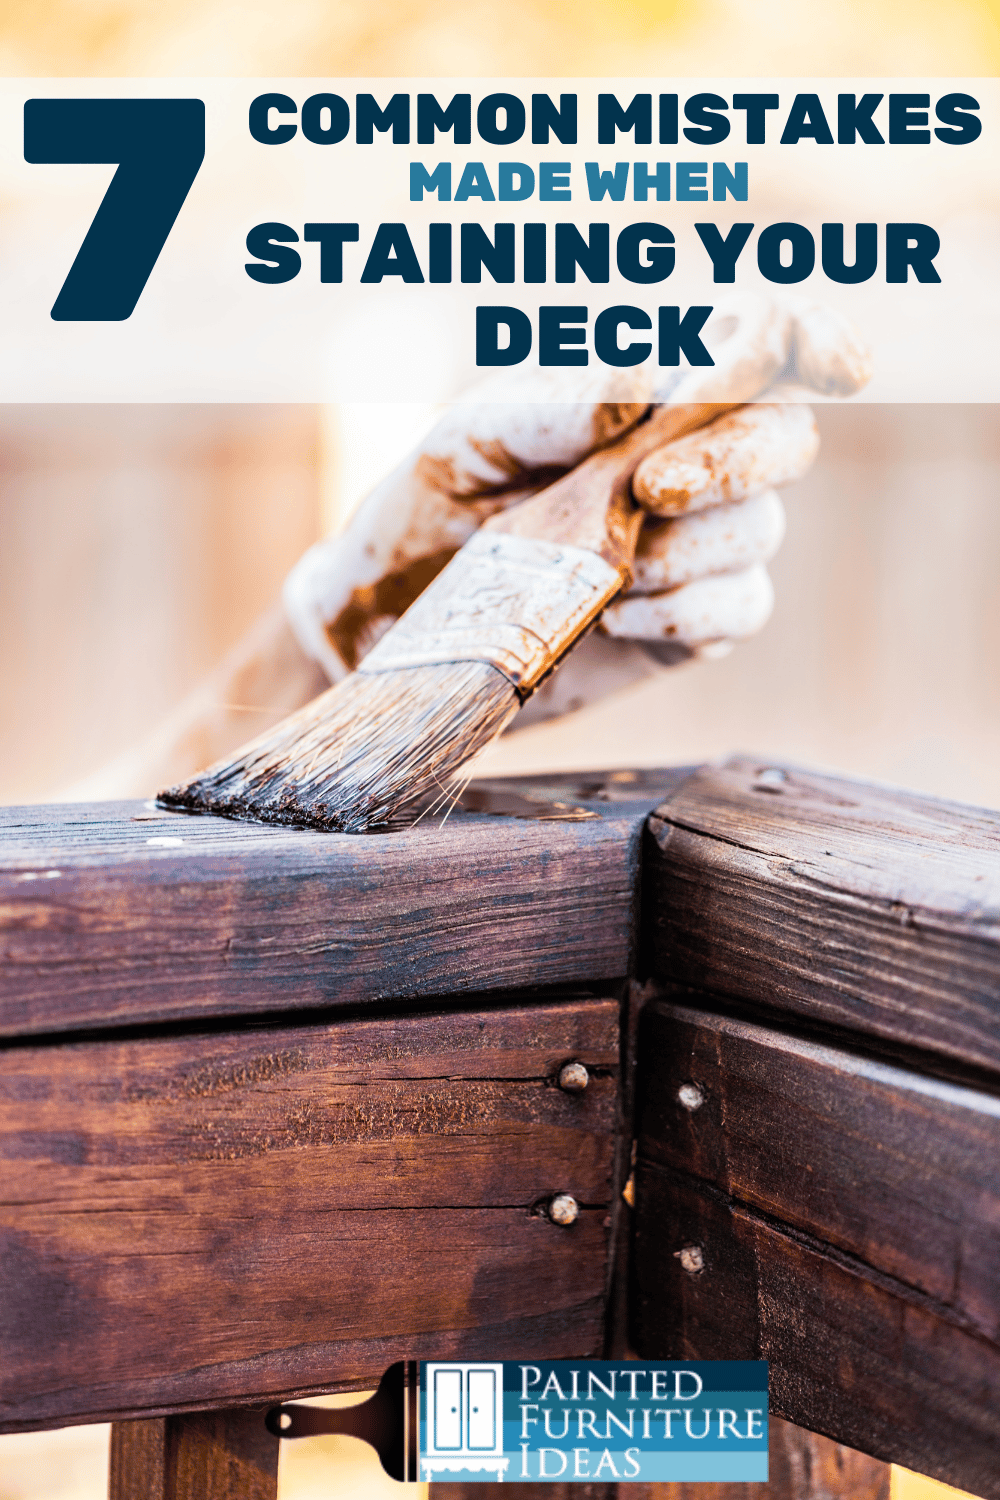
Not ready to start today? Pick a pin to save this article for future reference!


