Whitewashing furniture is a great way to preserve the look of antique furniture while giving it a little updated look. Decorating experts are always establishing the “in color” for the year, but the truth is, white always works.
Whitewashing is a great technique when you want to still see the wood grain showing through, but prefer a shabby chic look. The whitewash gives a bright and airy feel to any furniture while maintaining the integrity of beautiful woods.
The best part about whitewashing is that it is one of the easiest techniques to use. When done right, it looks like you know what you’re doing, even if you’re a furniture novice. Avoid these few common mistakes, and you’ll get amazing results every single time.
Mistake #1: Skipping (or skimping) the Clean
If you’re working with antique furniture, it needs to be cleaned. If you’re working with new furniture, it needs to be cleaned. This is not a fun step, which is why too many people are skipping it and ruining their projects before they even start. Even if it looks clean, over the years, the wood accumulates oils and other things that are not conducive to painting. Warehouses, store floors, home dust, and human hands also make furniture dirty. You’ll never regret spending the extra time to really clean your piece before you start working. Clean the furniture with white vinegar rather than simply warm water to really be sure the wood is ready for painting.

Mistake 2: Keeping the Finish
Too many people are so excited for a new finish they forget to remove the old one first. Even if you’re not sure what the finish is, it needs to be removed. If you skip this step, your beautiful whitewash will peel off and leave you a giant mess. Simply grab some sandpaper and get down to the actual wood. By getting down to the true wood surface, you can be assured that the paint will actually adhere to it.
When you sand down the original finish, be sure you keep working until the surface is completely smooth. If you whitewash a rough surface, the finished product will look splotchy, uneven, and rough. Starting with 80 grit and work your way up to 400 grit for a super smooth surface.

Mistake 3: Not Testing
A basic whitewash mixture is one-part latex paint and one-part water. However, that mixture can change drastically based on the look you are going for. If you want a hint of white, you can use mostly water. If you want basically solid, you can use a mixture closer to three parts paint and one-part water. This is what makes white washing so much fun. The key is to text your paint mixture before you start painting.
Too many DIY-ers create a mixture that looks good in the pot, and then when they start applying it, it’s not right. White washing can be difficult to remove, and doesn’t look the same if you have to use two coats. Before you start, play with the mixture on a piece of spare wood. Start with a 50/50 combination and then move from there to get the look you want. Mix plenty of paint upfront so you don’t run out halfway through your project and are faced with creating the right mixture yet again.
Another option for creating the perfect stain is to simply buy it as is. Today you can actually find white stains available that take the guesswork out of staining wood white. White stains are widely available in water-based or oil-based forms, but they are more expensive than a paint-and-water mixture.
Mistake #4: Covering the Grain
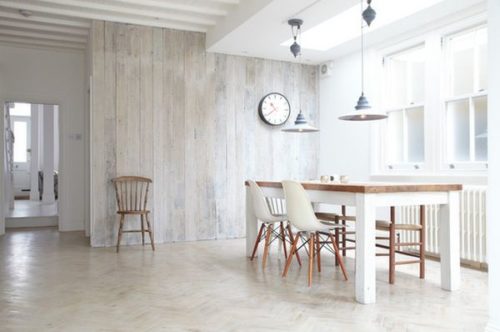
Before you start whitewashing, you need to have a clear understanding of the look you are going for. If you’re going to cover up the grain of the wood, you should be painting, not whitewashing. Whitewashing is meant to brighten a wood surface without hiding the grain pattern. If your whitewash is so thick that you conceal the natural grain of the wood, you should switch techniques and simply paint your furniture instead.
Mistake #5: Painting, not Staining
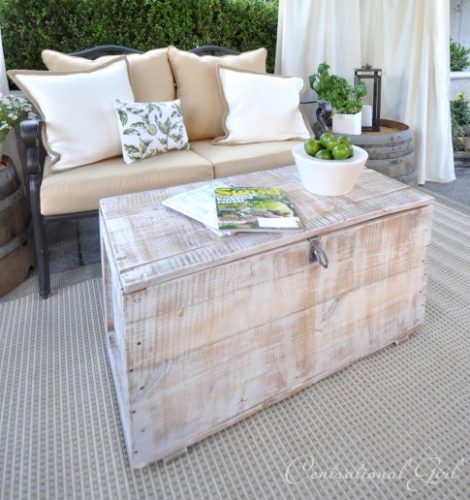
Whitewashing should be done using a staining process, not a painting process. These two things are very different. After you apply the white stain with a brush, allow it to set for no more than 2-3 minutes and then work it into the stain using a rag. This will remove excess paint and will give it a truly unique, whitewashed look. You can wipe as much or as little as you like.
This is the step a lot of people skip, forget, or don’t finish. As you wipe the stain with the grain, you work the white stain into any knots that may be in the wood to accentuate the knot and wipe it away from flat areas, which gives the piece dimension. If you skip this step, you’re basically painting with watered-down color and it create a messy, unfinished look.
If you want a solid white look, with a rustic appearance chalkpaint might be something you are interested in. Check out this article to learn more about chalkpaint.
Mistake #6: Using Oil-Based Paint
Because you’re mixing the paint with water to create a stain effect, you need to be sure you are using a water-based paint to begin with. Technically, you can use any color or shade you want, but it might be water-based. If you attempt to use an oil-based paint, you’ll create a separated mess that won’t work at all.
Mistake #7: Painting all at Once
When whitewashing, work in small sections rather than painting the entire thing at once. You want to work in manageable areas so that the wash doesn’t have time to try before you have the chance to wipe off the excess. Keep your paint area small enough that you can paint and then wipe within 5 minutes.
To move faster, it can be helpful to have two people working on this step. One person starts painting, the other follows with a slightly damp rag or sponge to wipe off the excess. This is the best way to ensure the entire piece is both painted and wiped off evenly.
Mistake #8: Wiping in a Circle
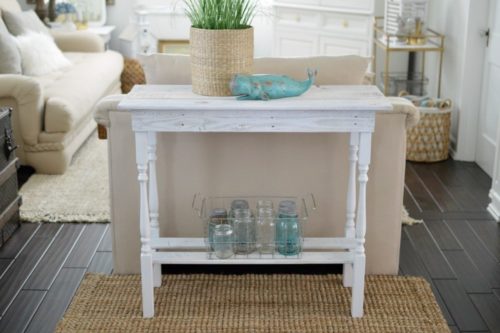
When you’re wiping off the excess stain, always wipe in the direction of the wood grain, not in a circle. The direction you wipe will be clearly visible in the finished product. You’re not trying to clean the surface, you’re staining. Use clear, even strokes in the same direction, don’t try to scrub it off in circles that leave a messy finish.
As with any painted furniture project, we always recommend applying a top coat to protect your piece. A simple polyurethane clear coat will cover and protect the surface of the wood. You can also use wax or tung oil if you’d like. Once the topcoat is dry, add on hardware.
If you are whitewashing your kitchen cabinets, you may enjoy this article for painting kitchen cabinets.
Save these tips with a pin!