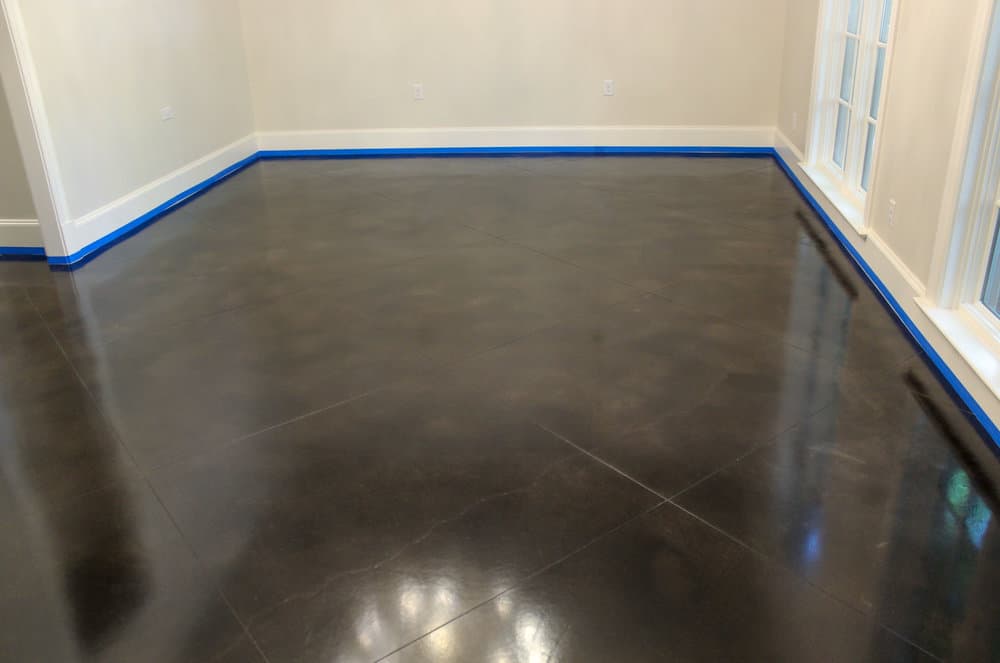
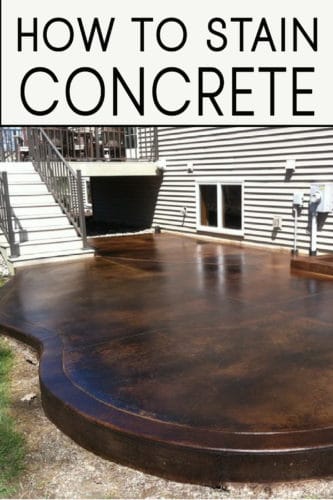
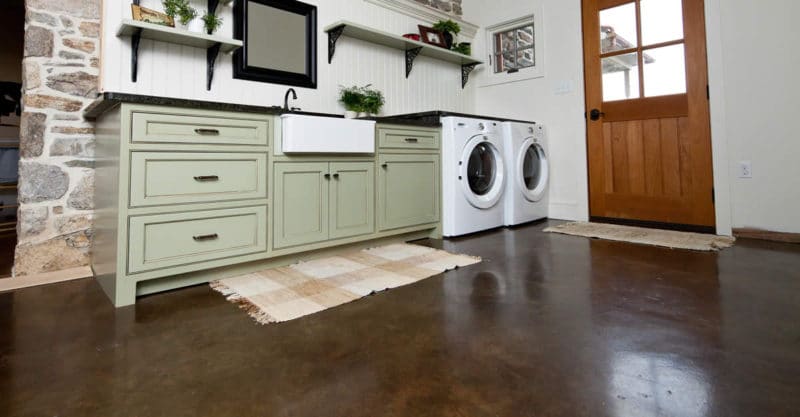
To stain concrete correctly is to unlock a world of design possibilities beyond the typical driveway. Just a few years ago, the idea of concrete flooring in upscale homes seemed surprising, even shocking to some. Who would have imagined concrete gracing the interiors of luxurious residences?
However, the concrete used in these stunning interiors is far removed from the drab, matte gray slabs of garages or driveways. Today’s concrete has been transformed into a beautiful, shiny, and artistic material, often mimicking the elegance of marble flooring. In this article, we’ll explore the techniques and best practices for how to stain concrete correctly, both indoors and outdoors, to achieve these remarkable results.

Transforming concrete into a stunning design element in your home is achievable through the art of staining it to enhance its inherent beauty. The process is surprisingly straightforward, making it an accessible DIY project. Whether you’re looking to revitalize a dull porch, enhance a drab walkway, or create a striking concrete floor in a new home, this guide provides everything you need to know about achieving a beautiful concrete surface.
Preparing the Concrete Surface
Proper preparation is crucial for successful concrete staining. If you’re working with freshly poured concrete, it’s essential to allow it to cure fully. This curing process can take anywhere from one month to a full year, depending on the specific concrete mix and environmental conditions.
This waiting period allows the concrete to reach its maximum strength and stability, ensuring the stain adheres properly.
For those looking to stain an existing concrete patio, walkway, or floor, the first step is to thoroughly inspect the surface for any imperfections. Cracks, holes, or other damage must be repaired before proceeding. Concrete stain will accentuate existing flaws, so a smooth, level surface is paramount. If the concrete is severely damaged or uneven, consider alternative options such as solid-color concrete paint or a thicker, more opaque stain that can help mask imperfections.
Cleaning the concrete is the next vital step. Sweep or vacuum the surface to remove any loose debris. Then, thoroughly mop the area with soap and water. It’s crucial to avoid using bleach during this cleaning process, as it can react dangerously with the chemicals in certain concrete stains, potentially producing hazardous gases. While specialized concrete cleaners are available, ensure they are bleach-free.

Time to Stain
Concrete stain is a specialized product formulated specifically for concrete surfaces. Do not attempt to use wood stain on concrete, as it will not produce the desired results. When you stain concrete, you have several application options: spraying, brushing, or rolling. For larger outdoor projects like patios or walkways, a garden sprayer can provide excellent, even coverage.
