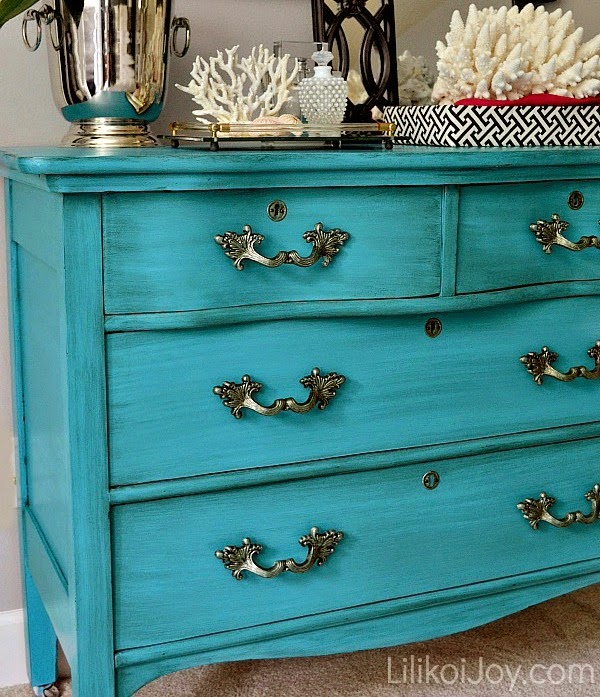
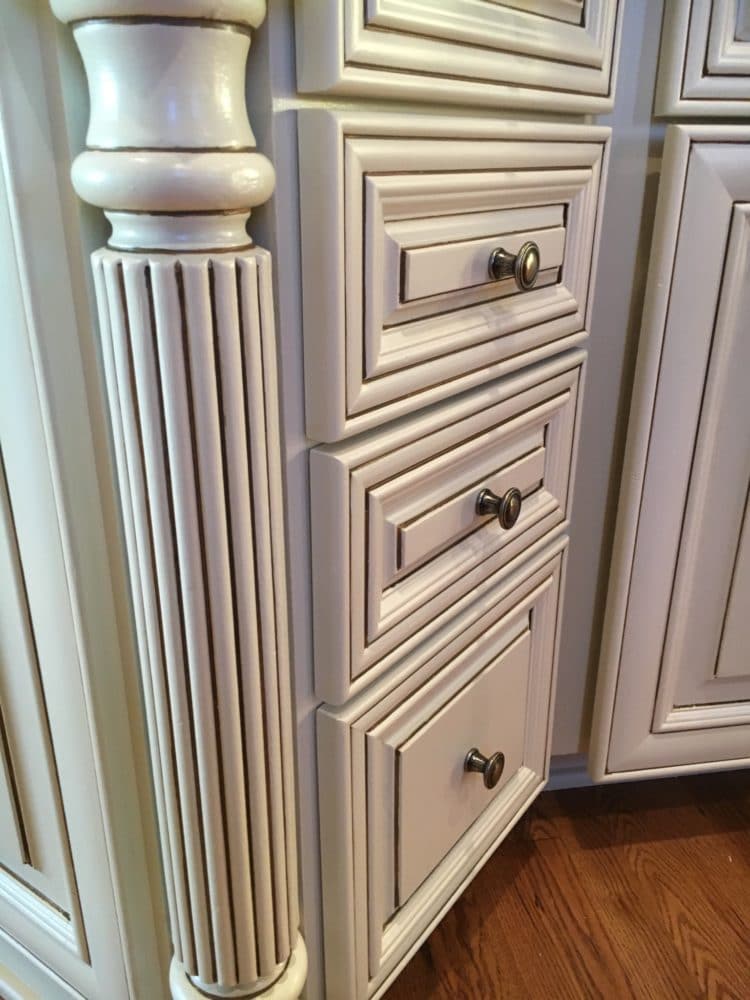
Finding the perfect piece of furniture in the perfect shape, size, and color can take years of searching. Trust me, I’ve tried. This is one of the main reasons we paint, upcycle, and re-use what we have to make it what we want. More often than not, you don’t really want a shiny new piece of furniture. You want something charming, chic, and full of character. This is where glazing changes the game of painted furniture.
Glazing is a beautiful finish option to give your piece character. If it’s not done right, you end up with a paint job covered in a permanent layer of dirt. We’ve glazed, de-glazed, and re-glazed enough pieces to know exactly what mistakes you should be aware of before you start your next project.
Not knowing your options
Any stain or paint can be used as a glaze. It simply needs to be thinned out enough to be at the right consistency. However, several manufacturers do provide a special product called glaze, which is formulated to spread and be manipulated easier than stain or thinned paint. Most glaze is a dark brown or black color, which can be used over any color paint or stain to give that coveted antiqued finish.
- Oil-Based:These are often easier to use and manipulate because they dry much slower, so you have more time to get the look you want.
- Water Based: These are less smelly and dry faster so if you’re working with a large surface area, this is a better option to avoid safety hazards. It also dries faster so you can get the job done.
Photo Source: allthingsthrifty.com
Not testing it first
One of the best things about glaze is that you can remove it if you don’t like it. This leaves no excuse for not testing your technique before you finish the entire project. If you aren’t liking the results, soak a rag with paint thinner (for oil-based glaze or stain) or water (for water-based glaze or stain) and simply wash the glaze away. This limited contact with paint thinner and water won’t damage any finish.
Too thick
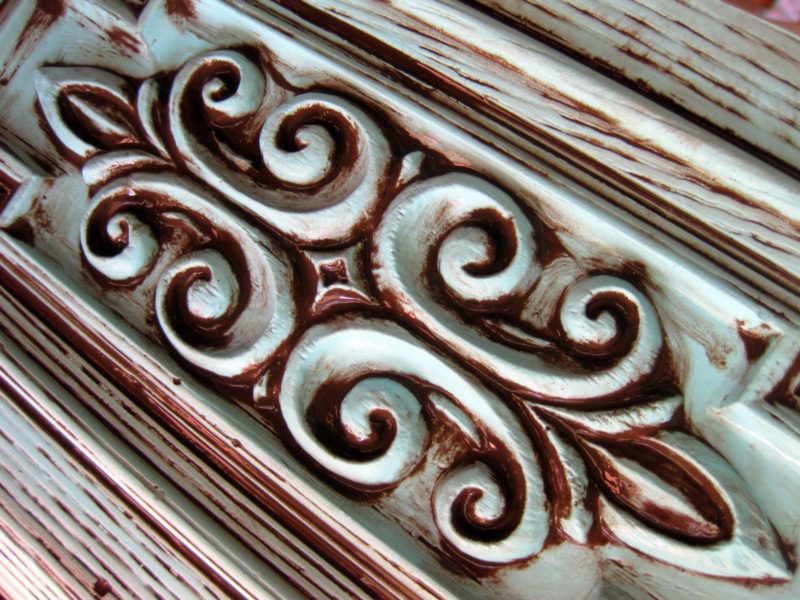
Glaze should be thinner than paint, and even thinner than stain. Putting it on too thick is probably the biggest mistake. You’re looking for a very light tint and thin recess lines, not a thick overcoat.
Expecting perfection
The whole point of glazing is to make the piece look aged, worn, and imperfect. This is the beauty of glaze because it gives the piece a unique character and charm. Since it is designed to be applied and wiped away, seeking a perfectly uniform finish is near impossible. If you’re looking for perfection you’re likely going to be very frustrated and ultimately disappointed.

Glazing over a rough surface
Glaze needs a buttery, silky smooth surface. If the surface has tiny pores, the glaze will settle in these pores and look messy and muddy. The best example of this is chalk paint, it is naturally porous and typically doesn’t work well with glaze unless it is sanded to a smooth surface first.
Trying to “do it right”
Wait, what? Isn’t that exactly what this article is about? Ahem. Well, yes. However, glazing is truly an artistic effort, which means you’re going to need to figure out what works for you. There’s so many tips and techniques to try, there’s not really a “right” or “wrong” way to glaze.
Glaze is so versatile that you can create many different looks. It’s up to you, your style, your preference, the way you want it to be. You can make it thicker, thinner, darker, lighter, it really it all up to you. We’ve pointed out a few mistakes people make while glazing, but the best advice of all is to give it a try and find your own amazing results.


