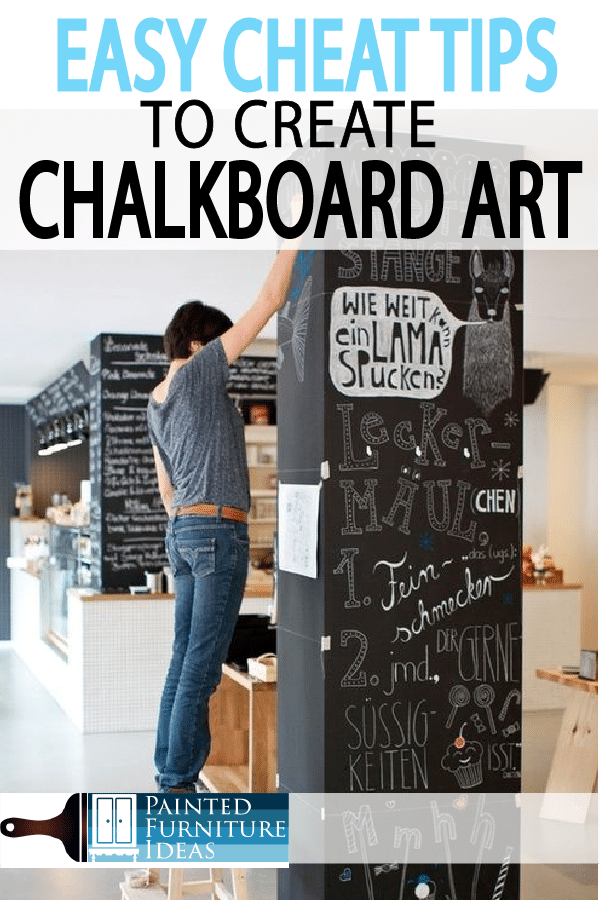
There are so many beautiful chalkboard home decor ideas out on the web. Each time I see wone I get excited to make that, but unfortunately, my handwriting lacks what my mind sees. With the trend of chalkboard walls, chalkboard doors, chalkboard tables and more, we definitely need all the help we can get making our chalkboard surfaces look beautiful.
Have no fear, cheats are here! This is the absolute best way to get a professional-looking chalkboard art with absolutely no creative or artistic skill needed.
The Materials
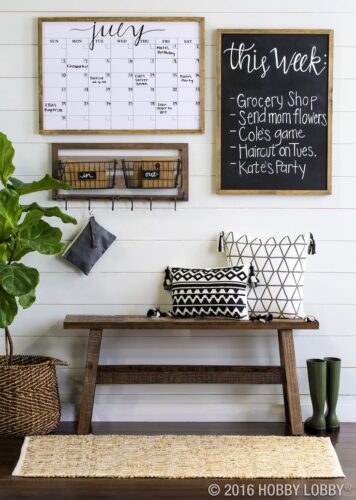
Not all chalkboards are not created equal. Some may be wood, painted with chalkboard paint. Others may be actual Masonite. If your chalkboard has wood underneath, chalkboard markers are not your friend. With porous material like wood, a lot of the paint ends up soaking into the wood, and wet cleaning strips the surface. So stick with regular chalk on porous surfaces. Non-porous chalkboard surfaces such as Prep
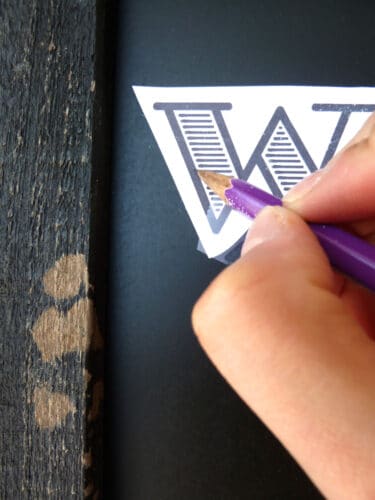
Before you are ready to make your chalkboard art, you need to prepare your surface. This is called “seasoning”. It helps to prepare the surface to handle the chalk and prevents your first line from leaving a permanent mark. To season, simply rub the side of a piece of chalk over the entire chalkboard and then erase with a dry cloth or paper towel. I like to do this every time I change out my chalkboard image. Using your computer, design your lettering, art, etc. in your favorite word processing program and print it as you normally would. If it’s large and oversize, you may need to tape several pieces of paper together to make it look right. Turn the paper over and rub basic white chalk along the surface of the back blank white page. When the backside of the paper is completely covered in white chalk, you’re ready to trace it onto your chalkboard. Making sure your design is straight, lay it on the chalkboard facing you so that your white chalked side is laying on the chalkboard. Use a pencil or pen and outline the letters, tracing along the black ink and using a firm grip. As you trace, the chalk that is coated on the other side of the paper will transfer to the chalkboard in a very faint line. Try not to press your hands against the chalkboard, as these marks will transfer over as well. When you have traced your entire image, you can remove the paper and see the outline of your design. Now you can fill in your traced art. You can usechalkboard markers like these ones that are the best ones on Amazon, and have a money-back guarantee and have two size tips for easy detail work! Use a clean paper under your hand, if you are prone to smudging while writing, this will protect your traced outline from disappearing under your warm resting hand. **NOTE: if you are creating a chalkboard design that you want to be permanent or a larger job. You can trace the chalk with a pencil, that way, if used lightly the pencil will erase if needed. This way if your project is going to be done over several days, your chalk won’t smear. 
Design
Chalk
Trace

Fill
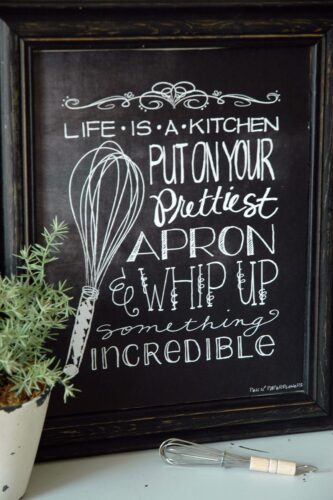
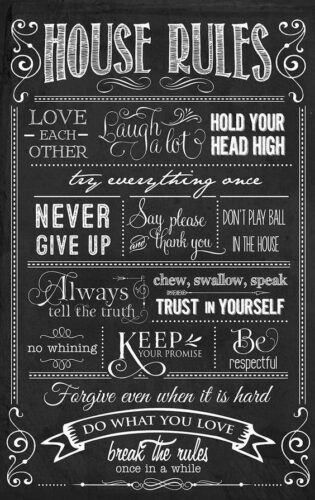
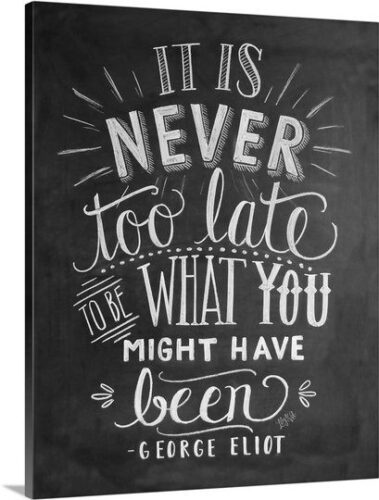
Check out these cute ideas for your next sign!
