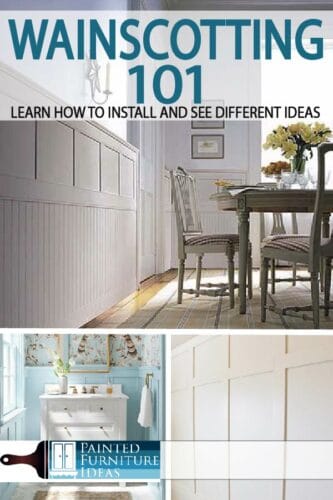
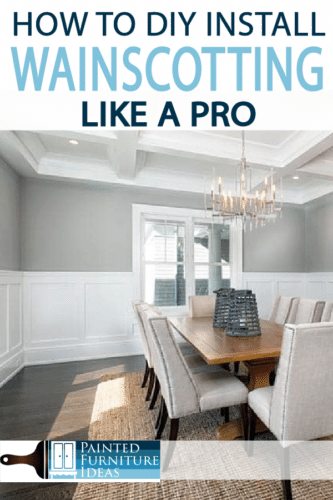
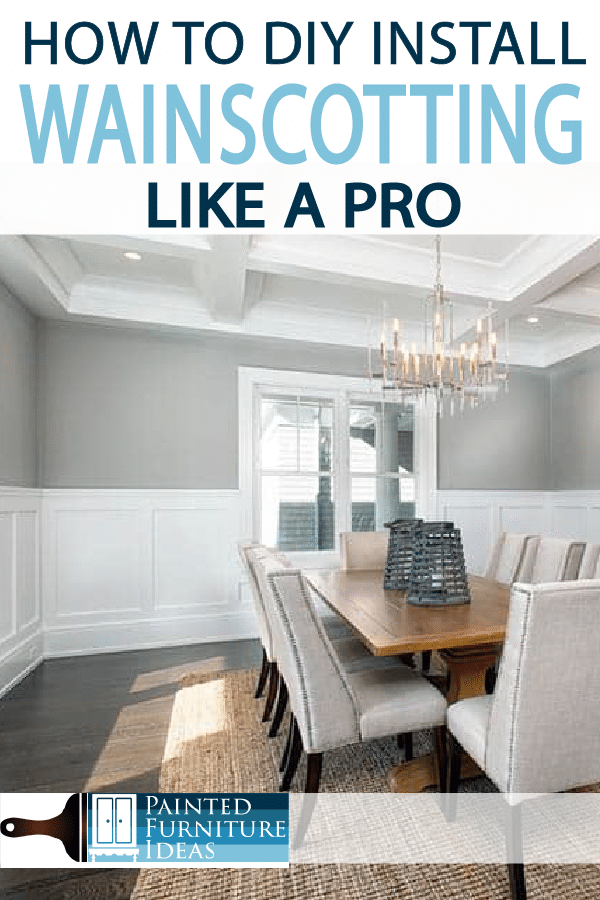
Wainscoting is a beautiful and timeless way to add a little oomph to the walls of any room. It’s elegant and classic while at the same time modern and popular.
At its most basic, wainscoting is usually wooden panels and trim added to a wall to create dimension, texture, and style. Today, it can be used in nearly any room and has a variety of styles, materials, and textures. While we love wainscoting throughout the house, this technique in the kitchen or bathroom can be particularly effective.
See any photo of well-done wainscoting and you’ll be converted almost instantly. Then comes the hard part. Deciding what style, height, materials, and math (oh the math!) can be tricky…but doable, we got this!
We are here to help you decide what look works best in your home, how to do it right, and endless inspiration to get you started.
Why Wainscoting?
Wainscoting can change the whole look of the room and add interest to the space without a complete remodel. Some materials are paintable or stainable, so they can be modified to match the desired decor. Wainscoting can easily be combined with your current décor or upholstery to create a soft and warm look. It upgrades boring walls into works of art.
As a practical benefit, wainscoting can actually add insulation to your home. Wood is a natural insulator and additional wood wall panels offer good thermal and acoustic insulation.
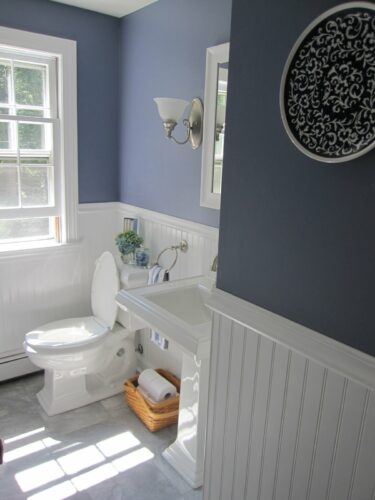
Wainscoting is also virtually maintenance free. You can wipe them down if they get dirty and that’s about all they need. On the off chance they get seriously damaged, it’s easy to sand them down and repaint. If you’re working with an older home, wainscoting is a great way to conceal flaws in the walls or cover up uneven walls or unsightly features like cables and exposed wiring.
Wainscoting Materials:
Wainscoting panels are the individual boards, typically comprised of oak. As wainscoting became more popular, the variety of materials available ballooned into dozens of options.
Traditional Oak Boards:
Traditional wainscoting was made of oak. Oak takes both stain and paint well, is easy to work with, and is still a popular choice. However, you can find wainscoting in almost any wood. It’s best to choose a wood that is best in your environment that won’t expand or contract too much.
Wooden Panels:
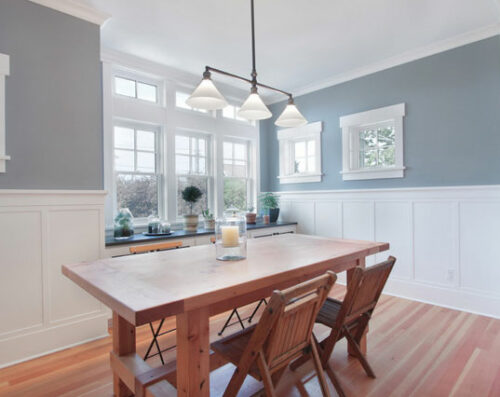
Today, most wainscoting comes in panels rather than individual boards. This makes installation much easier. With panels, the average DIY-er can create a beautiful space in their home with wainscoting. There are four main types of panels:
· Raised panel is easy to spot as the panels are raised in front of the styles and rails.
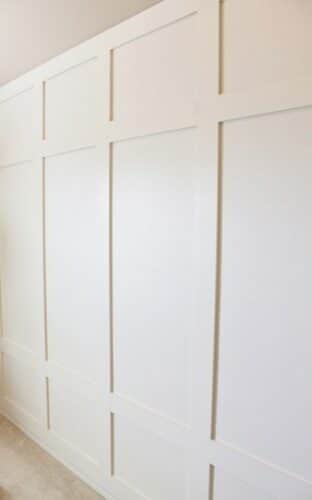
· Flat panels are where the panels are behind the styles and rails. This look uses plain boards with no beveled edges or mouldings and is a traditional farmhouse look.
· Beadboard panels have the look of thin, individual boards with the convenience of a panel.
Vinyl Wainscoting
Vinyl wainscoting is pretty new to the wainscoting market. It is more expensive than wood, but the plastic is water resistant and easier to clean. This is a great option for bathrooms and kitchens where water spills are common.
Plastic Wainscoting
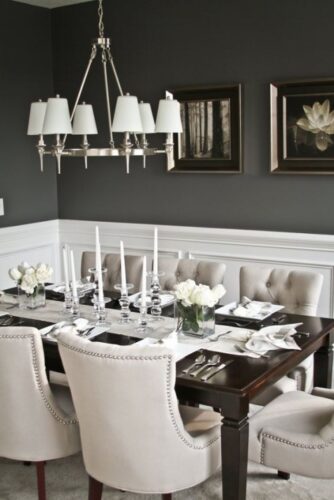
Plastic wainscoting is not the same as vinyl. Although they are both extremely durable, plastic wainscoting is harder and less flexible than vinyl wainscoting. Plastic wainscoting panels usually come in bead board style, which can still be painted easily to match the current style of your home.
Faux Wainscoting Styles
Technically, anything that is not wood, plastic, or vinyl is considered “faux” materials. This is usually pre-made panels that are used to create a raised panel look without actually installing wainscoting. This is a popular option for DIY projects who want the look without the time, effort, or expense.
Simple Installation Steps:
The basics of installing wainscoting stays the same regardless of what style you choose. The most important part is height. The height of wainscoting defines its look and how it impacts the overall style of the room. A good rule of thumb is to measure the wall and then divide that in third. Your wainscoting can cover the bottom one-third or the bottom two-thirds if you want a higher look. However, you can place it lower or higher depending on your specific preferences.
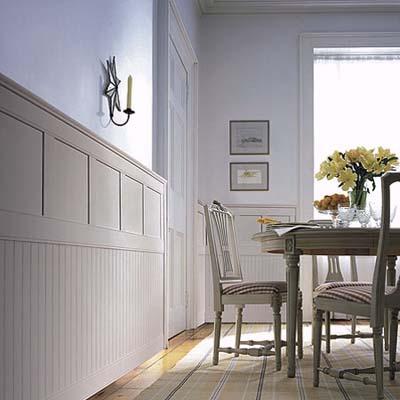
Once you’ve decided on height, measure the width of the wall and divided it by the number of panels you want, determining the size of each panel. This can be the tricky part if you are designing the panels yourself rather than using premade panels. The bottom rail can double as the baseboard, as it does here, or the baseboard can be built up from several pieces of molding.
Measure carefully and pencil in the markings for each panel on the wall. Mark your measurements with painter’s tape to complete your plan for the entire wall before cutting and installing anything. This will ensure your math is correct and you can adjust without wasting materials.
Once you’re ready to install, it’s as easy as cutting your pieces, nailing them to the wall, and caulking around the edges before priming and painting. You will notice as you install that your wall is not perfectly flat, and that’s OK. To get professional looking results, use a thin bead of caulk around every edge that touches the wall. Make sure to use paintable, interior caulk.
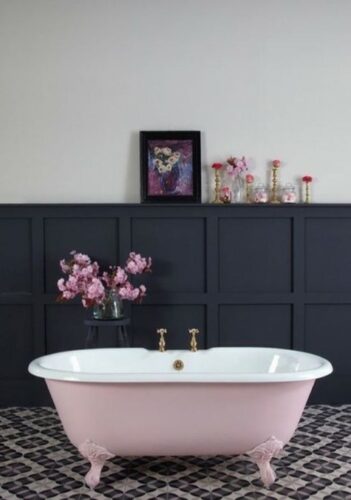
Wainscoting actually dates back to the colonial days. The design was originally designed to protect the wall from chairs or water spills. It became a decorative icon and is now used in almost every design style across the country. It takes a little bit of time and a lot of planning, but beautifully executed wainscoting creates a stunning focal point for any room in your home.
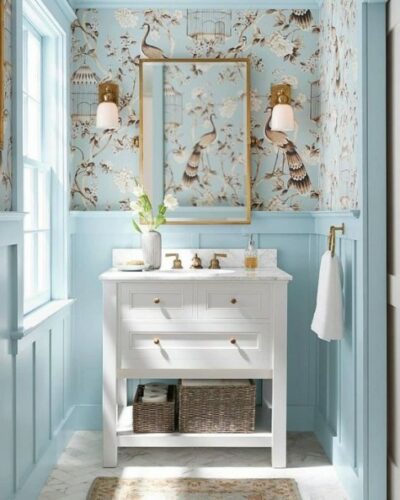
Love these ideas? Pin them!
