When I first heard people mentioning “shiplap” years ago, I found myself turning to Google for clarification. Initially, I thought it might be some sort of nautical-themed decor, but it turned out to be quite different. Shiplap has now become a household term widely used across America, and it’s gained popularity for good reason—it offers a clean aesthetic that can seamlessly suit both modern and rustic styles.
One of the best things about shiplap is that it’s an accessible DIY project. It doesn’t require a significant time commitment, can be accomplished over a weekend, and doesn’t break the bank, yet provides immediate satisfaction. Recently, I hopped onto the shiplap trend and transformed an accent wall in my living space. Remarkably, a contractor quoted up to $2300 for a similar project, but I managed to create mine for less than $100!
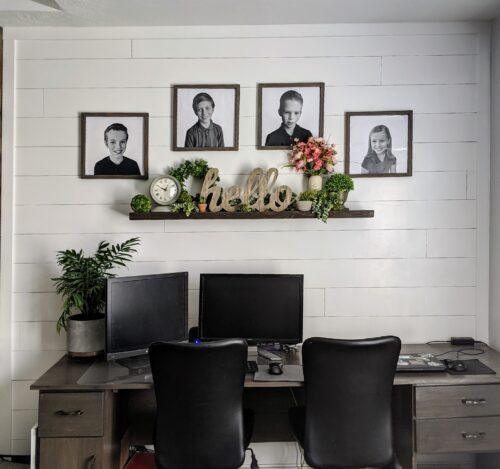
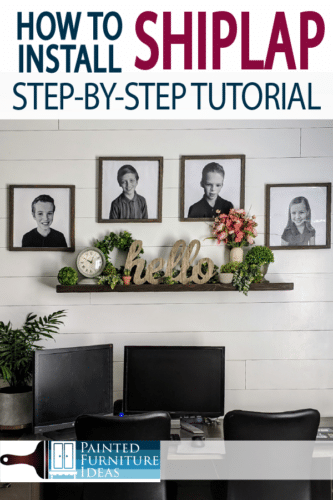
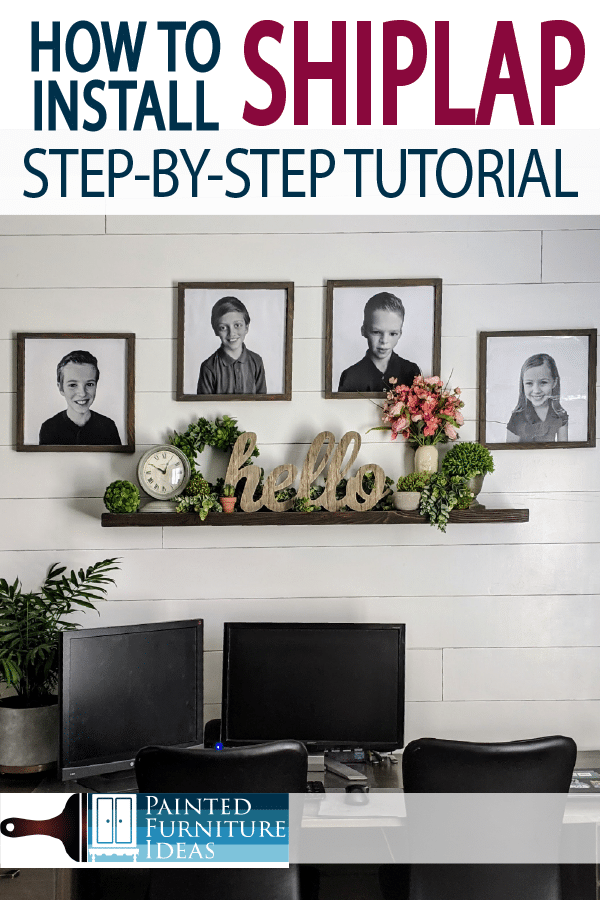
I love how the shiplap provides division of space in my family room. It defines and accents this family office area while providing the perfect shabby chic style. Ready to do your own, here’s everything you need to know.
1. Purchase Your Wood
Depending on where you live, you can buy actual “shiplap” or you buy plywood that is cut down to six-inch strips. The shiplap will easily be twice or three times more. But it requires no power tools to install. Shiplap comes with grooves that are designed to fit together perfectly. If you have the tools and feel comfortable with a table saw, save money and purchase basic plywood boards. These large board (they will come in 3’x6’ usually) will then need to be stripped or cut into 6” long strips. This is easier with a second person, so grab a friend. It will take about 10 minutes to cut 4-5 boards into the planks.
2. Prime Time
You’ll want to paint the wall white before installing the shiplap so you don’t have to paint the seams afterward. You can also prime the boards if they aren’t already primed. My boards were primed with a clear coat. It was the first time I used it, and although I had my doubts, it worked great and didn’t alter my white shade I picked. This will save you time in the future. If you have a white wall already, you can skip this part.
3. Mark the Studs
Using a stud finder, identify and mark all the studs along the entire wall. Typically spaced between 16-24 inches apart, once you locate one stud, you’ll easily gauge the intervals between them. Vertically mark the studs using a chalk line. This step is crucial to guarantee that your shiplap installation is securely attached to the studs, ensuring a stable and reliable installation.
4. Hang the Shiplap
You want to install the shiplap by starting with the first board at the top of the wall, next to the ceiling. Most people will look up rather than down, so if you need to have a smaller piece near the baseboards that will be less noticeable. Align your first board with the ceiling and then simply nail it to the wall. You can use wood glue as well for even more reinforcement if you’d like.
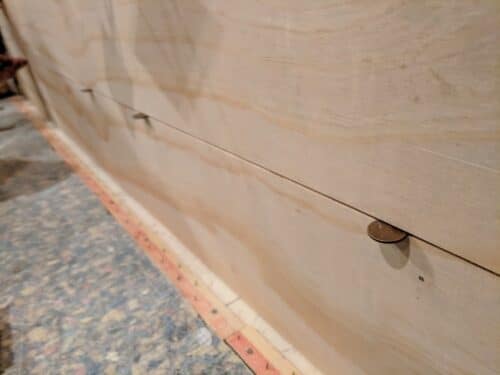
5. Place the Spacers
Once the first panel is level, the others should be as well, but to be sure you line them up correctly put spacers between each board. Pennies are the perfect spacers and is what I used for my wall.
6. Rinse and Repeat
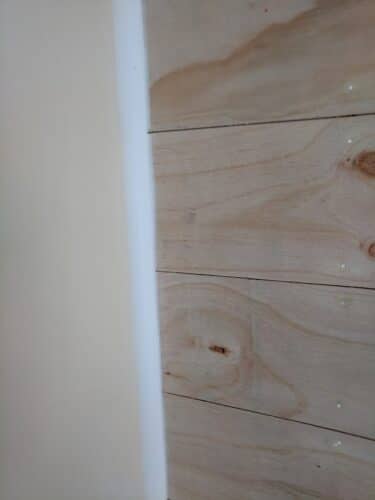
Continue to add board by board, until the entire wall is covered. You want your shiplap seams to be staggered, much like subway tile or brickwork. To do this, when you place the second board, put it underneath the first and either cut it shorter or slide it over. Then use a miter saw to cut a board the exact space you need to fill in the side edges, where your wall ends.
If you have to deal with an outlet or window, you might need to use a jigsaw to hang the shiplap around these features.
7. Add Trim
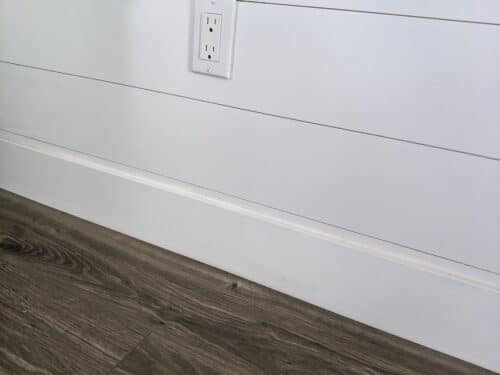
When you get to the baseboard, you can either 1) cut a smaller panel, and hang the shiplap to meet the baseboard or 2) remove the baseboard, continue the shiplap to the floor, and then reattach the baseboard. It’s your choice depending on the look you want.
After the boards are all hung, you’ll need to caulk the seams and edges where the trim meets the shiplap. This provides a more finished look. You can also caulk around windows, outlets, and sockets. I didn’t caulk around outlets, because I found it already had a great fit against the wall.
8. Fill the holes
First, go around each hole and set it, to make sure it is not above the surface of the wall. Then add putty to the nail holes and ensure the holes are sanded smooth and ready for paint.
9. Paint Time!
The final step is to install shiplap! Yes!!
Once the putty and caulk dry you are ready for paint. It’s a good idea to lightly sand the surface, but because shiplap is already smooth it doesn’t require a lot of sanding. You can use a brush or a roller, but avoid using too much paint otherwise, it can seep into the seams. Several light coats are better than one or two heavy coats.
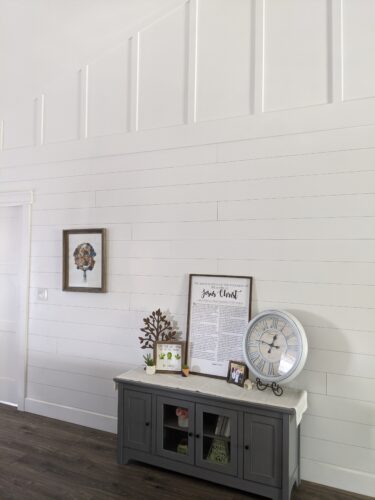
Once it’s all said and done, step back and admire your hard work! I have been so pleased with my shiplap addition. It adds instant charm, texture, interest, and style to any space.
It works in kitchens, bathrooms, family living, or office areas. It’s easy, affordable, and customizable. Thank goodness for the farmhouse style showing us all what we never knew we have always been looking for!