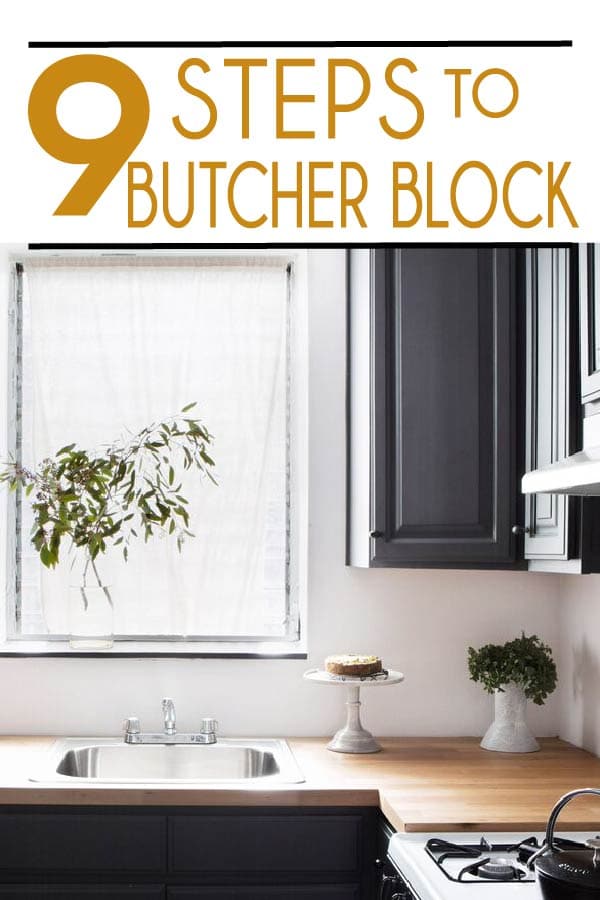
Ditch the dated laminate countertops and embrace full farmhouse style with butcher block countertops that make your heart swoon. Butcher block countertops are traditional, popular, and an evergreen kitchen classic.
When done right, butcher block is stunning and elegant, as well as functional. In addition to just being beautiful, they can receive hot pans without damage, you can cut directly on the surface. They can be sanded and resealed to perfection throughout the years, and they match literally any décor style.
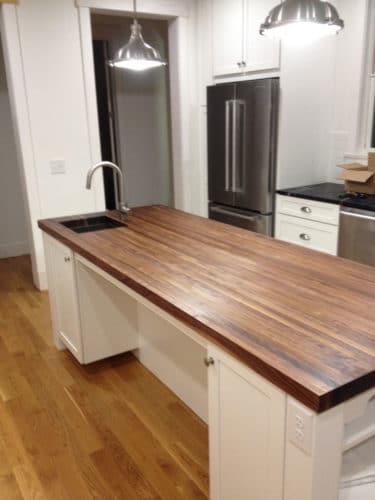
Unlike stone or solid surface, butcher block can be fabricated in a basement or garage workshop, making it the perfect DIY project to totally transform your kitchen on a budget.
You can make up your own butcher-block countertop, or the same technique can be used to create cutting boards, or a top for a roll-around cart.
The steps in creating the top are fairly easy, but the project does require some special tools, especially for the larger size tops. We are here to give you everything you need to know to make your own butcher block countertop that will have everyone flocking to your kitchen.
#1 Getting Started
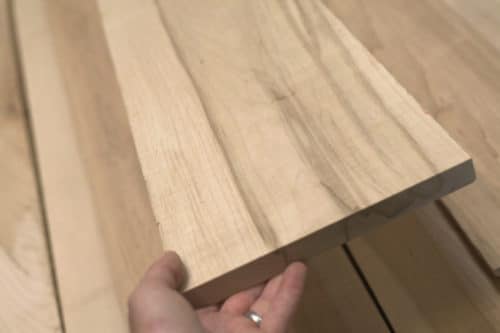
Maple wood is often used for butcher blocks because it is an extremely hard wood and has a dense grain. These characteristics make it perfect for a butcher block application. Because it is so heavy, it’s best to find a lumber source locally.
Other semi-hard woods may work well such as Knotty Alder. It is also a good idea to go to the lumber store and choose the specific pieces you want. How much wood you need depends on how big you want your countertop.
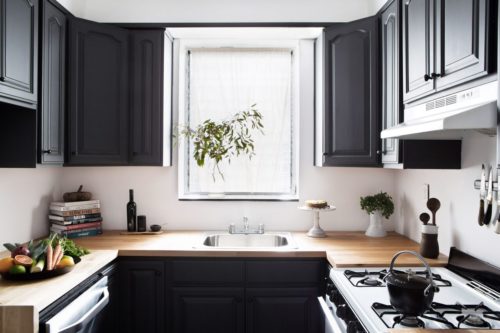
#2 Get it Smooth
Wood doesn’t just show up in the store perfectly smooth and straight. The wood you buy will need to be sent through a planer. A planer is a large piece of woodworking machinery that shaves wood down to make it a perfectly even width.
Chances are, unless you have several thousand dollars to spare, you’ll need to find a carpenter, lumber store, or friend with a wood planer you can borrow. This step is essential and can’t be skipped or substituted.
Using unsurfaced lumber for a butcher block will cause nothing but problems. Some lumber store may offer pre-planed pieces, that have already been run through a planer, but be sure they are perfectly smooth and uniform thickness before purchasing.
#3-Rip it Up
Because butcher block is made up of lumber glued face to face, the lumber must first be ripped into even widths. The width you choose will determine the thickness of your countertop. After planing, have the wood ripped into sticks usually somewhere between 1 1/2 -2 1/2 inches is a good width. Once you decide how thick you want your countertop, add ¼” to allow for sanding during the glue-up process.
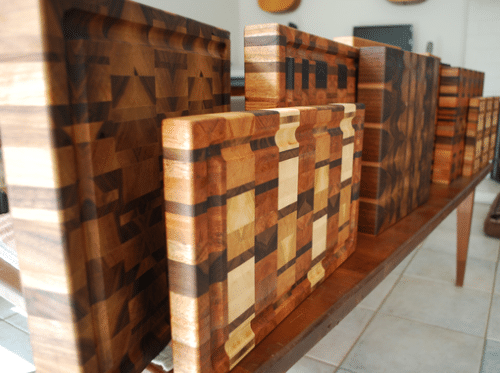
#4-Lay it Out
At this point in the process, you’ll have lots of long narrow sticks. If you want a uniform looking butcher block, you’re ready to cut and clamp it. If you want more of a random pattern you’ll want to cut the sticks down to smaller pieces and lay it out until you get the look you want.
During this process, it’s important to keep in mind the look you
#5-Glue it All
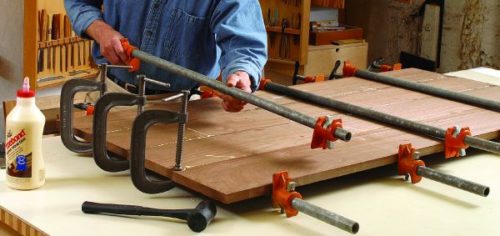
It’s best to have a large, clear surface for laying everything out and gluing it together. Before you begin, make sure all faces are clean of sawdust and everything is ready. Gather all of your best clamps and you’re ready to go.
I recommend creating a support board first, which is approximately 1/4” narrower than the finished product. Position bar clamps in place on a smooth, flat surface and then lay the support board in place. This board is covered with wax paper to prevent the glue from sticking. Then, use C-clamps to clamp your first strip of wood to one end of the support board. Square it up with the support board edges, and continue working throughout the entire surface.
Position the pieces in place, glue, clamp, and then continue with each length until you have glue applied to the entire section, including the last full-length piece. It’s best to do this step with a partner, because you need to work quickly. You want to be sure everything is clamped together before the glue actually sets.
When choosing a glue, you’ll want to pick one that is food safe and FDA approved. Titebond III is a good option. You can simply squeeze the glue onto the board, but using a small foam roller to spread out the glue stream across the entire surface works well to get an even, thin coat of glue.
#6- Let it Sit
Once everything is put together, begin applying pressure with the clamps. Apply even pressure, making sure the joints are tight, even and flat. Again, it helps to have a partner for this step to ensure the pressure is even on all sides. A second end board can be placed on the opposite end and clamped to squeeze the end joints of the random lengths together as well.
Wipe away any excess glue from the top surface and allow the assembly to set at least 24 hours.
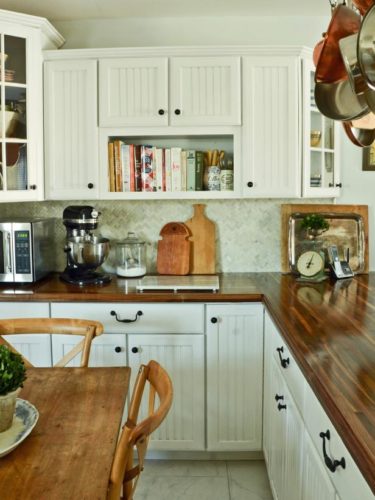
#7- Get it Smooth
After 24 hours, come back and admire your project. You’re almost there! The next step is to smooth the glued-up surface. This can be done in several ways. You can use a belt sander, run the wood through a planer again, or use a hand smoothing plane. Sometimes sanding over glue can quickly dull sanding tools.
Scrape excess glue off the countertop before you sand. If you have the option to use a planer, be sure to sand the glue lines first, to prevent nicking the planer blades.
#8- Cut it Down
Once you have your completed section of butcher block, it’s time to cut it down to size. Measure sections of kitchen countertop using a tape measure, and transfer them to the butcher block. When cutting each section of butcher block, place the boards on sawhorses or between two work surfaces. Clamp a straight edge along cut line, allowing for width of circular saw blade and saw guard. Cut along line with circular saw.
Tip: For irregularly shaped sections of counter, like curves, sinks, or other edges, the current counters can be removed and used as a template.
#9- Fill and Sand
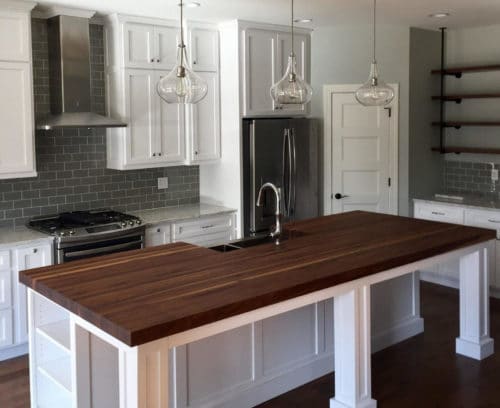
Butcher block countertop is installed in the same way as any other countertop. Simply secure countertop by inserting screws through hardware on underside of cabinets with 1-1/4″ wood screws.
Once installed, press wood filler into any holes with your fingers and wipe away any excess with a slightly damp cloth. Allow it to dry and sand the surface with an orbital sander. Keep in mind this will create a LOT of sawdust in your kitchen, so best to cover the rest of the kitchen with plastic sheeting and plan a deep clean afterward.
When the surface is filled and sanded smooth, remove all remnants of sawdust with a soft cotton cloth, tack cloth, or even your vacuum works great. Wipe the entire surface with mineral spirits to remove any remaining dust.
Be sure the surface looks perfect before finishing. If necessary, apply more filler or more sanding until you’re happy with the finished result. Then simply apply a finish.
Finish and Enjoy!
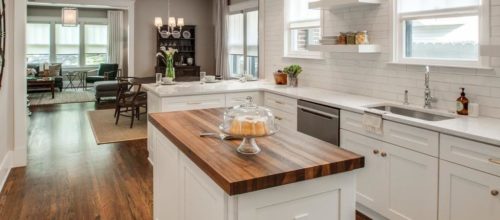
There are many finishes available depending on how the counters will be used. If countertop will be used as a cutting and food preparation surface, apply food-safe oil like hemp or mineral oil. If a more durable, water-resistant finish is desired, use a product that’s made to penetrate like an oil, but will protect like a polyurethane.
For an even more durable and water-proof finish, use a marine finish made for yachts and sailboats.
Now sit back and enjoy your beautiful new custom butcher block countertop!
Love these tips? Pin them!
