Painting kitchen chairs is like riding a roller coaster. There are ups and downs and curves and turns and sometimes they end up amazing and sometimes you completely regret getting on the ride in the first place.
We have painted hundred of chairs, and there are some very common mistakes. Whether it’s your first chair, or your 51st chair, kitchen chairs require attention to detail and a little TLC. Be sure you avoid these painting pitfalls before you start spraying.

Mistake #7: Using the Wrong Tools
If you have the wrong equipment, you’re doomed before it even begins. Put away the cheap foam brushes and save them for another today. The best way to start out right is to have the right tools for the job. Invest in good paint brushes, rollers, or a professional sprayer. I always use If you have the painting bug and often have dressers, tables and wall to paint, I would strongly consider buying a paint sprayer for this project. Chairs have so many spindles, curves, corners, etc that a paint sprayer really helps get a smooth finish in half the time a brush can. This paint sprayer is large enough for house projects and dependable. You can’t go wrong with a Graco sprayer. Remember, these are your kitchen chairs. You’re going to look at them and use them every day, so it’s worth the time and money to start out right.

Mistake #6: Hasty Prep
I am guilty of this on so many projects. My nerves are so excited to see the final project that I rush this step. I have since learned to slow it down and do it right! Prep work is the foreplay of painting. It always makes the finished result so much better.
Start with sanding. Always. No exceptions. Regardless of the primer, paint, or wood condition, start by sanding. Sand first, sand often, and sand enough. Power sanders are a great time saver, like this sander found here. Make sure to have paper sand on hand for any spindles and curved areas.
Follow with a primer. Several tutorials will say primer is not necessary, but if you want good results, don’t skip corners. Even if you’re convinced it doesn’t need it, prime it anyway, trust me!
Mistake #5: Painting Dirty
Dust and dirt is the arch-enemy of paint.
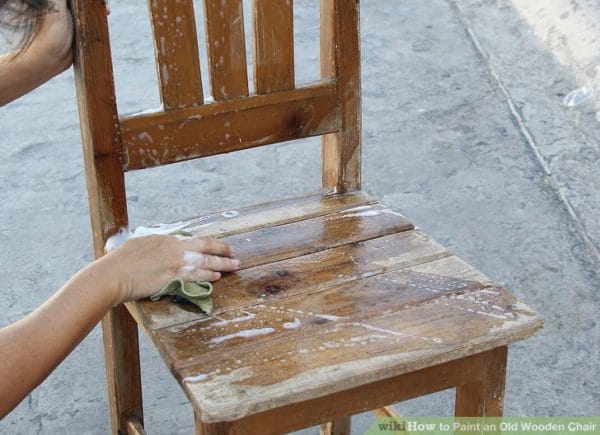
Think about it, you create a lot of dust while cleaning and sanding (which you’ve done a lot of because you’re doing this project right, right???). Take a little extra time to wipe down the chair with a tack cloth when you’re done sanding. A tack cloth is better than a dry cloth because it attracts dirt and picks up even tiny particles of dust. Some may clean with a wet rag or paper towel, but both options leave behind residue or moisture. If possible, move the piece to a clean area before painting.

Mistake #4: Keeping it Together
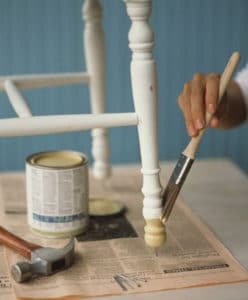
It is always easier to paint small pieces than large pieces. Wherever possible, take the chair apart and paint the spindles, seat, and back separately. It takes a little bit more time, but it creates easier angles and means you don’t have to stand on your head and try painting upside down between chair legs.
Styrofoam, or empty cardboard boxes with drilled holes, and make it easy to hold everything upright while you work.
Mistake #3: Lighting
When painting anything, you should be able to actually see what you are doing. Whenever possible, elevate your project so you are painting at eye level and be sure you have plenty of lighting. Many painting projects get done at night because that’s when little fingers and hands are asleep and out of the way. Get






I’ve painted a few chairs myself, and I have to say you have given the best advice ever. Only one thing I would add–for those who are using chalk paint: 1 Sanding is still necessary, no matter what they tell you, and 2 Seal your chalk paint with varnish, not wax. For items that receive a lot of use, wax just doesn’t cut it, and you don’t need to reapply varnish
Thanks for a great article!