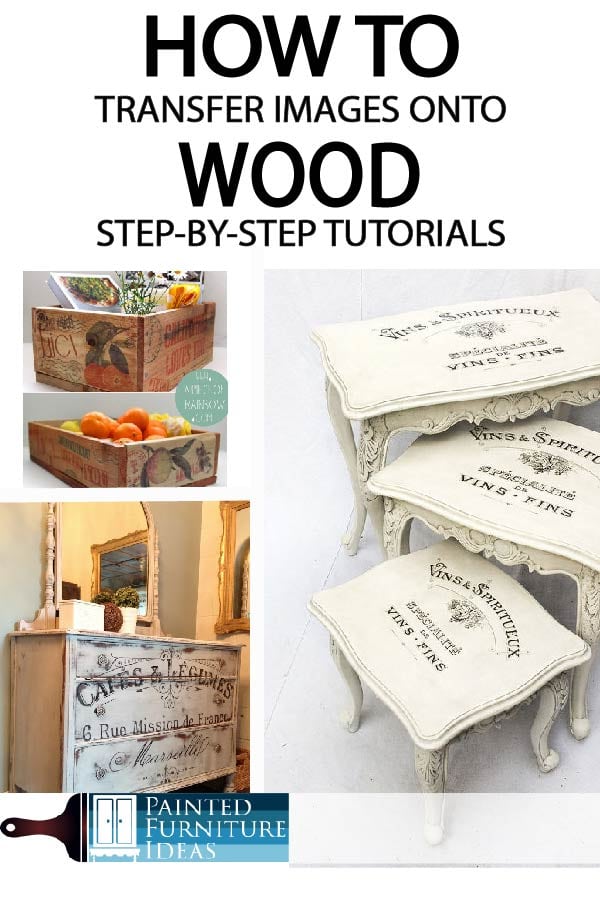
One of the best ways to take a basic piece of painted furniture creates a custom piece is to add an image. Add a beautiful image to a rustic crate, create a farmhouse sign out of basic wood, put vintage images to accent a side table, or even add your kid’s favorite characters to their bedroom furniture.
Adding an image to a tabletop or a dresser front takes a plain piece from “cute” to completely over-the-top amazing.
There are several ways to add an image to either natural or painted wood. You don’t need to have any fancy materials or expensive supplies. Chances are you already have everything you need to create beautiful custom pieces.
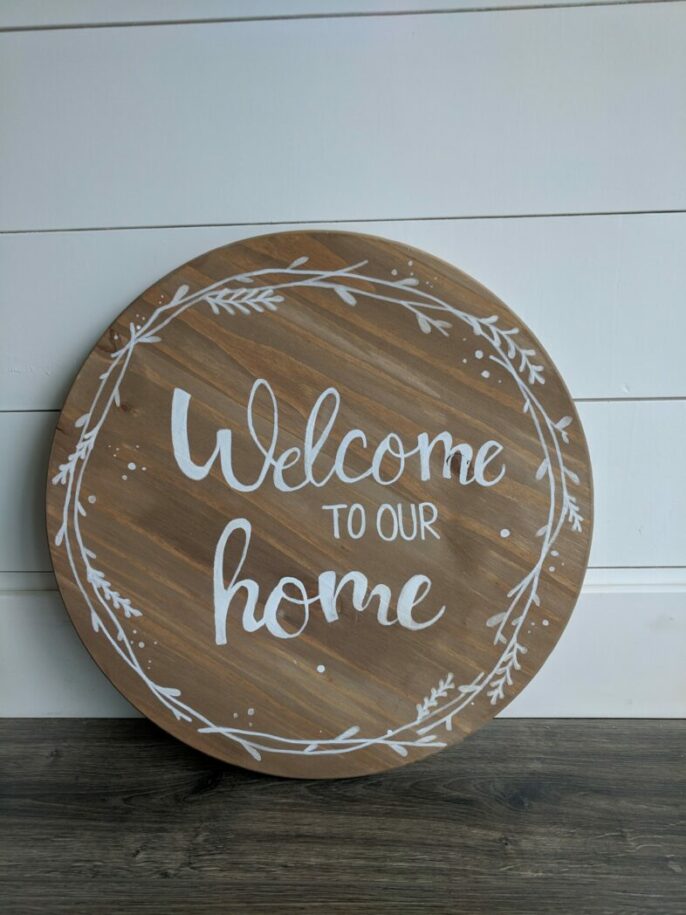
1- Chalking
This method uses only a regular home printer, a few pieces of paper, a paint pen (or small paint brush), and chalk. Thanks to the website blockposters.com, you can blow up any image to any size and print it at home, using regular printer paper.
Once you print your image, you tape the papers together to form a poster-size image if needed.
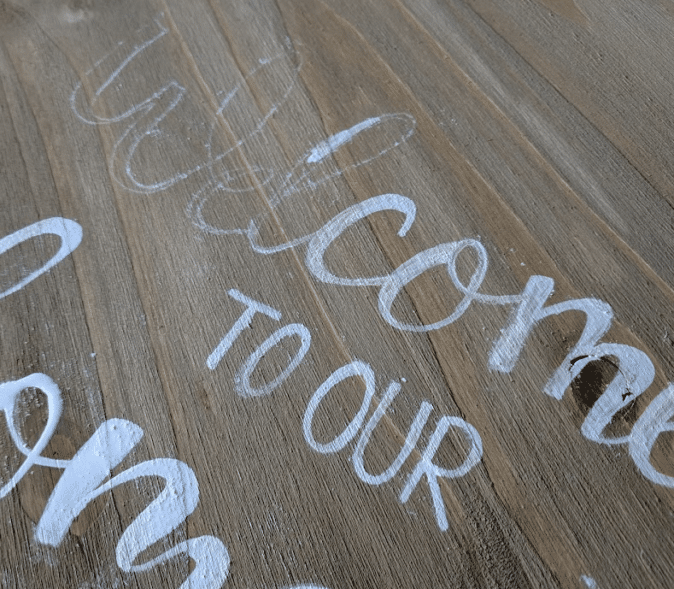
Using regular chalk, rub the back of the entire image. Gently place it on the wood, chalk side down. Using a pencil, trace the image or lettering. This will create an outline, as the chalk is pushed from the paper to the wood. Elbow and hand marks will transfer too, so touch the paper as little as possible while tracing. It takes a little time and patience, but it is one of the easiest ways to get your image on wood.
Then use paint to make your image permanent. I use paint markers, like these. They work great and give a smooth surface, without brush strokes. If your image is larger than 8×10, get more than one. Wood tends to soak up ink, so you need several coats to get a bright coloring.
2- Gel Transfer Medium
This is a product recommended by The Graphics Fairy that you place on the back side of the image, place it on the furniture, and allow it to cure overnight. 1Gel by Heirloom Traditions Image Transfer and Decoupage All-in-One Gel is an image transfer and decoupage solution in one, and works with images printed on regular paper from ink jet or laser printers.
![]()
Once the solution has cured, you wet everything down with water and wipe away the soaked paper, leaving only a clean and clear image on the surface. This is one of the best ways to get full-color images and maintain their brightness.
3- Packing Tape Sticker
This is probably one of the cheapest techniques. However, you must have a laser printer, this technique will not work with ink jet printers. It tends to work really well on glass, ceramic, or other very smooth surfaces.
Simply print your image, trim it down. Place packing tape (high quality) onto the image and press. Then rub the image with a bone folder or spoon. The harder you press the better your image transfer. You are pushing the ink onto the tape.
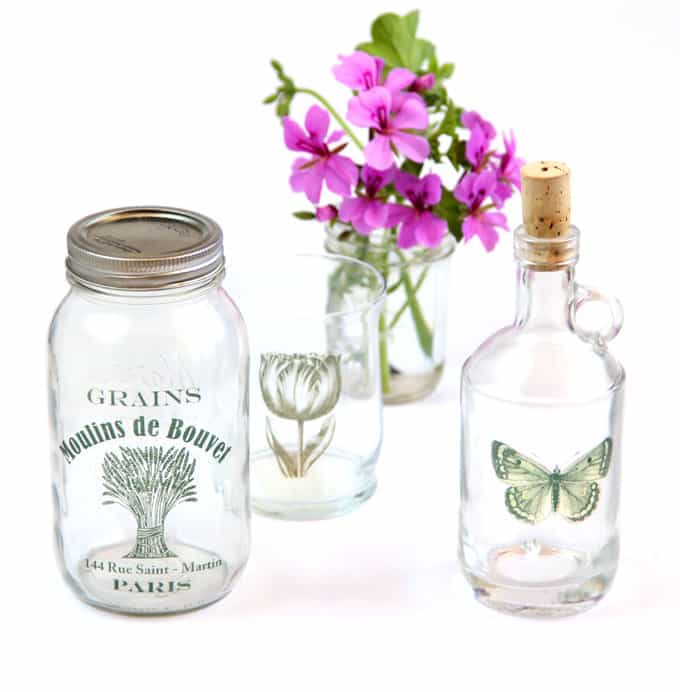
Soak the taped image in water for 30 minutes to loosen the paper. Remove the paper, and use the tape image just like a sticker.
4-Wax Paper
To use this technique, you need to reverse your image before you print it. This way it will print as a mirror image, making the transfer perfect. All you need to do is find the “flip/rotate” option in your Word processor or image software.
![]()
Then simply insert the wax paper into your printer and the image will print slightly wet. Work quickly to lay the wax paper on your wooden surface and use a burnisher, bone folder, or spoon to rub the image into the wood. You can use this same technique on freezer paper.
5- Mod Podge
Every self-respecting DIY-er has a bottle of Mod Podge laying around somewhere, now you can use for something new. Before you print your image, paint Elmer’s glue on a piece of cardstock paper and let it dry. Then print your image on top of the dried glue.
![]()
Paint the Mod Podge directly onto your wooden surface, and stick the image face down into the wet mod podge. Press it smooth and let it dry overnight. Once it’s completely dry, soak the entire area in water to gently remove the paper and the glue revealing a perfectly transferred image. Don’t have mod podge? Check out this article: Homemade Mod Podge Recipes
If you need tips on painting that dresser or piece of wood before you add your image check this article out: 3 Mistakes That Cause Chipped Paint Of


