There’s a trick to achieving a perfect distressing job. Distressing should looks authentic and draws attention to the best features of the piece.
This technique can be over done, resulting in a messy or dirty look. Go slow and careful as you follow the following tips.
I’ve seen many painted furniture pieces go awry with poor distress technique. One of the most important things to know about distressing, more important than what grit of sandpaper you use (I use 220) or what color the furniture paint is or the color of the wood underneath is WHERE you distress.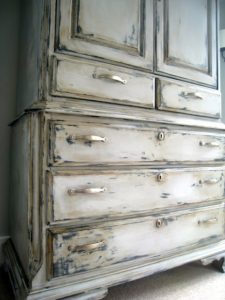
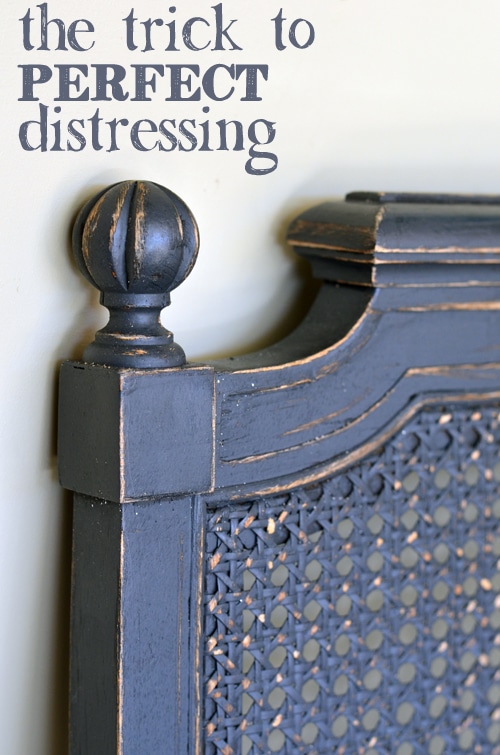
Where to Sand Your Piece – The best way to have the piece look perfect is to distress only areas that would naturally get dinged and worn. I have found that the pieces always ‘pop’ and look so eye-catching when the distressing is done all over the edges, beveled areas, areas of detail in the wood, etc.
I try to stay away from sanding areas on the piece where distressing doesn’t make as much sense – right in the center of area that realistically would probably never be touched.Whether you distress lightly or heavily (I’ve done both), there’s no right or wrong especially when you distress in all the right places.