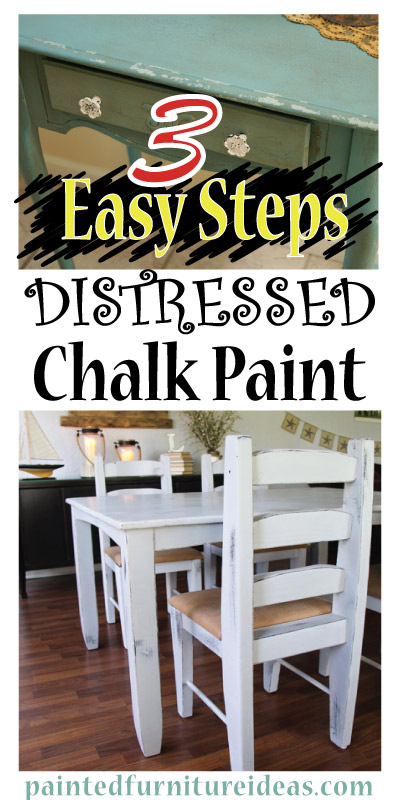
Once upon a time there was a paint called chalk paint. This new paint had enchanted powers of adhering to practically any surface without stripping, sanding, and priming. It eliminated virtually all prep work and created beautiful products. But before DIYers could live happily ever after, they had to learn how to use this magical creation. Distressing with chalk paint is easier than you think!
The original Chalk Paint was trademarked by Annie Sloan, but chalkboard paint can be found by numerous manufacturers. It is, indeed, a gem of the DIY world. With bright and beautiful colors it creates perfectly-painted masterpieces. Distressing with chalkboard paint combines the best in both worlds with the splendor of perfect paint and the aged beauty of distressing.
![]()
This technique works great on projects great or small, because the prep work is minimal and the results are fantastic. Before you begin, you still need to thoroughly clean your piece with mild dish soap. Then you’re prep work is done! Hallelujah! Allow the piece to dry completely and you’re ready to begin.
With typical latex paint, most of the distressing starts after you’re done painting. However, when distressing with chalk paint, you want to make your piece look old before you start painting. This is real easy if you just picked up a scratch and dent item at a garage sale. But in case you are looking to give your piece a little more character, here’s some ideas that work wonders:
1) Sand with a high grit sandpaper to get circular grooves in the wood.
2) Bang with a hammer, specifically on the edges.
3) Hammer a nail or screw into the table in small groupings to create a wormhole effect.
4) Use a variety of tools or metal objects and hammer them into the surface to create different grooves and divots.
5) Go nuts. You really can’t screw this part up.
Once you’re done attacking your furniture, use a sander to make sure all your dents, divots, and dings are smooth to the touch.
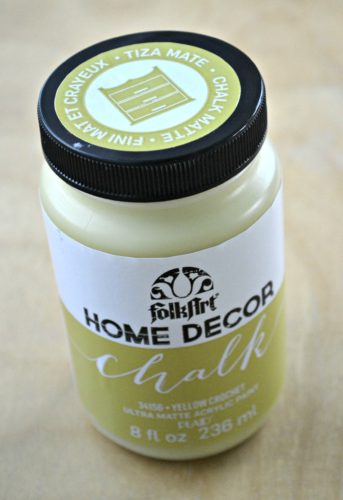
Chalkboard paint is designed to be thicker than regular paint, so you don’t need a lot on your brush to start out with. It spreads easily, and is simple to work with, but you can dilute it a little bit with water if you prefer. You can choose whether to paint with the grain, or in a more slap-dash, figure 8 pattern. It may feel completely counter-intuitive but you’re going for rustic, not perfection.
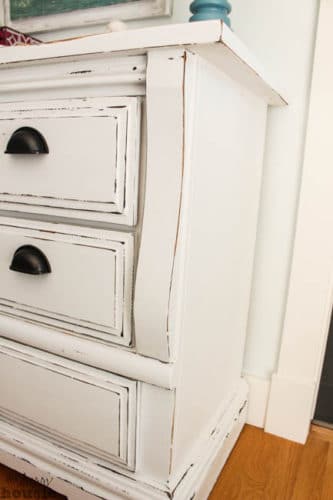
After your first coat dries, decide if you like the aged look, or if you’d like more coverage. The second coat makes a big difference, so forge ahead after the first coat is dry (about 30 minutes). After you’ve reached the coverage you want, it’s time to distress one more time. Use sandpaper to go over sections that would naturally receive wear and tear like corners, drawers, edges, raised, details, etc. Start with a light sanding, and keep at it until you are happy with the product. Dust off your sandy pieces with tack cloth, and you’re ready to wax.
Distressing wax seals and protects your piece, much like polyacrylic on latex paint. It comes out of the can looking like Crisco, but will harden when within 24 hours. You can use a wax brush, or a clean lint-free cloth (old tee shirts work great) and massage the wax into a small section at a time, just like you’re applying lotion. The color may darken just a bit, that is normal. Then, use a microfiber cloth to wipe the wax again, much like waxing a car. It doesn’t take a lot of effort, just wipe in the direction of the grain to remove any excess wax. If you’d like, add another layer of wax for tabletops that will get a lot of wear. You can buff your piece to give it an added shine, but that is purely optional.
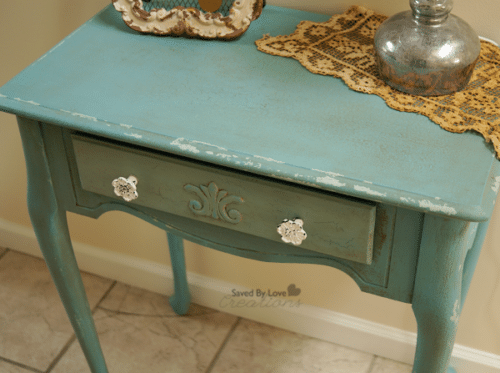
Beautiful, aged, distressed pieces add character, color, and brighten up any room. I hope you enjoy distressing with paintchalk on your next DIY challenge!


